Pisgah: how to photograph a cave with a single light
3 Comments
Caves open for tours geared towards the general public, such as those found in national parks, generally have paved paths and beautifully installed lights. What sometimes makes them difficult to photograph are restrictions like the prohibition of tripods. Outside of those caves, there is a whole world of undeveloped caves that offer a wild and unrestricted experience. The challenge is that they are pitch dark, so it is entirely up to the photographer to light them up. Until I tried the breakthrough technique described in this article, I found lava tubes particularly difficult to light because the darkness of the lava and the shape of the tube. Even if you don’t plan to explore an undeveloped lava tube, the same technique can be used to light any dark space, including outdoor scenes at night.
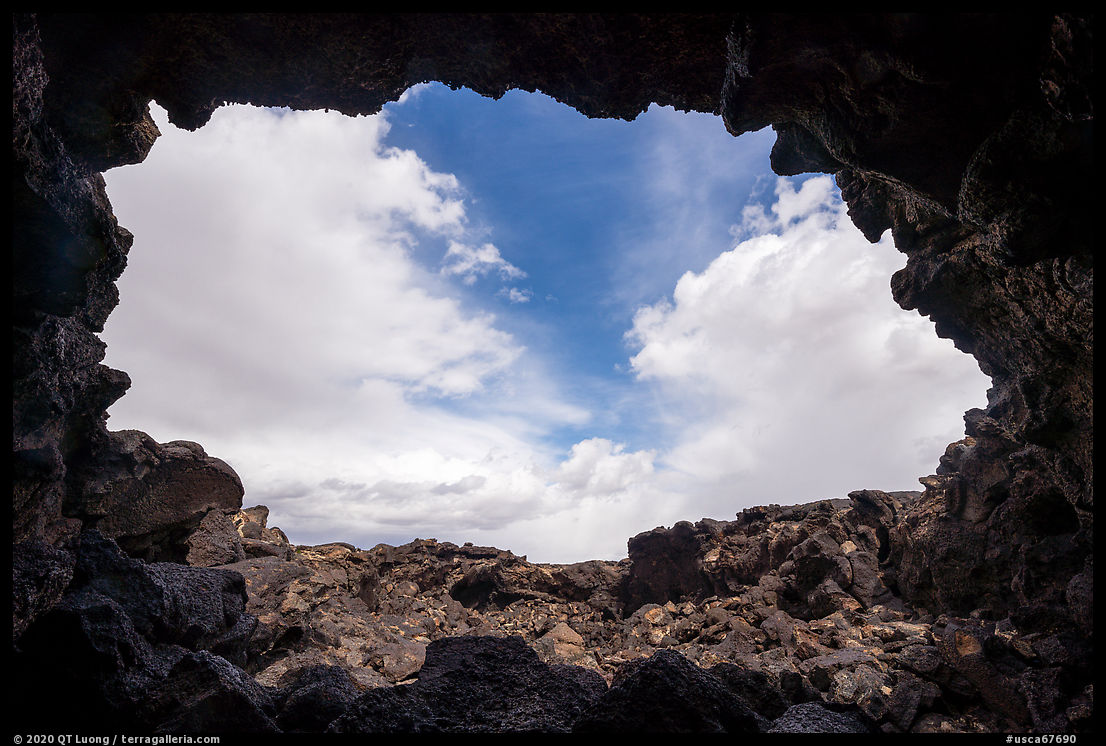
Lava tubes are created by lava moving a great distance under the surface. Once the lava subsides, what is left is a subterranean corridor shaped like a subway tunnel. The depth of the tube makes it difficult to illuminate it properly with a single light source. Because of the quick fall-off of light, if areas close to the light are properly exposed, the rest of a long tube quickly fades into darkness. One could try to bring a caseload of lights, but trying to crawl through often tight passages with a lot of equipment can be a chore. Fortunately, with the technique I am going to describe, you need only one light.
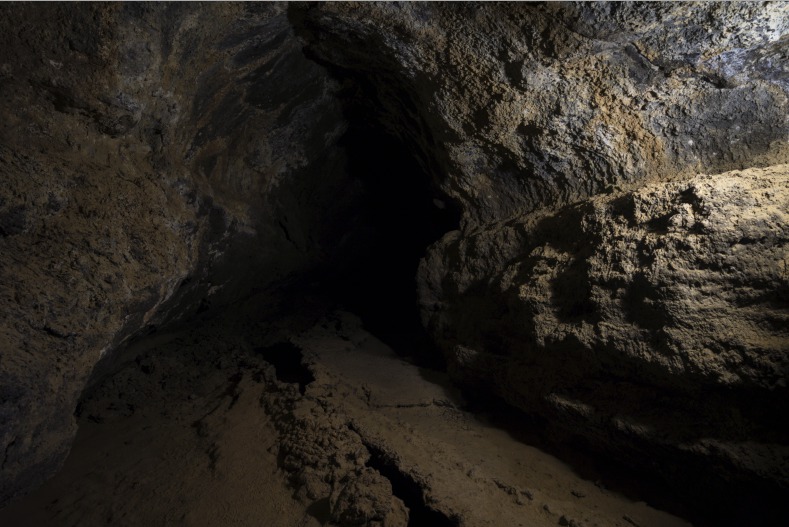
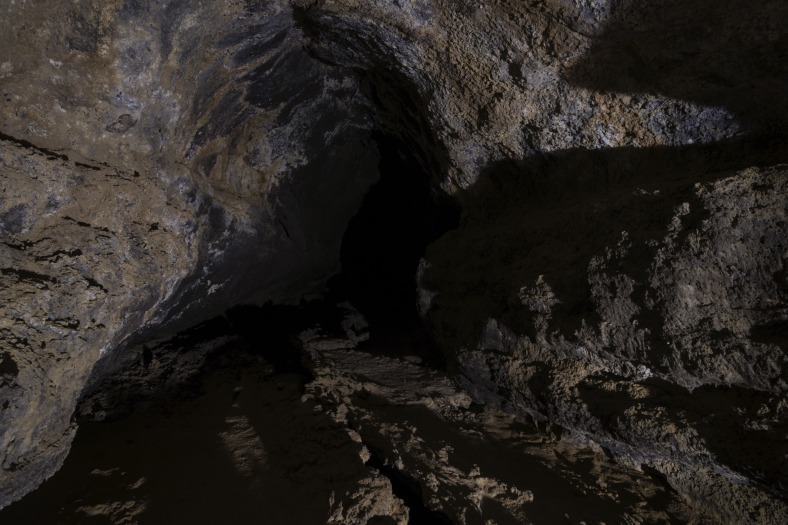
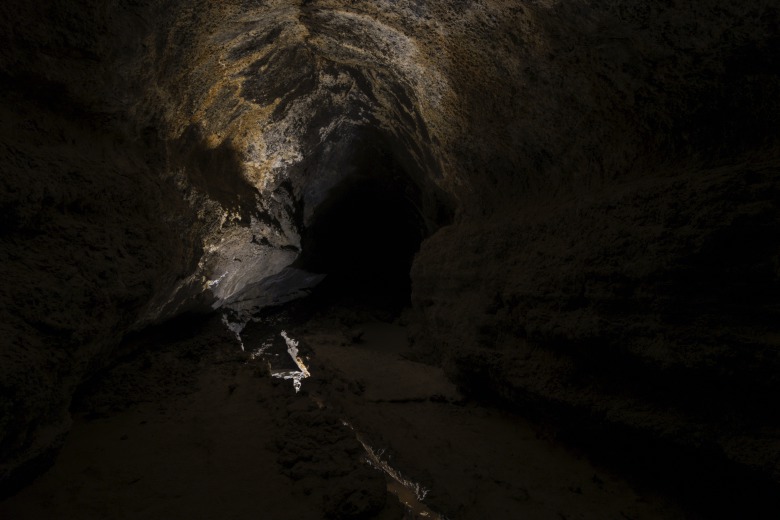
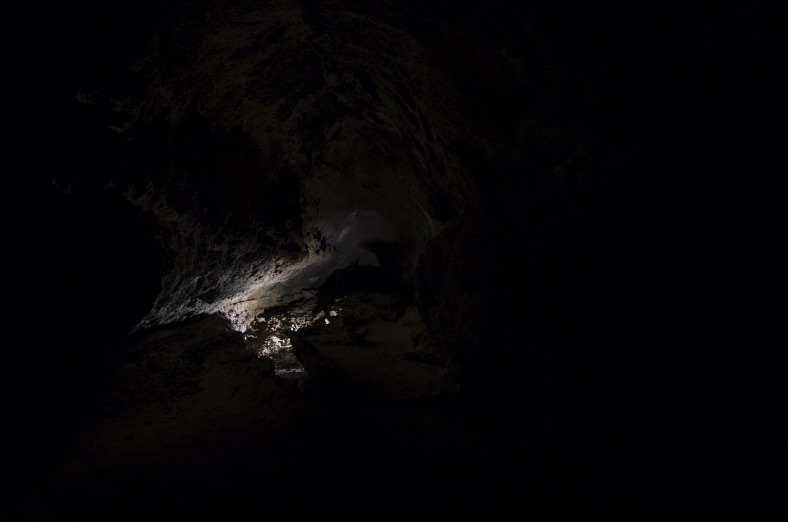
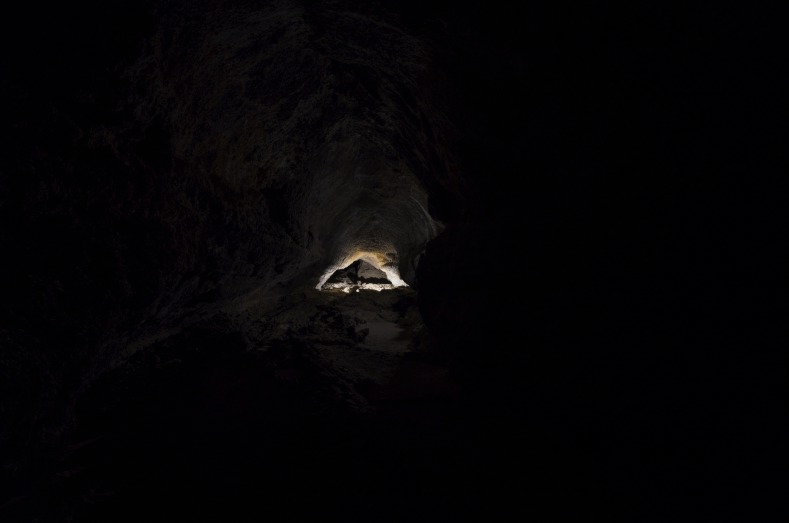
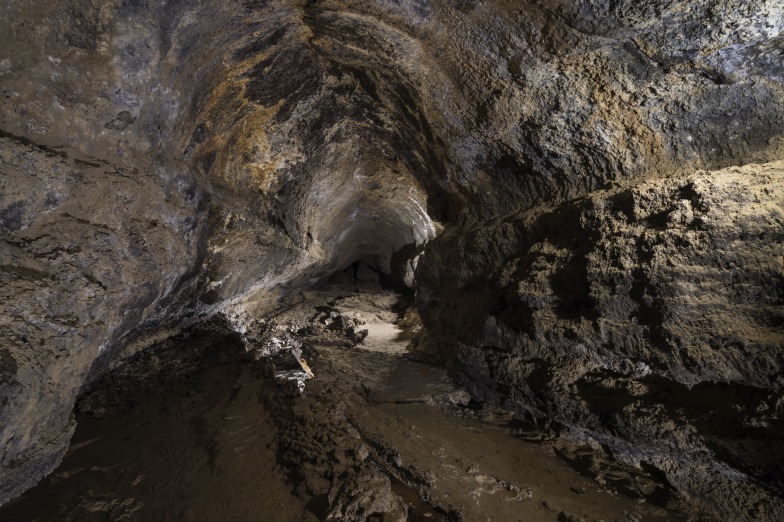
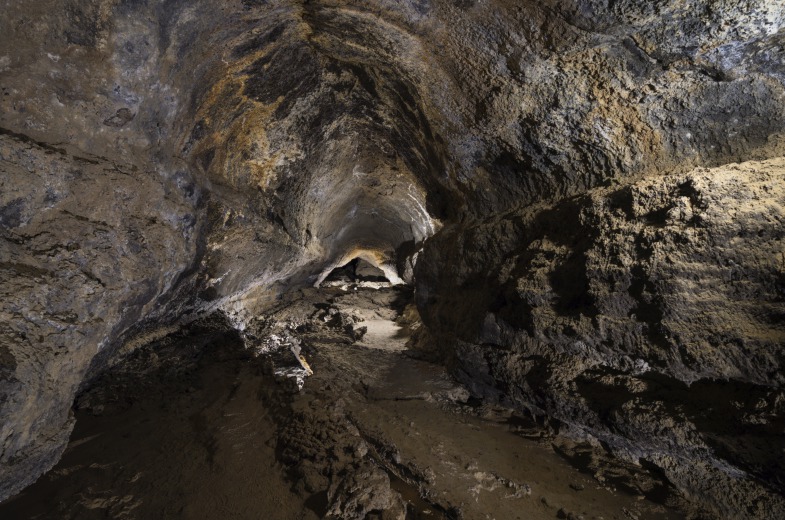
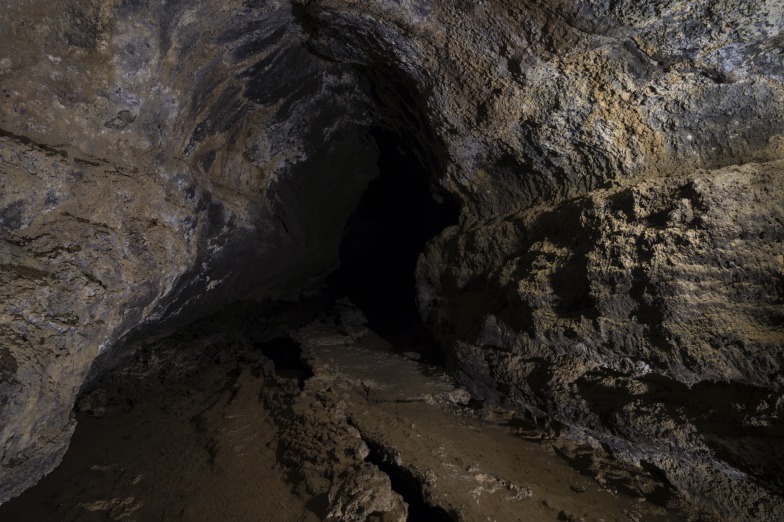
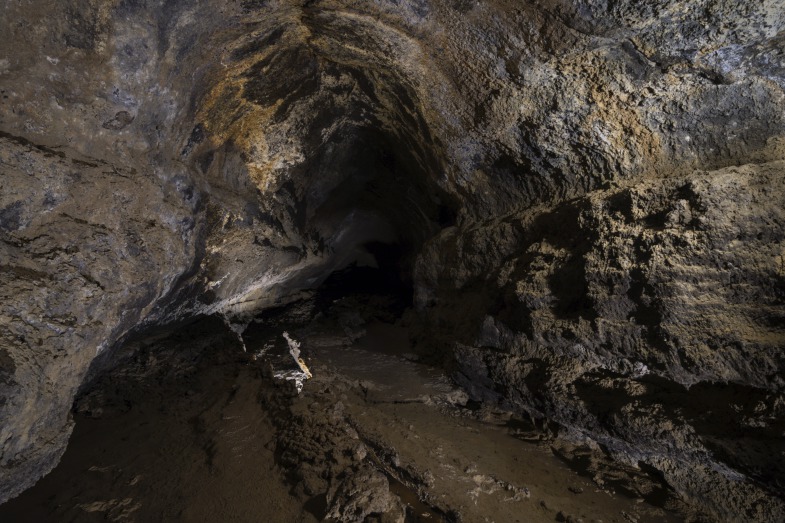
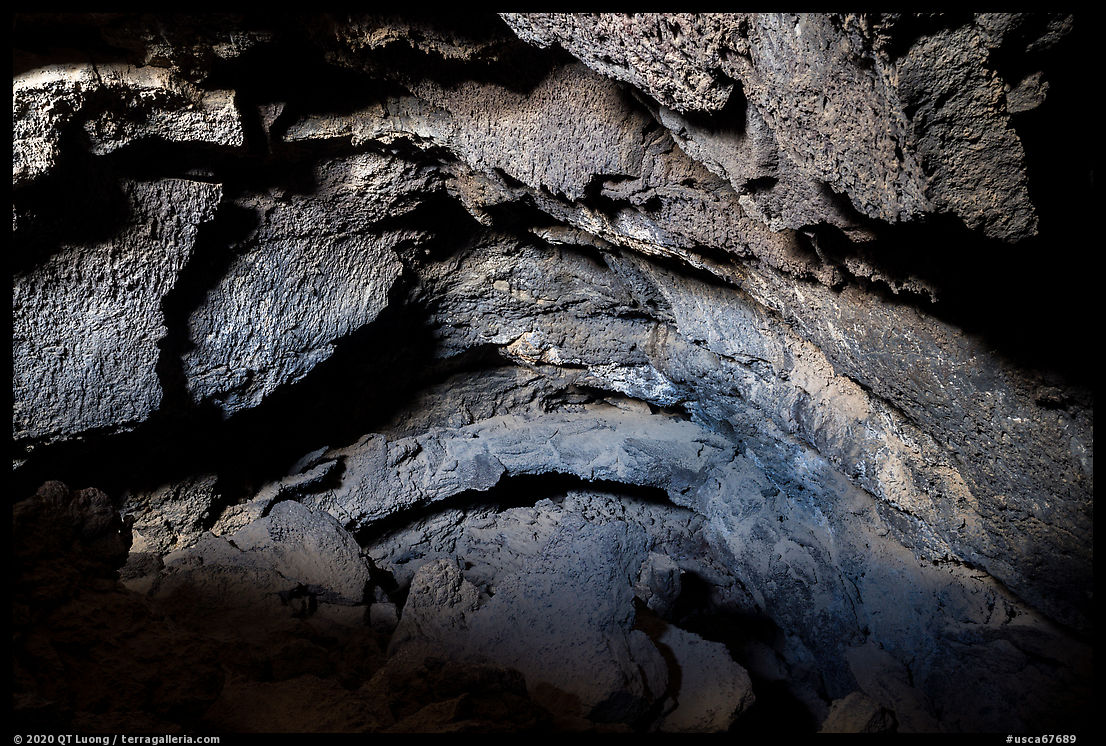
Since the cave is totally dark, in theory, it would be possible to capture a complex photograph in a single shot by turning on the light to illuminate a section of the case, turning it off and walking to the next section, turning it on again, rinse and repeat. However, the chances of messing up the shot and also of tripping in the dark are high. Merging exposures in post-production provides much more control. Here is how I acquired the following set of exposures, working solo. With the camera set up on a tripod, I walked to a spot to place the Goal Zero Lighthouse Mini Lantern, walked back to the camera to start a long exposure. After the exposure ended, I kept moving the light to a new spot for a total of a dozen exposures, half of which I ended up using. In each of those exposures, most of the tube remains shrouded in darkness, making it an unsatisfactory stand-alone image.

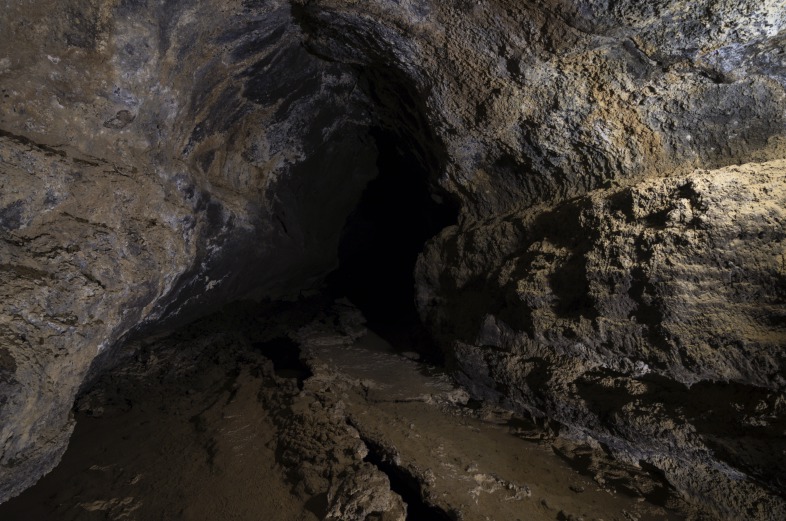
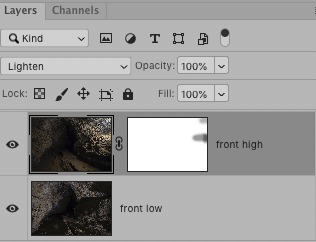
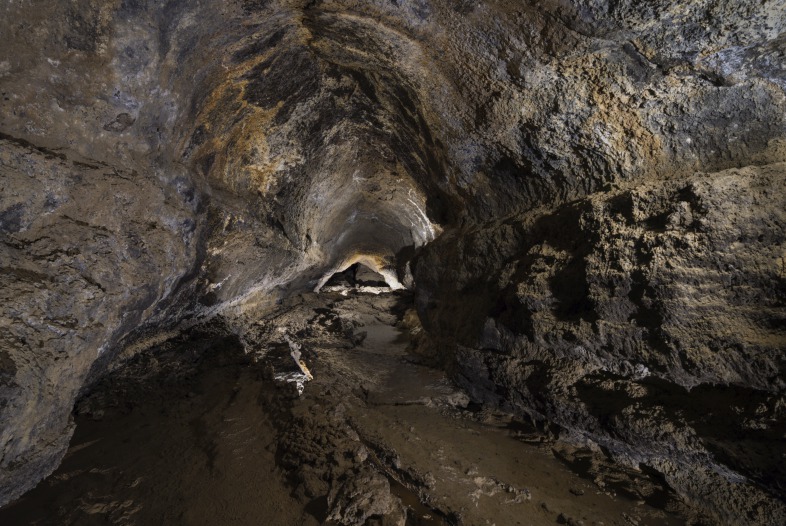
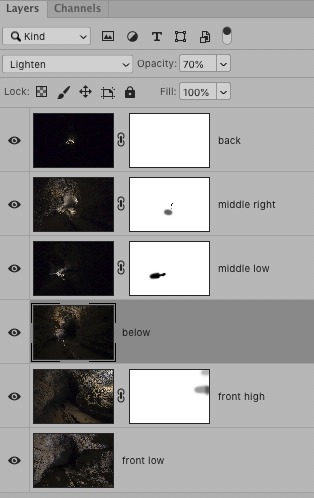
Next, I load all those files in a stack of Photoshop layers. Except for the base layer, I change the blending mode to “Lighten” (“Screen” works too and produces a slightly stronger effect), which has the effect of creating a composite using the brightest parts of each image. The addition of each layer brings more depth to the scene.
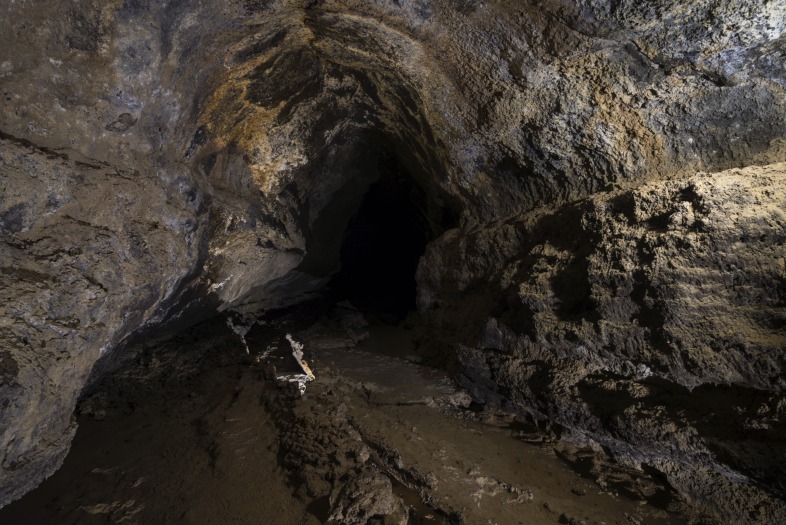
A crucial advantage of combining exposures via layers that you can choose which exposures to use, by checking or unchecking layer visibility, thus instantly turning each light on and off at will and after the fact. You can also easily modify each layer to turn the light off locally. For instance, I found the right edge tended to pull the image out of the frame due its brightness. By creating a layer mask and painting dark on the mask, the parts where I wanted to suppress the light, I darkened the edge.
Likewise, I found the bright lights on the ground in the midway distracting and removed them with another layer mask.
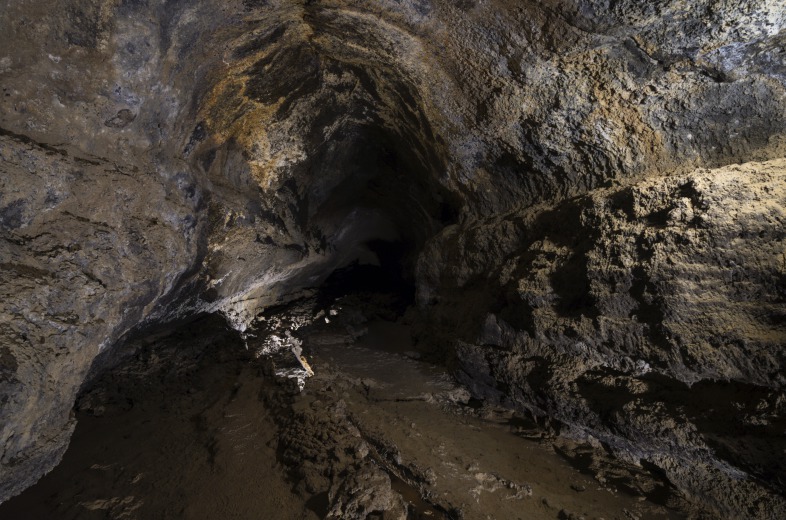
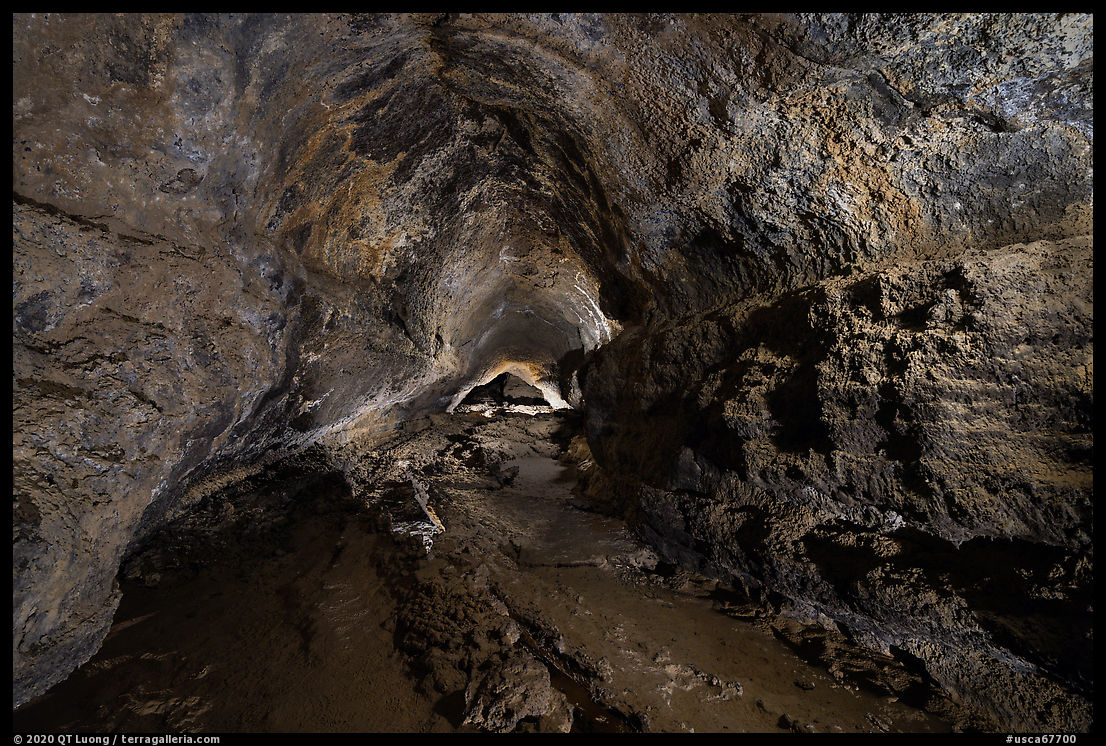
Here is the image with all the layers tweaked. If you look at the tube’s floor, you’ll notice that there is a long crack underneath, that I have highlighted by placing the light below the floor level. However, that light is a bit too bright, competing with the back of the tube.
To reduce its brightness, all I have to do is change the opacity of its layer from the default 100% to 70%, resulting in the final image.
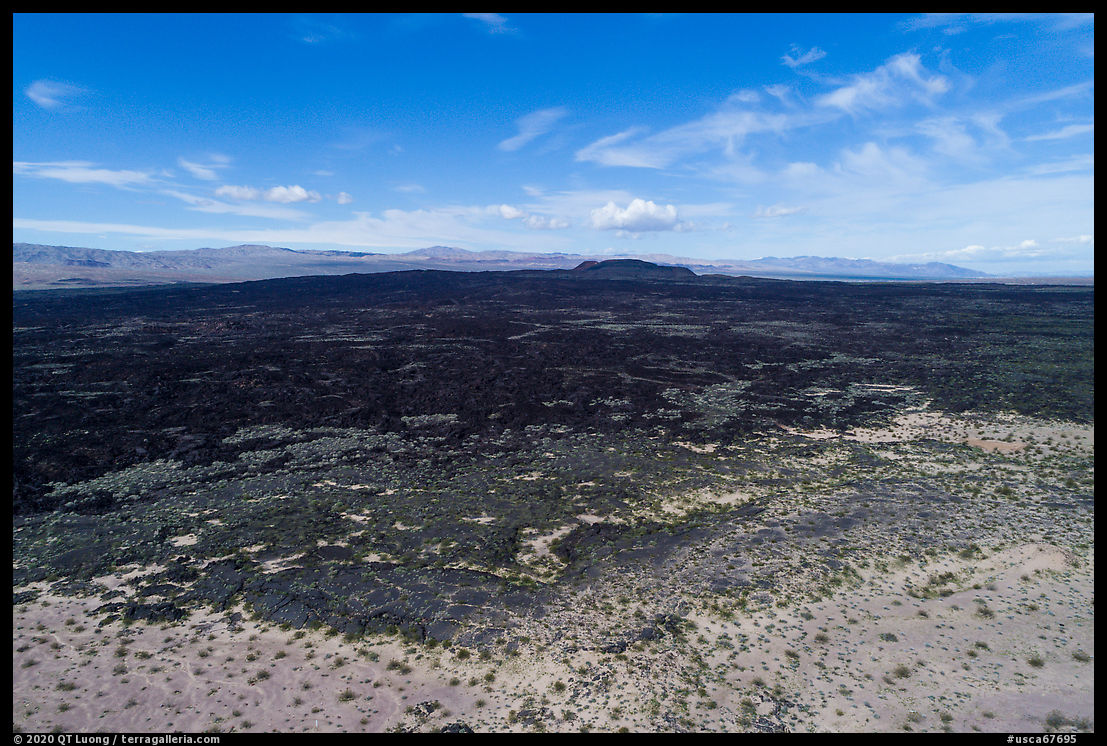
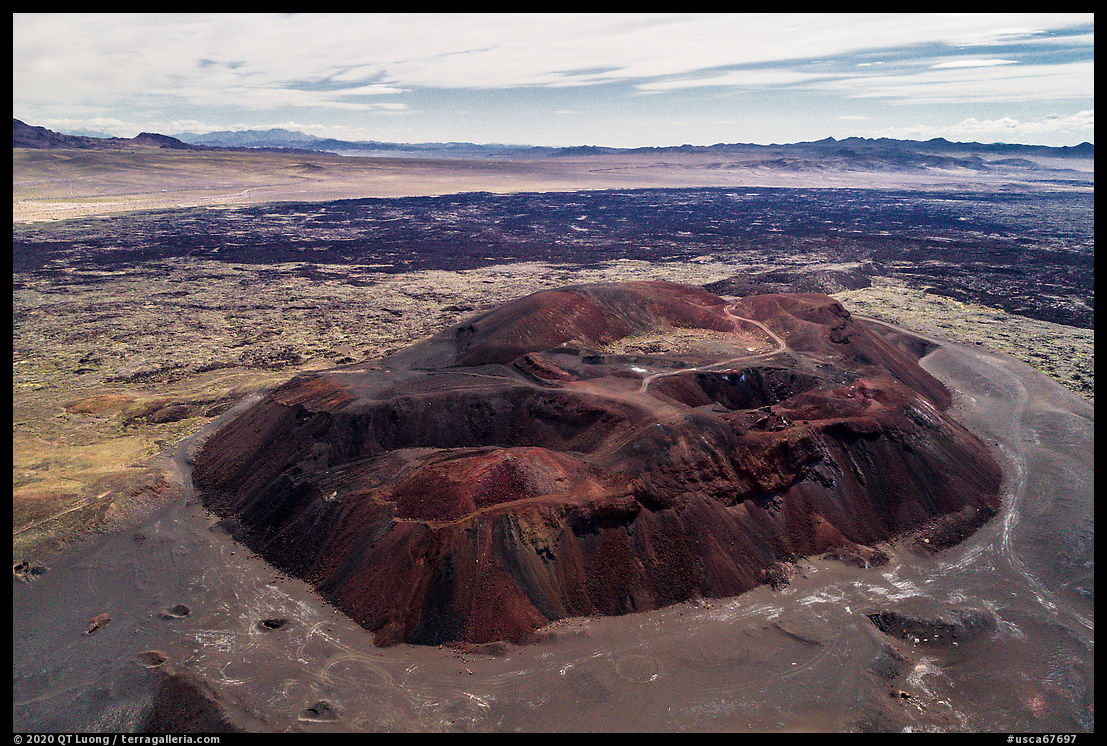
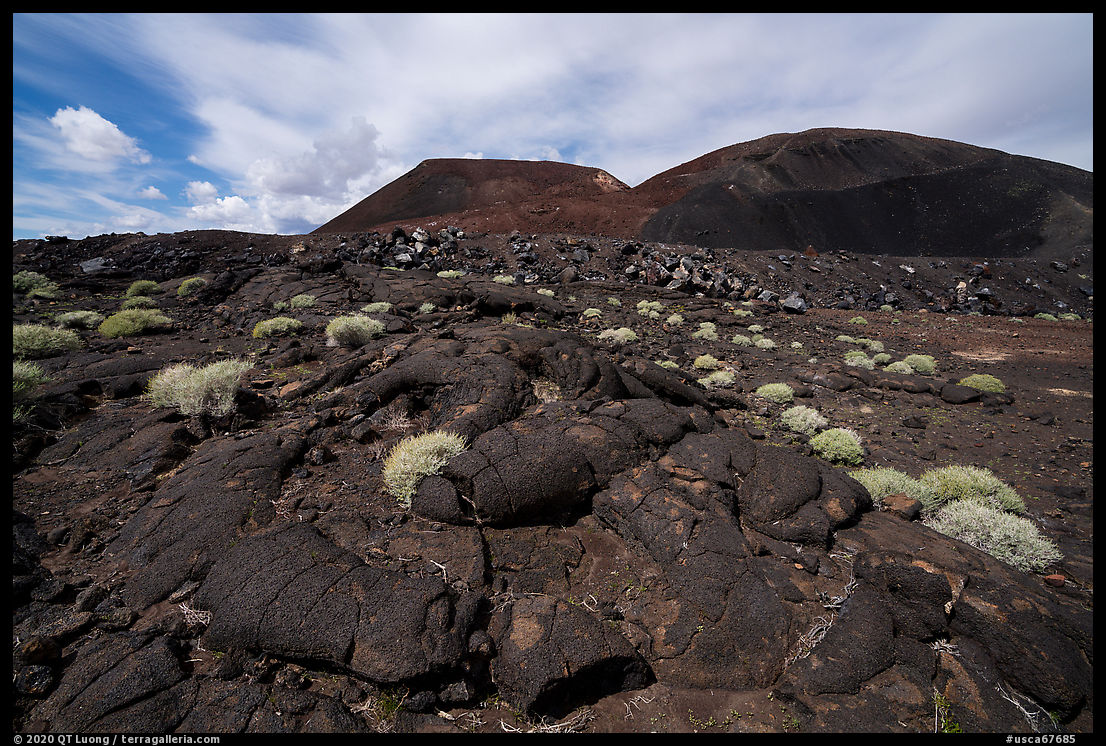
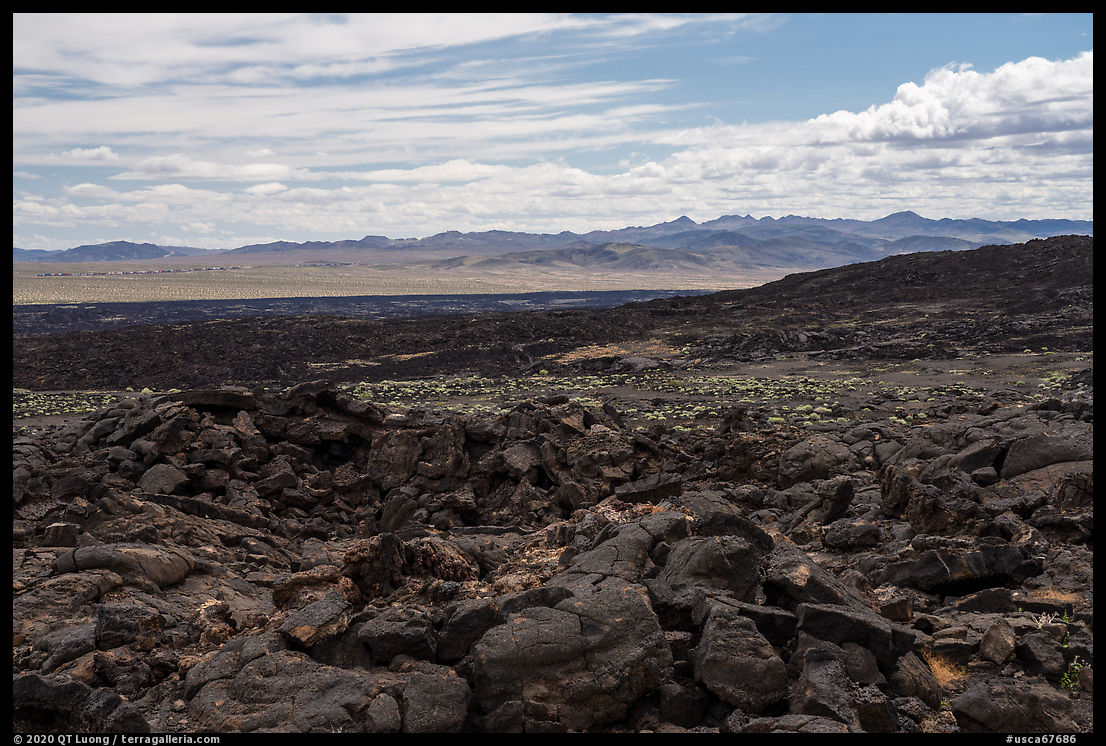
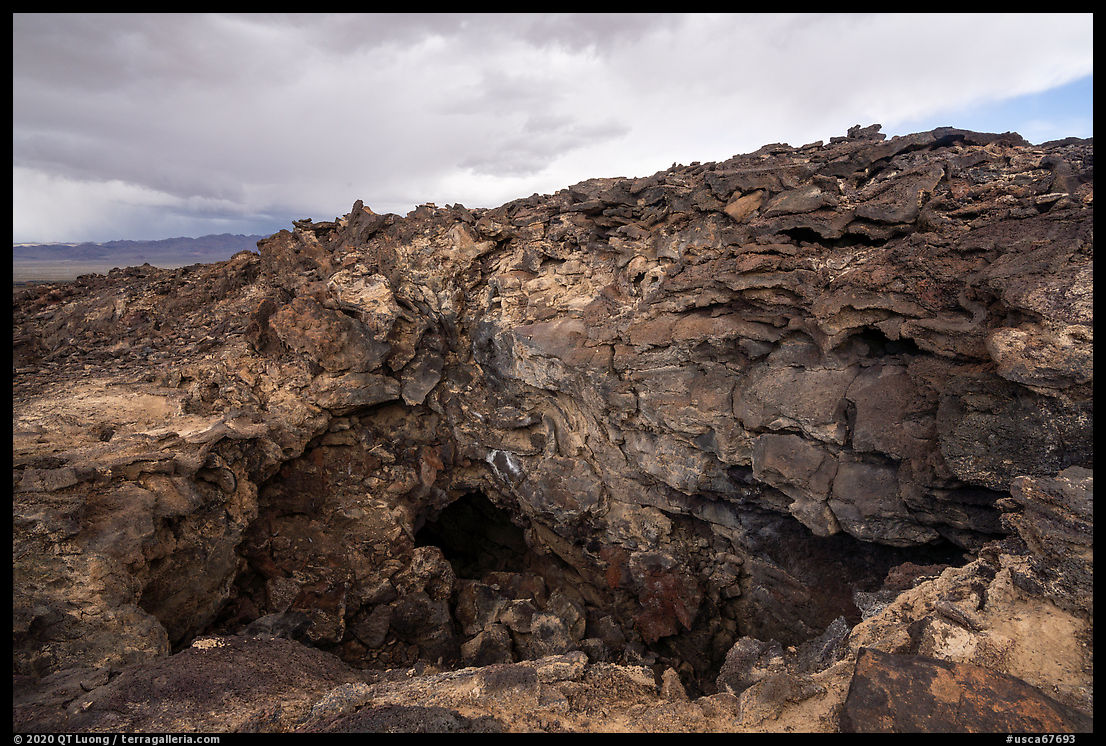
A word about the location. Mojave Trails National Monument features an abundance of remnants of a volcanic past, the most well-known being the Amboy Crater. Pisgah Crater is also quite impressive, but it is marred by past exploitation – the resulting road can be driven to the top of the crater. Because of that, what interests me most in the area are the surrounding lava flows, which are home to more 300 unmarked and undeveloped lava tubes up to 1,300 feet in length. The lava tube that I used as example, called the “Glove Cave” is the most commonly visited in the area, yet I didn’t see anybody else there.


Thanks so much for the How To. I had never thought of doing an image that way to get depth, quite interesting and can’t wait to try it. All the images in this were great. Another interesting place I need to visit someday. Thanks for that too.
Thanks for this. I go to No. Calf. Annually to Lava Beds National Park and to a nearby Star Party.
From what I’ve seen the lava tubes in Lava Beds are more beautiful, less dusty and with more incrustations. On my last trip there two years ago, I found that my images of the tubes lacked depth, and this was the reason I started to experiment with the technique described in this article. See: https://www.terragalleria.com/california/california.lava-beds.html