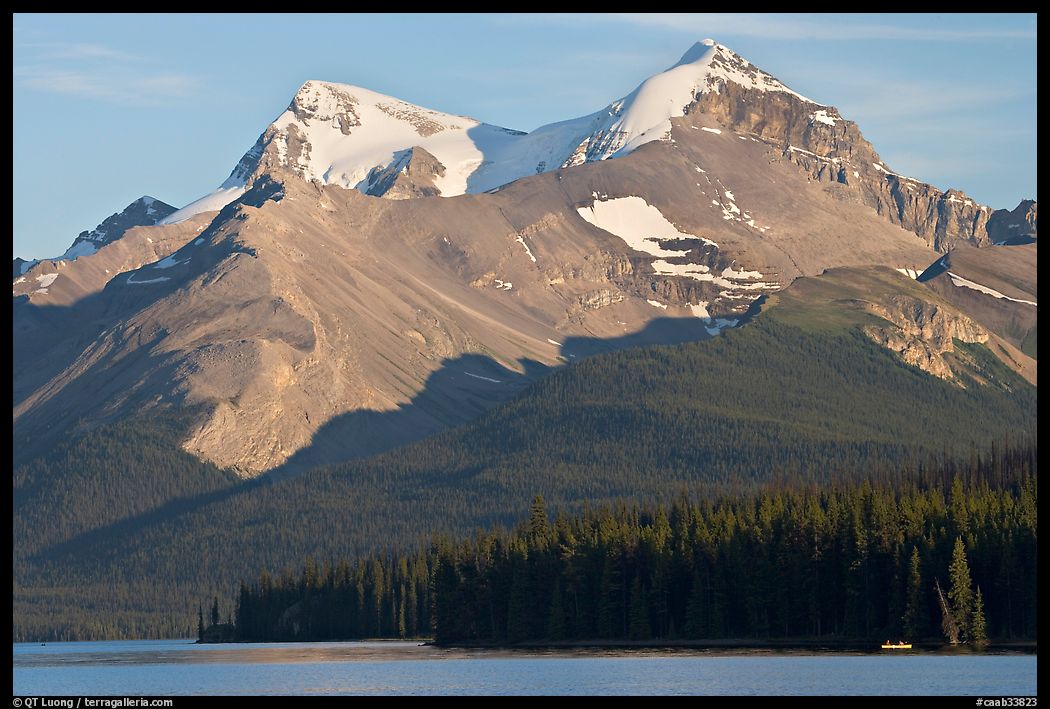
https://www.terragalleria.com/blog/national-parks-and-monuments-during-the-shutdown
By the time I arrived in New Mexico this November, the numbers out of Washington were already worse than in April. Since the presidential inauguration, the National Park Service has now shed roughly a quarter of its permanent staff through buyouts, forced retirements, rescinded offers, and an ongoing hiring freeze. The “One Big Beautiful Bill” had just clawed back about $267 million in Inflation Reduction Act funding that was supposed to rebuild park staffing and capacity. The agency is now being run by its former comptroller in an acting role, with a hollowed-out leadership team and more than a hundred superintendent positions either vacant or filled on a temporary basis.

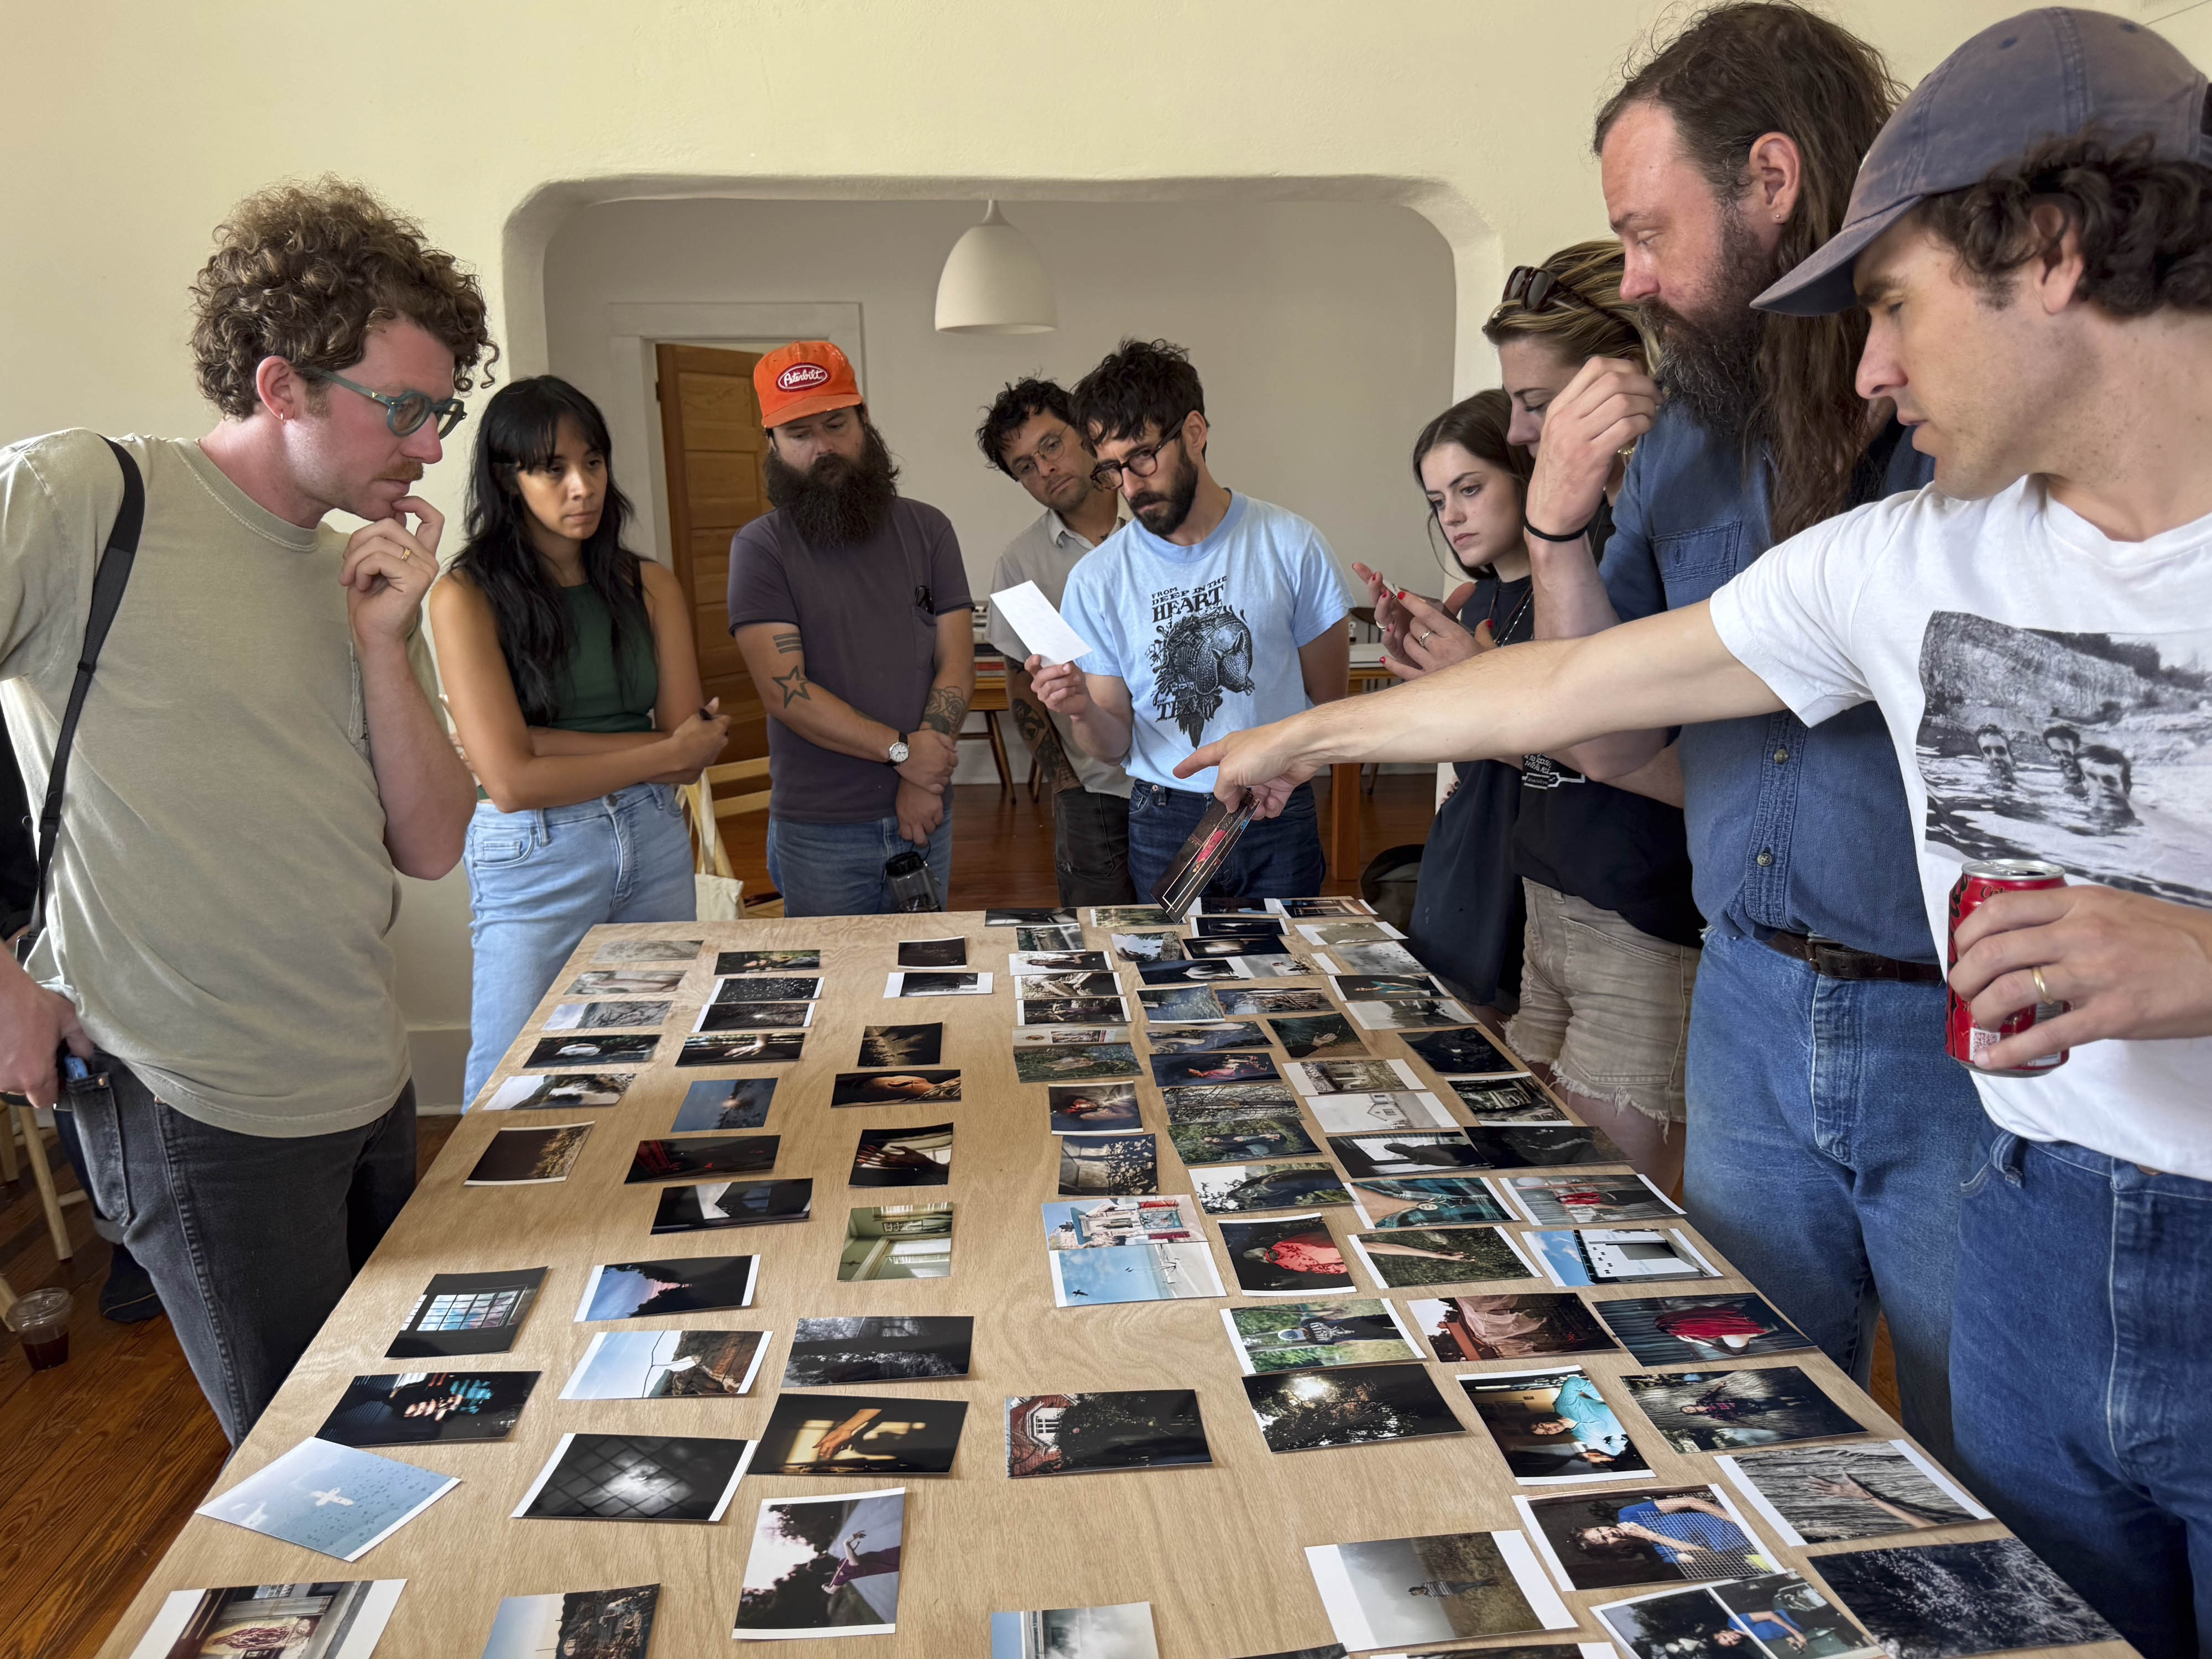
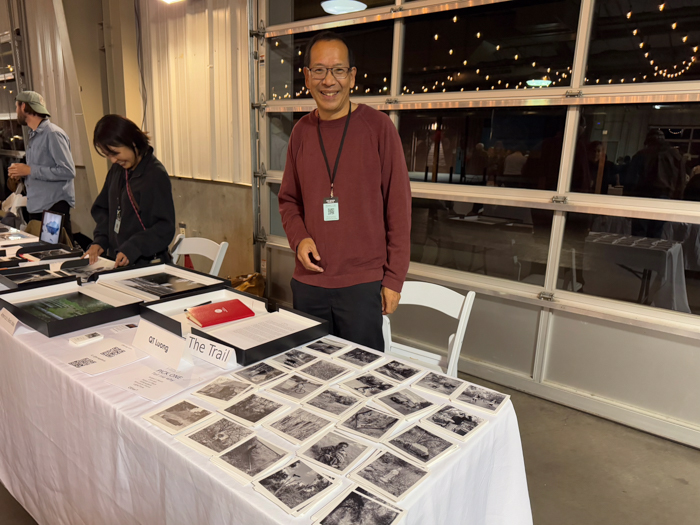
During a Q&A session with U.S. senators on May 21, 2025, Interior Secretary Doug Burgum has made it clear what matters to him: “crown jewel” national parks that draw crowds are “winners”; low-visitation sites are “cost centers” and potential candidates to be pushed back to the states. When the government shutdown began at the start of October, I canceled one set of travel plans and kept hoping the situation would be resolved before November, when I knew I would be going to New Mexico to attend Review Santa Fe. My main goal there wasn’t to revisit the national parks but to spend time in exactly the kinds of places this administration treats as expendable: the small national monuments scattered across the state.
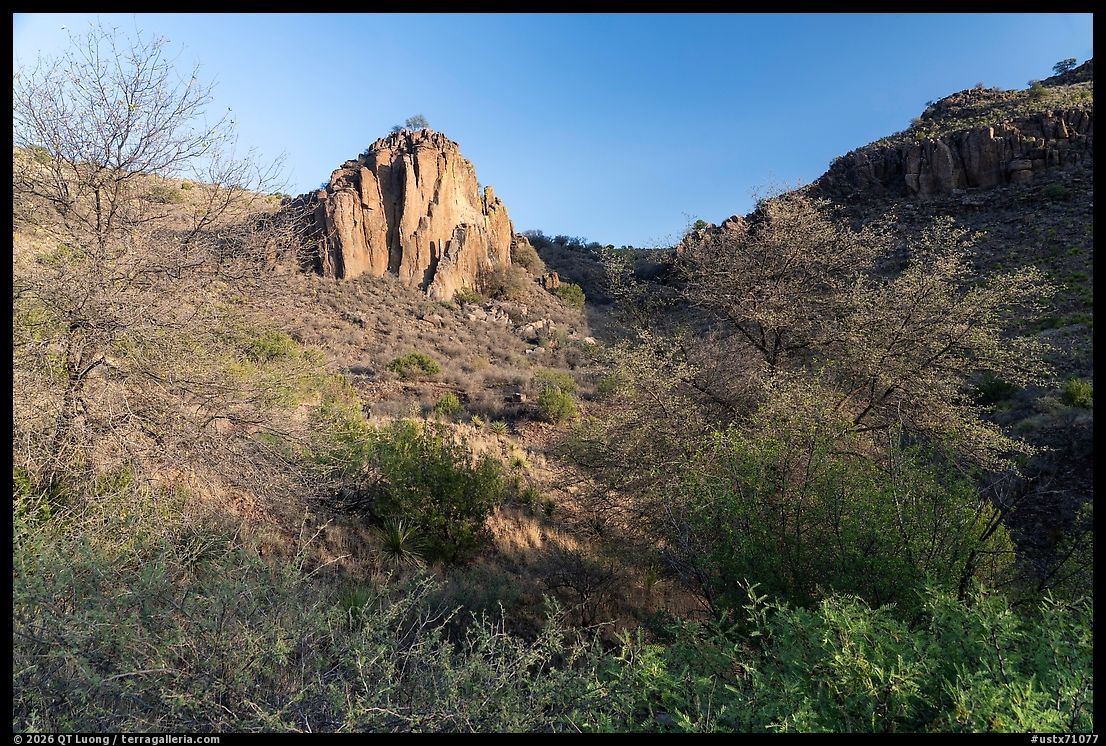
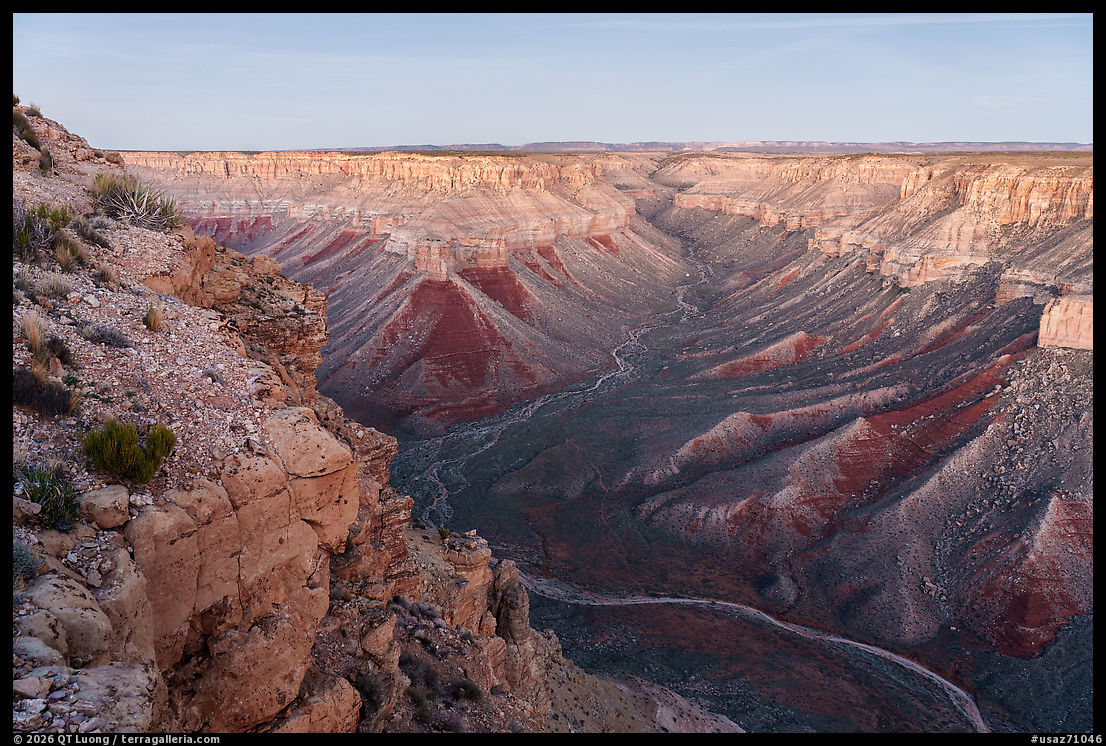
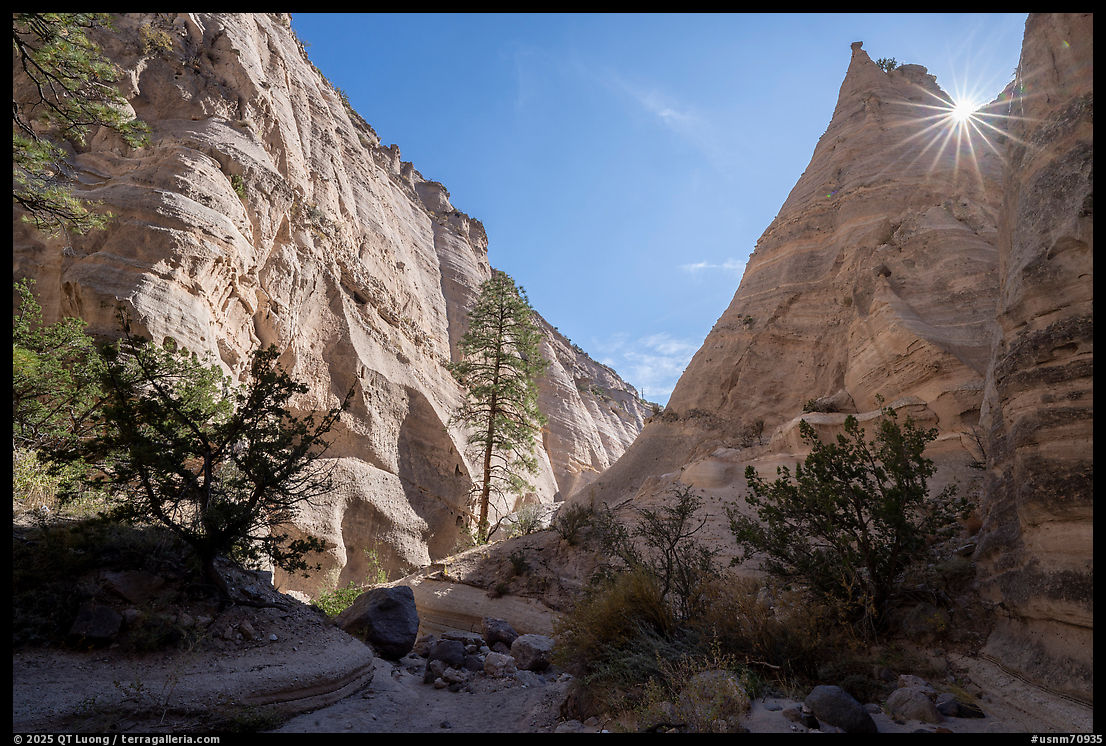
Bandelier: Closed Canyons, Open Ridges
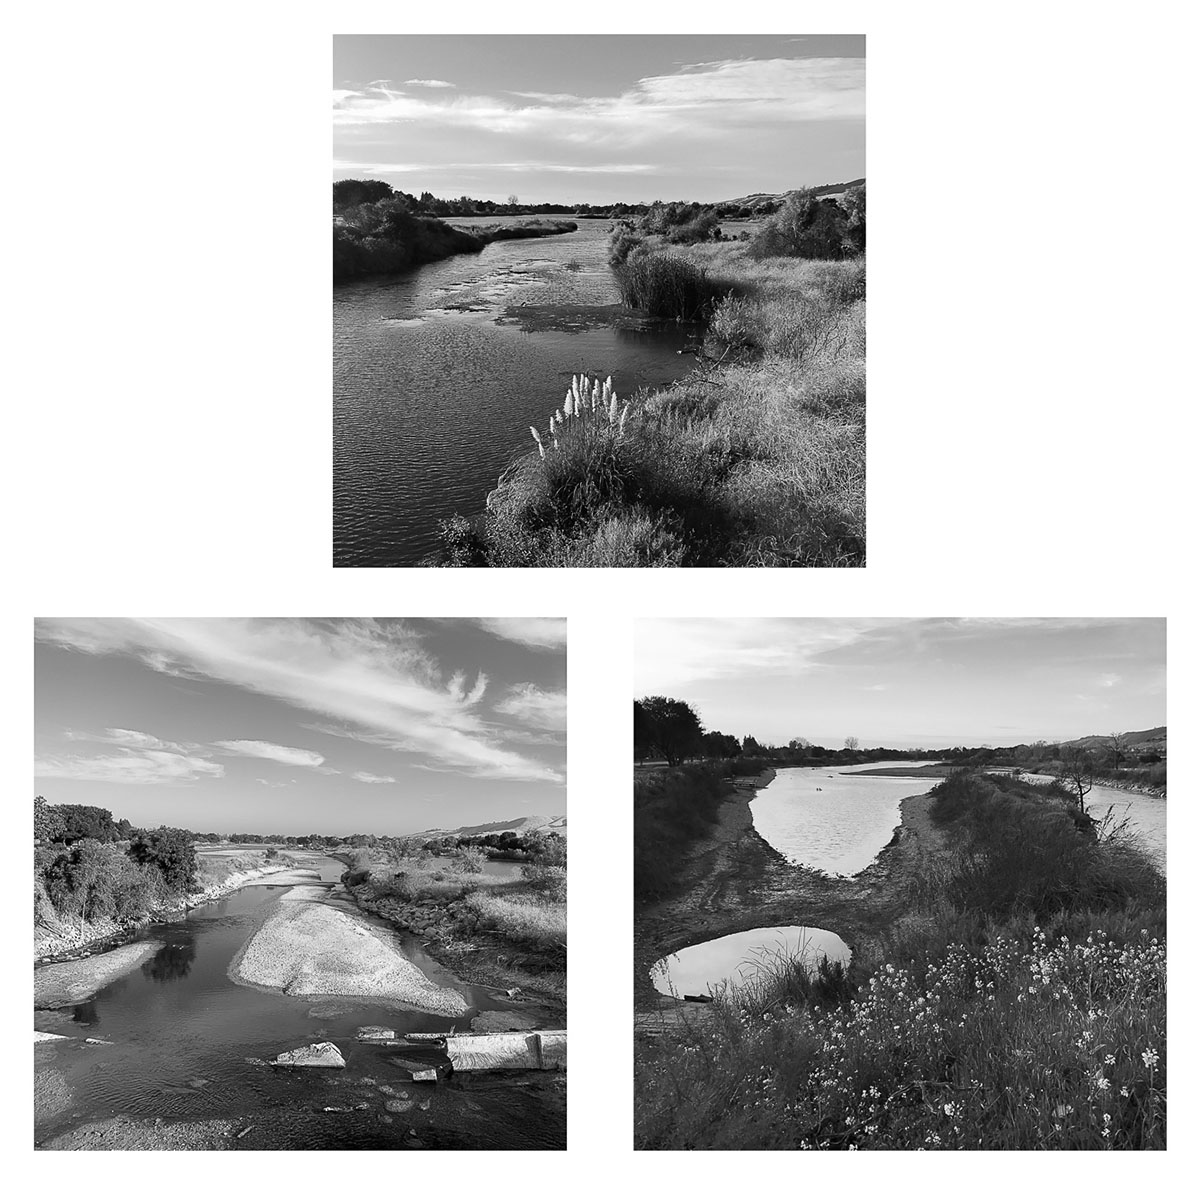
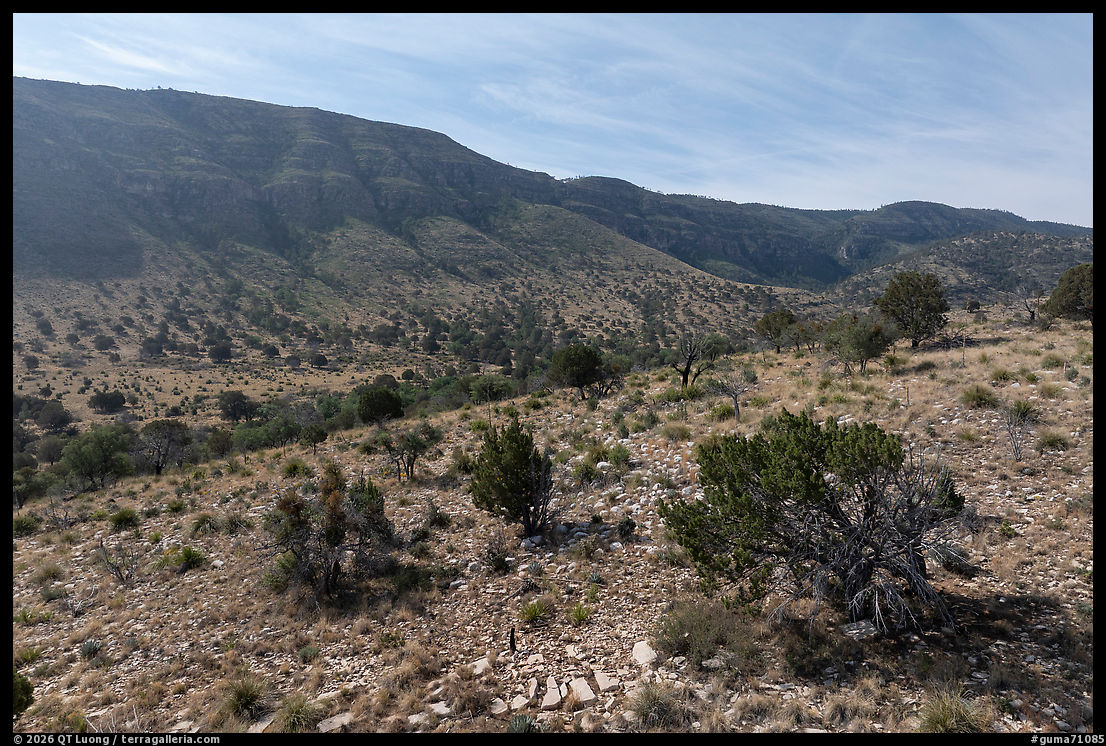
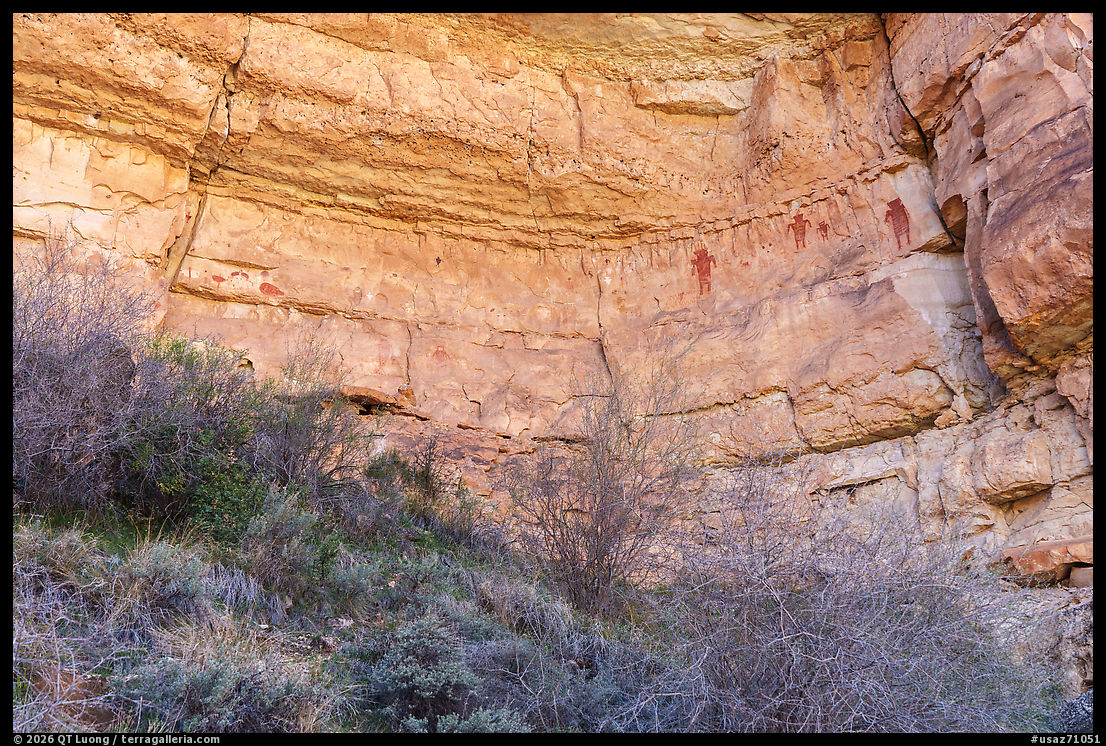
Although relatively popular thanks to its proximity to Santa Fe, Bandelier National Monument is one of the sites that, in Burgum’s language, risks being labeled a “cost center”: a place built around archaeology and deep time, not bucket-list crowds. The shutdown made that hierarchy visible.
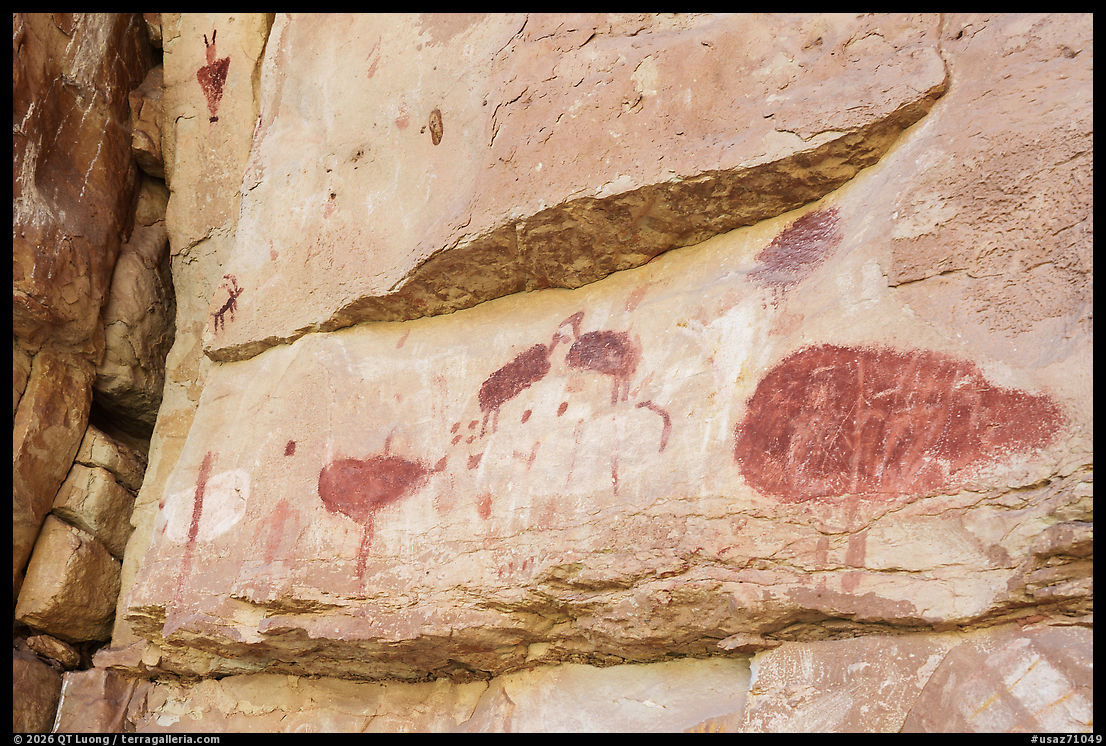
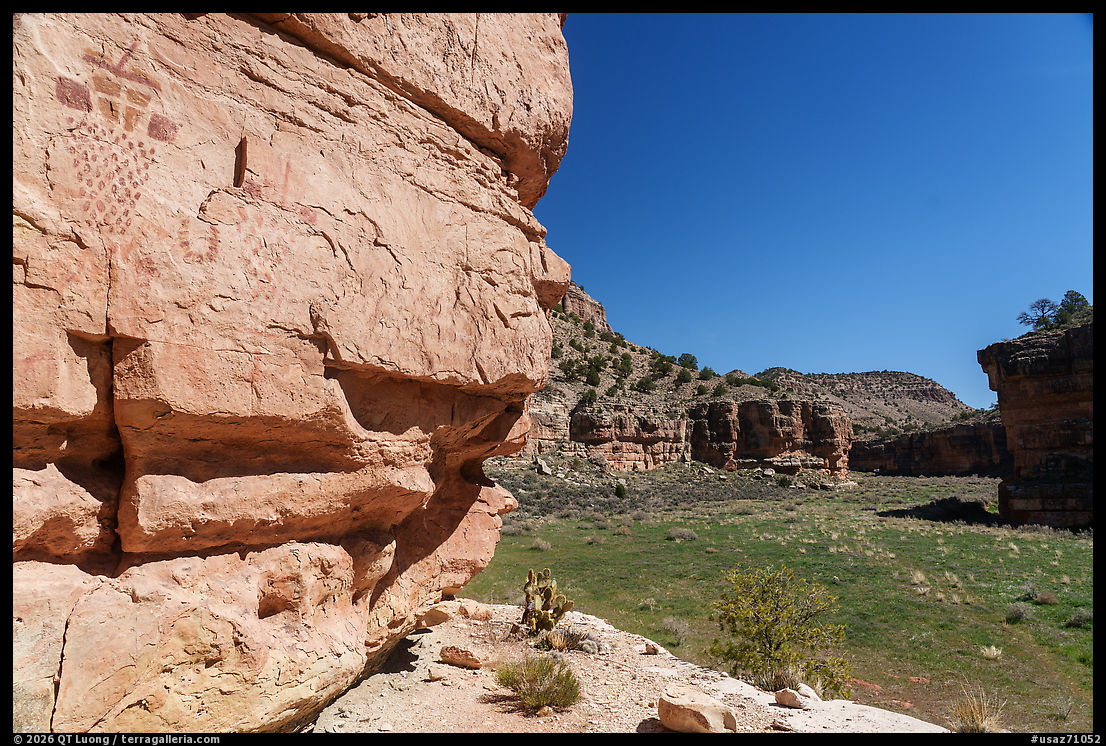
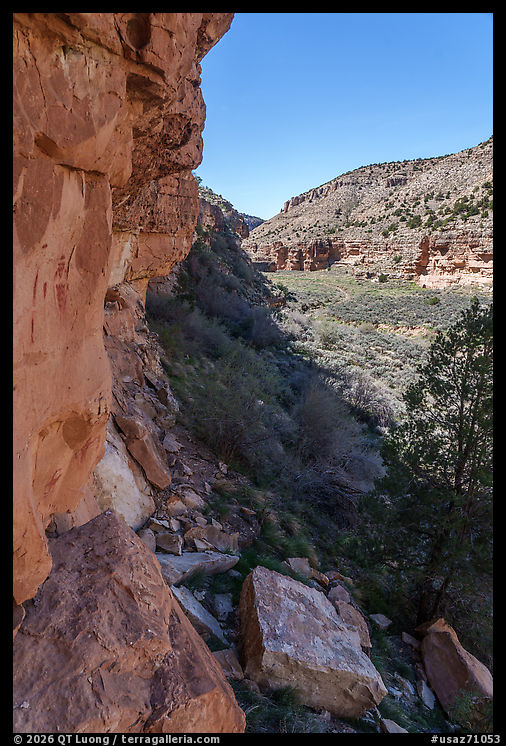
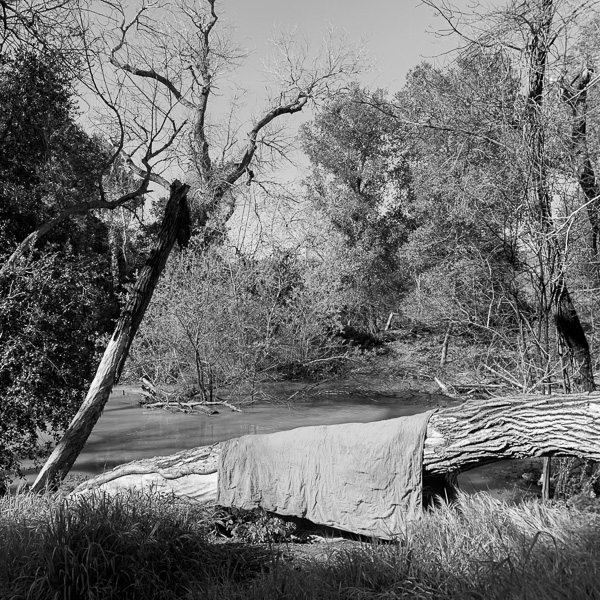
As illustrated by the picture above, Frijoles Canyon—the main visitor area with dwellings carved into the soft tuff—was closed. The Tsankawi unit, another cluster of ancestral homes and petroglyphs, was also off-limits. Gates were locked with a sign “No access beyond this point added”.
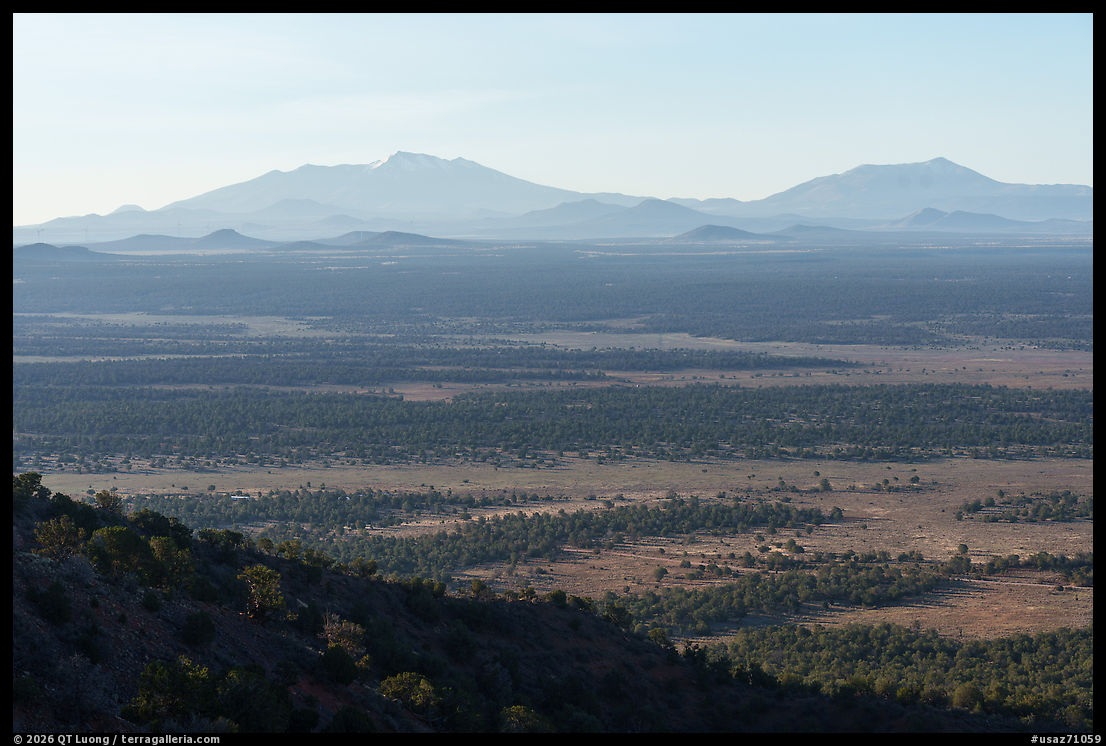
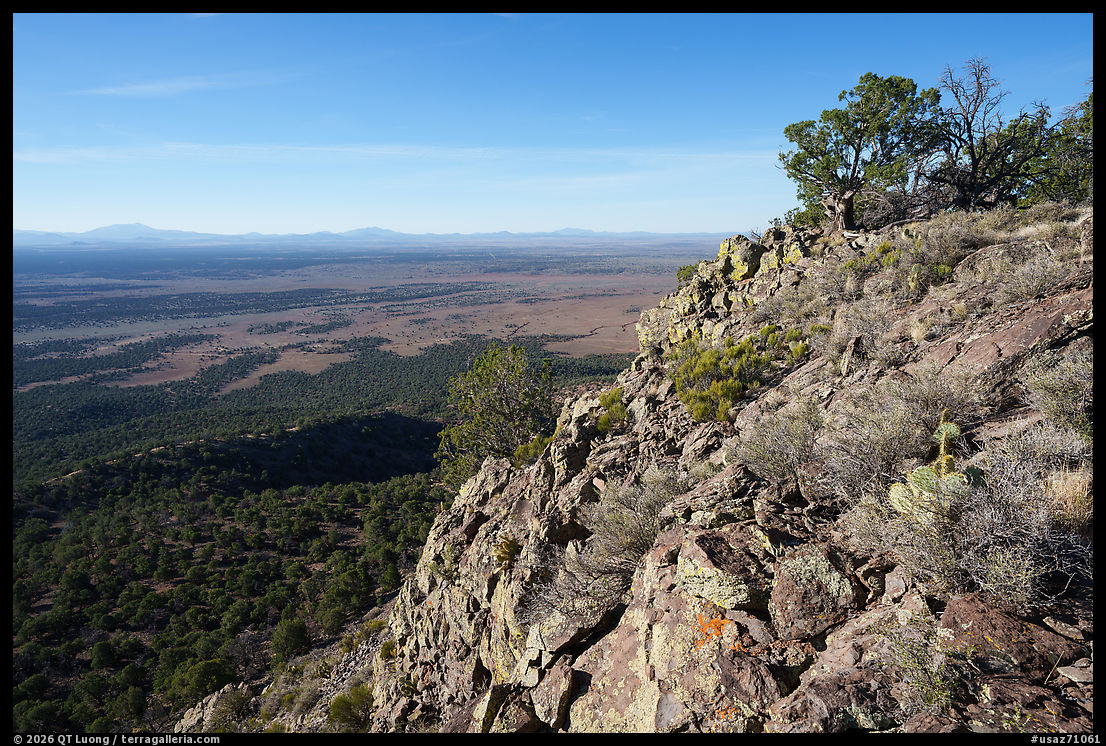
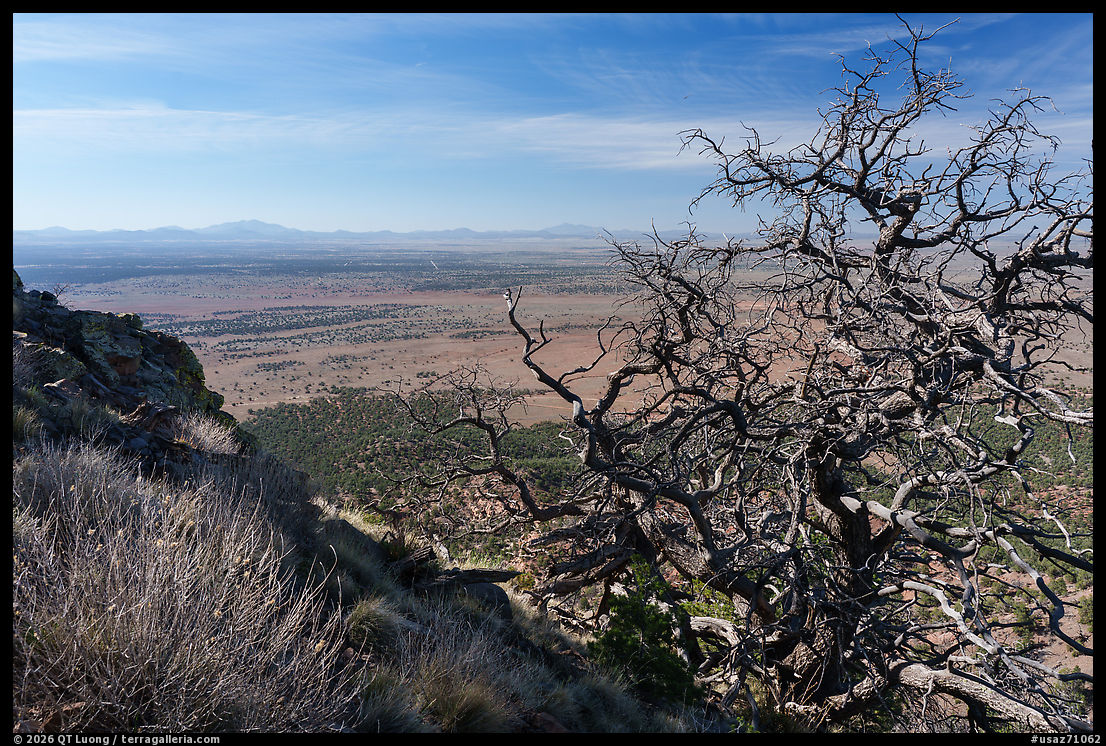
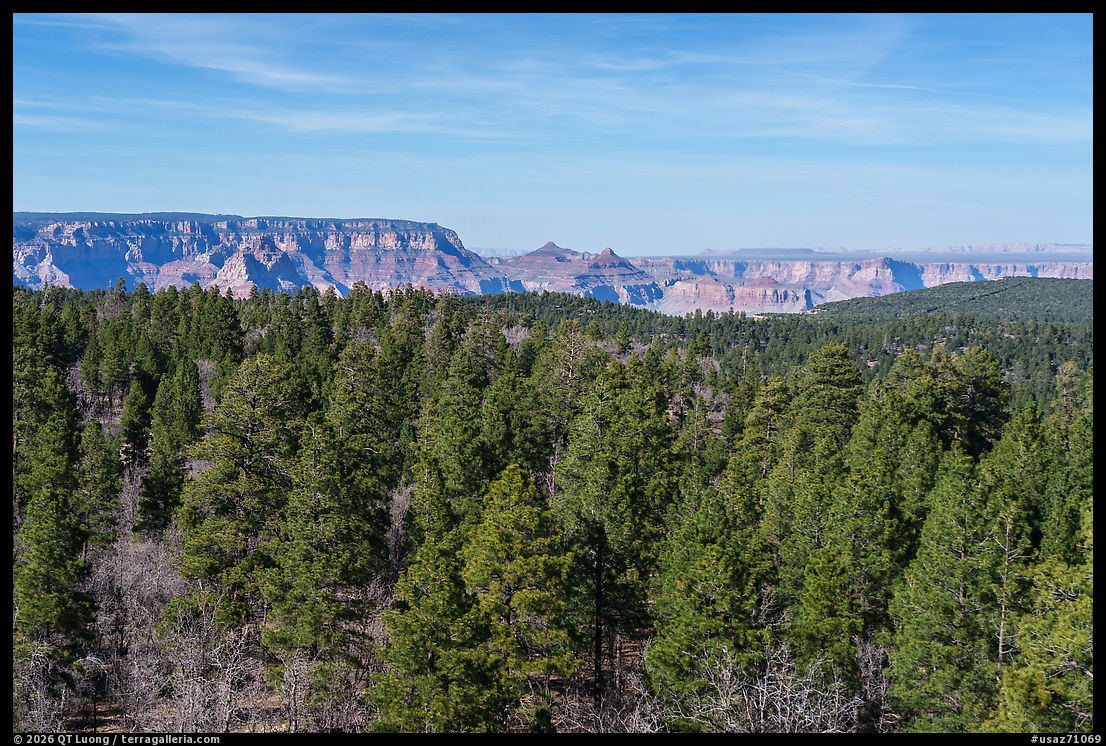
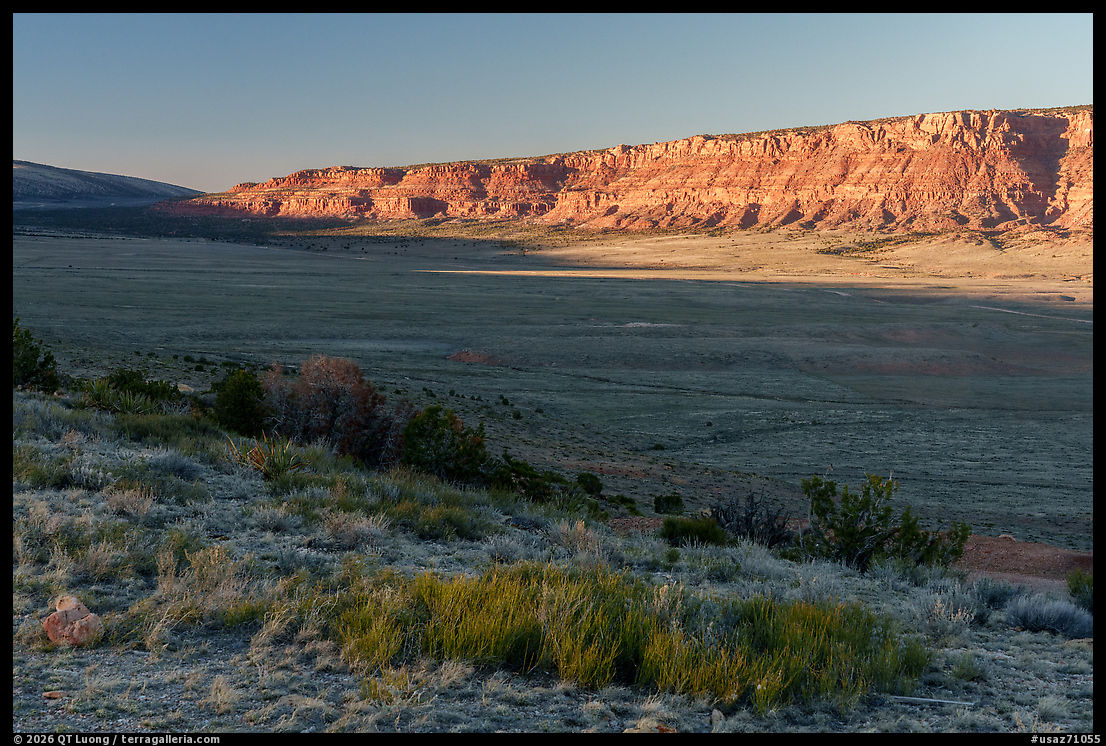
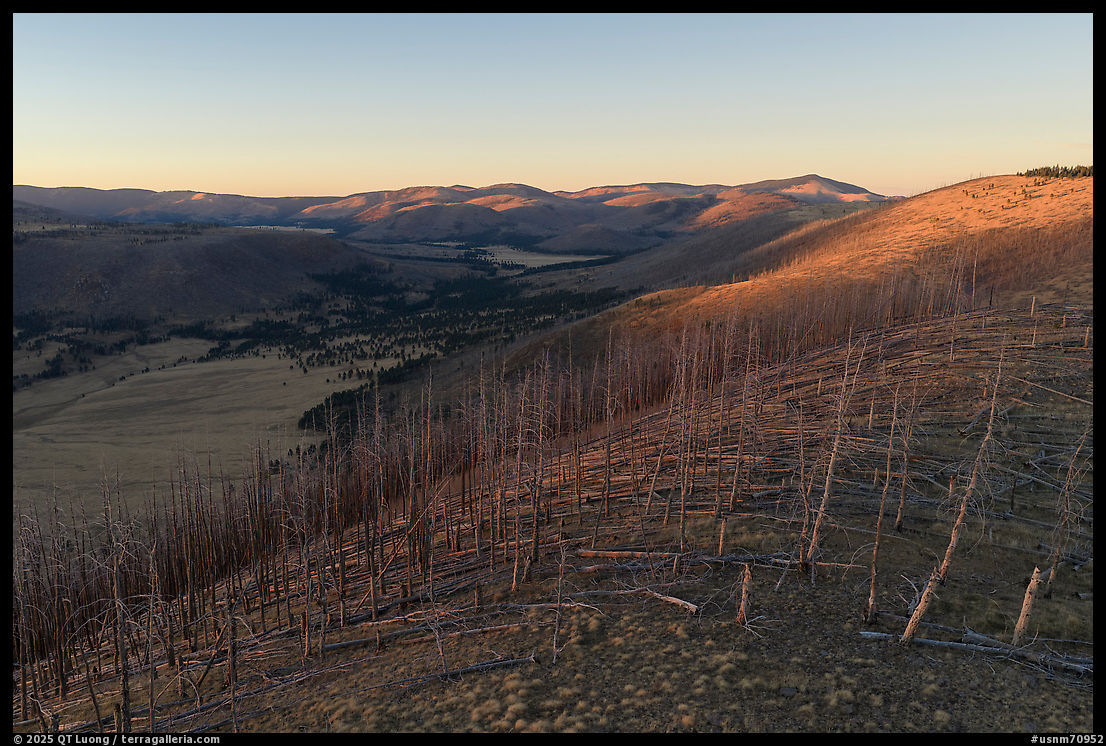
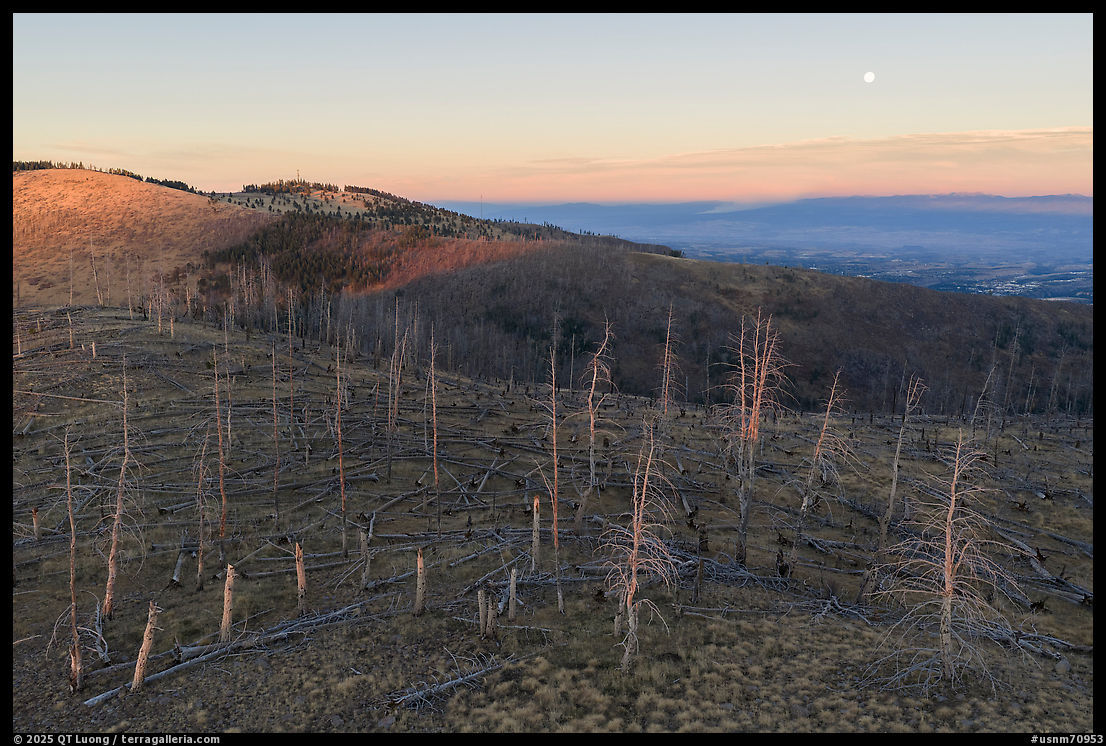
Yet the peripheral trails with no obvious archaeological sites remained open, maybe because they had no gates. I ended up hiking the Cerro Grande Trail, which climbs to the monument’s high point. From the summit, you look out over burned and regrowing forests, and the Valles Caldera.
It was beautiful, quiet, and empty at sunset. It also felt like a preview of the administration’s endgame: keep the scenic overlooks accessible while the fragile cultural core stays shuttered because there’s simply no staff to manage it.

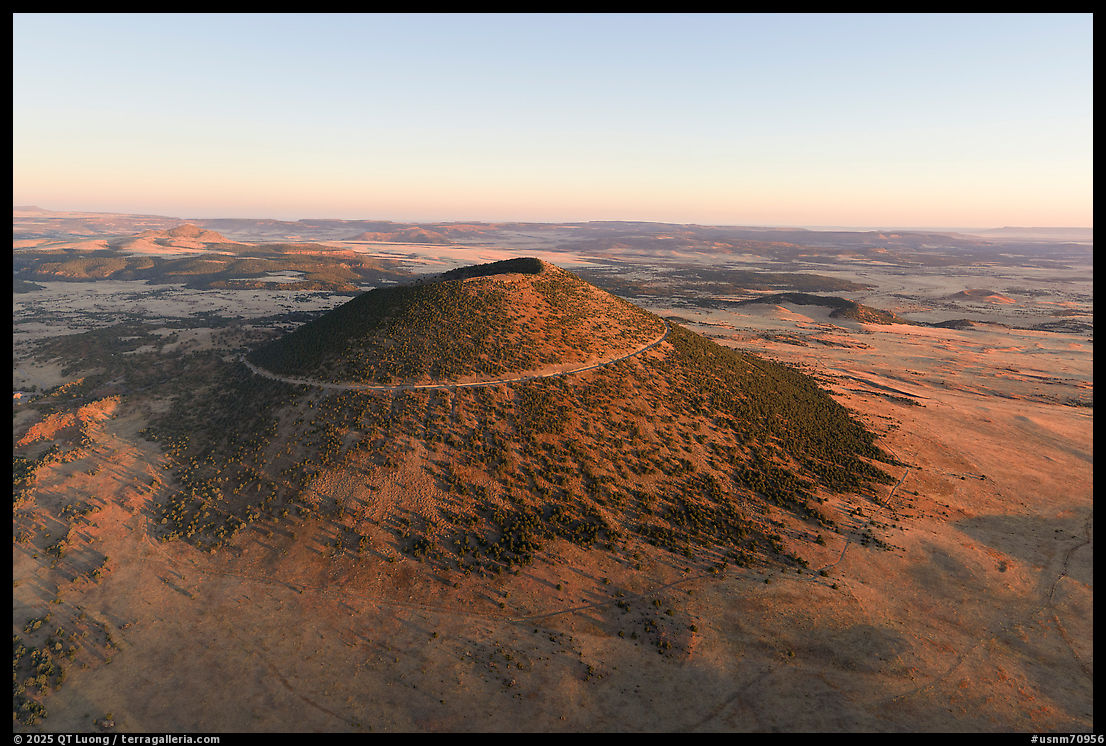
Capulin: Walking the Road Instead of Driving It
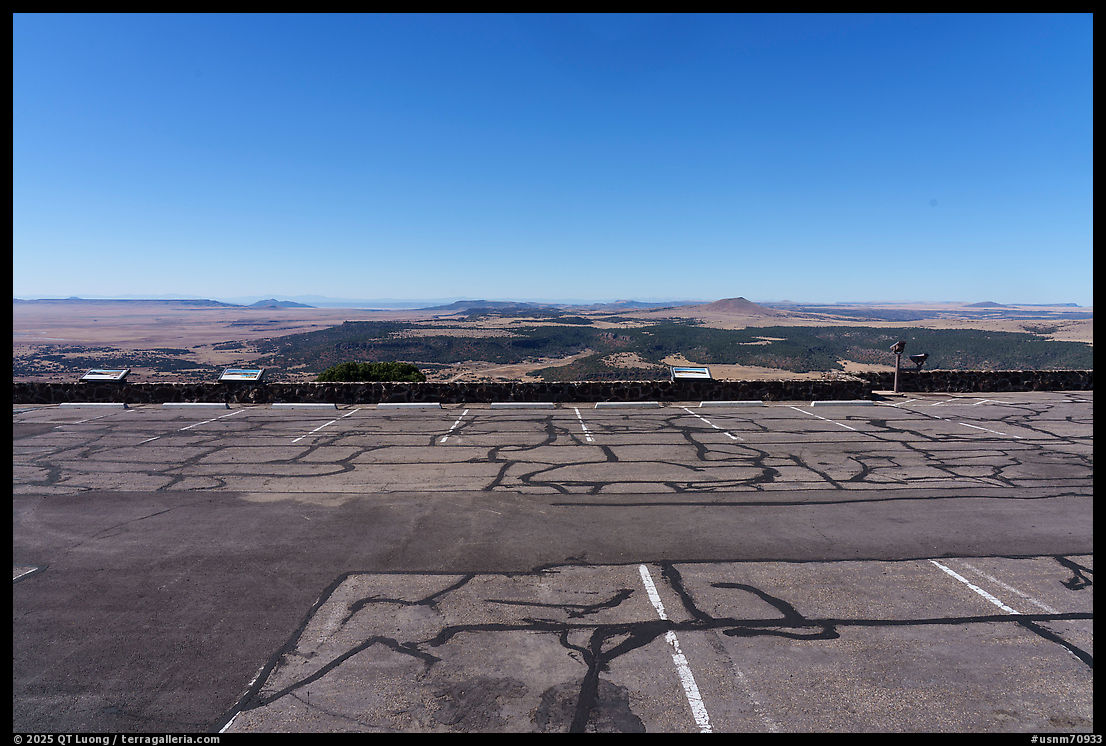
At Capulin Volcano National Monument, the small visitor center was closed and the gate across Volcano Road was locked to vehicles. Under normal circumstances, you drive the narrow, spiraling road to the summit parking lot and do a short walk around the crater rim. A sign at the gate explicitly allowed hikers and cyclists to use the road during daylight hours. So I did what the sign (and the website) invited me to do: shouldered my pack and walked straight up the asphalt.
From a photographer’s perspective, the closure had unexpected advantages. When the road is open, you can’t safely stop on the steep, twisting grade; the pullouts are minimal, and there’s little incentive to walk the pavement if everyone else is cruising by in a car. With no traffic, the road becomes a trail. I could stop wherever the view aligned.
The large lot at the top was eerily empty, and I met only two parties: one couple on foot, another on bikes. A volunteer patrol truck made a slow pass and disappeared. That was the entire human presence on an otherwise perfect fall day. Standing on the rim, looking into the crater and then out to five states on the horizon, it was hard to map this experience onto the language of “winners” and “losers.” Capulin is small, low-key, and easy to overlook in a budget spreadsheet. On the ground, it’s a concentrated lesson in geology and scale.

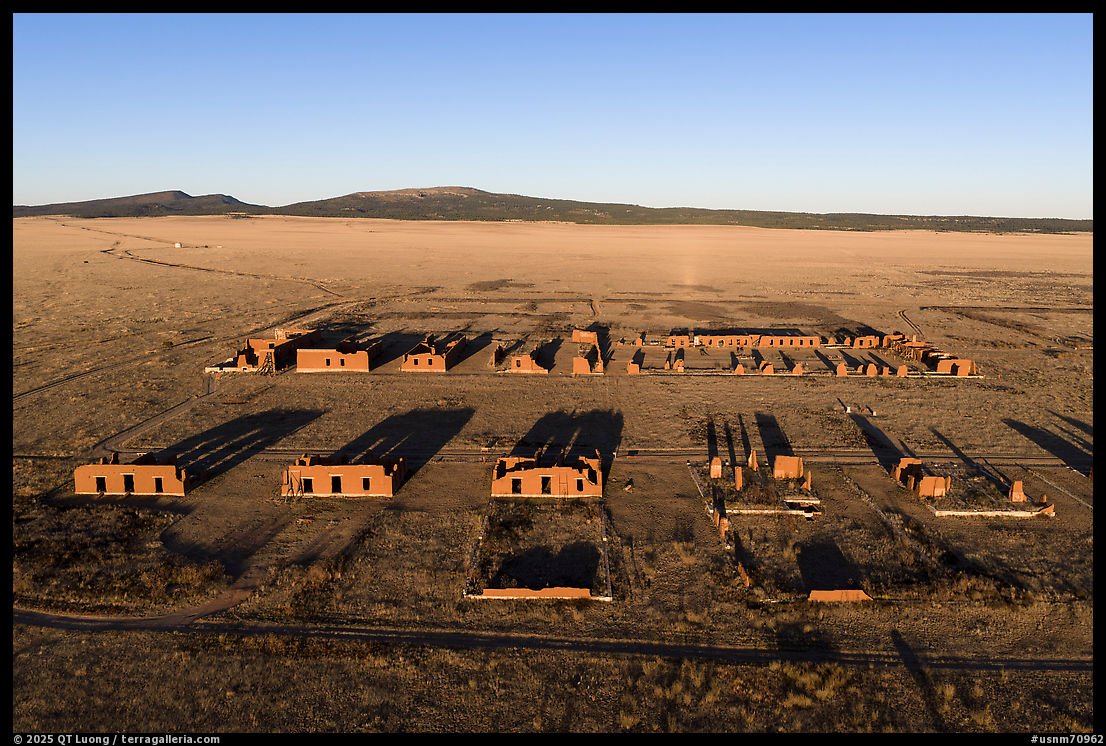
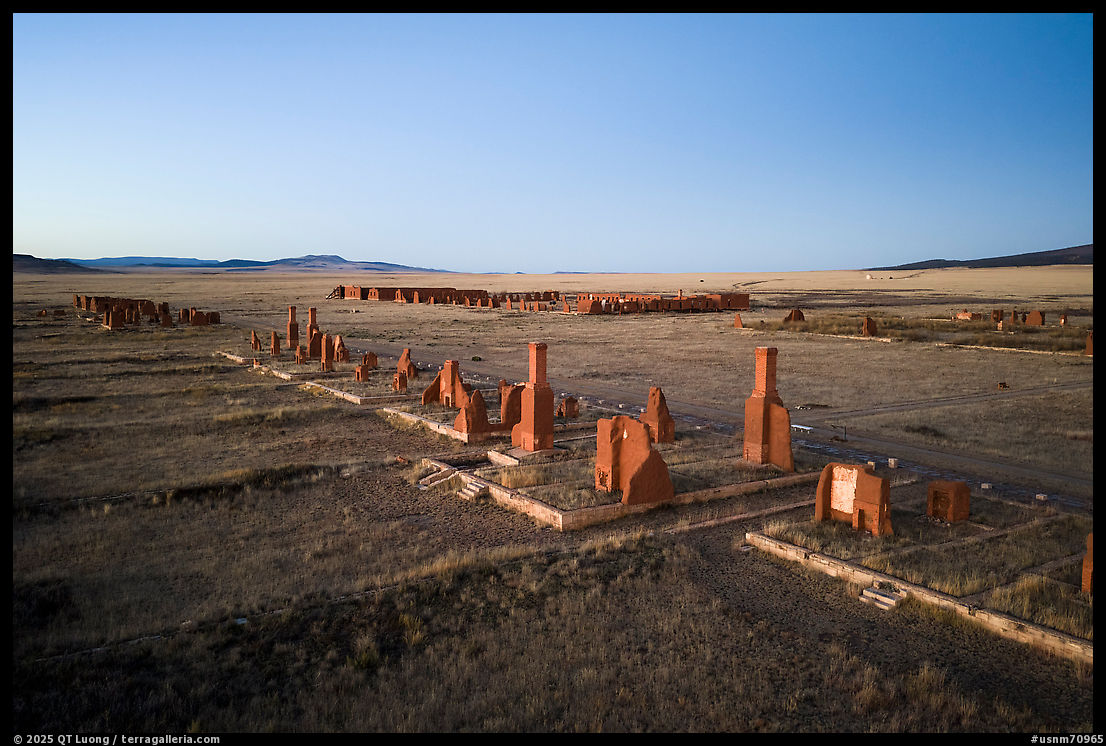
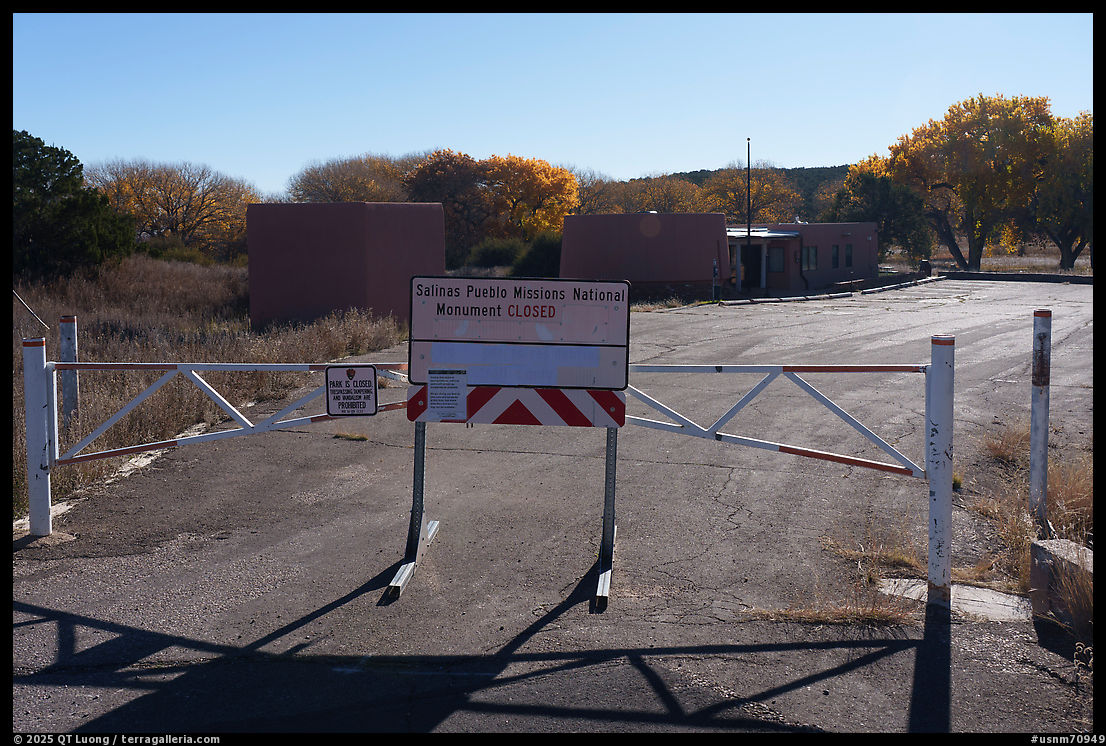
Fort Union and Salinas Pueblo Missions: Locked Gates, Open Sky
Fort Union National Monument and two of the three units of Salinas Pueblo Missions National Monument were completely closed when I arrived, although the sign “Park is Closed. Trespassing, tampering, and vandalism are prohibited” did not exactly send the same message as the sign reading “national parks will remain as accessible as possible.” The Abo unit of Salinas remained open, probably because its access road is used by local residents.
Here, the irony of current NPS drone policy came into focus. Since 2014, the National Park Service has had a blanket prohibition on launching, landing, or operating unmanned aircraft from within park boundaries. However, the NPS does not control the airspace above its units—that’s FAA jurisdiction—and the rule applies to operations on NPS-administered lands and waters, not to aircraft flown from outside those boundaries.
In practice, that meant something strange during the shutdown:
Stepping around a locked gate into a signed “closed” unit would almost certainly have been illegal.
Standing outside the boundary and launching a small drone into FAA-controlled airspace (within range of sight) remained legal.
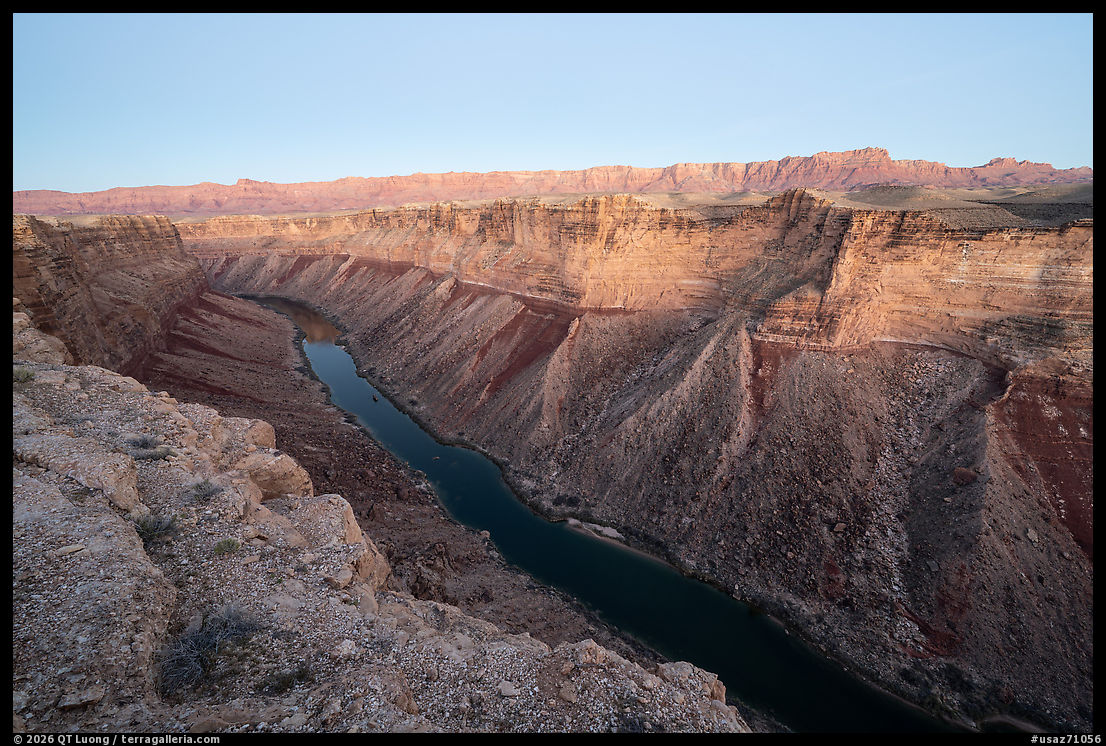
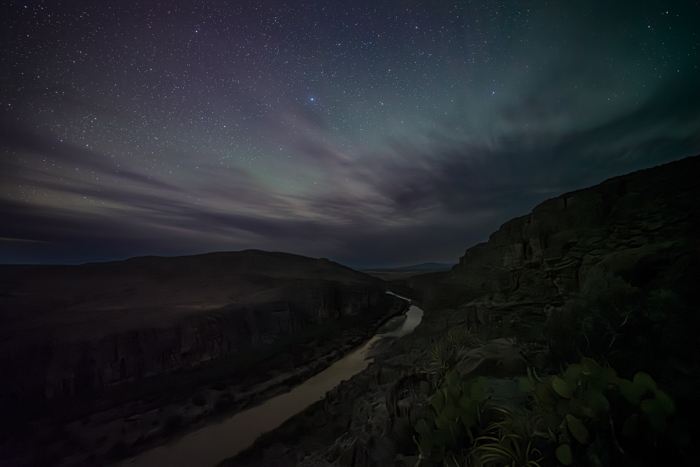
So at Fort Union and Salinas, as at the Tsankawi unit of Bandelier, my only way to “enter” the sites was from above. From that vantage point, the picture changes. At Fort Union, the linear footprint of the old fort resolves into geometry: parade grounds, supply depots, rutted Santa Fe Trail traces still visible in the surrounding prairie.


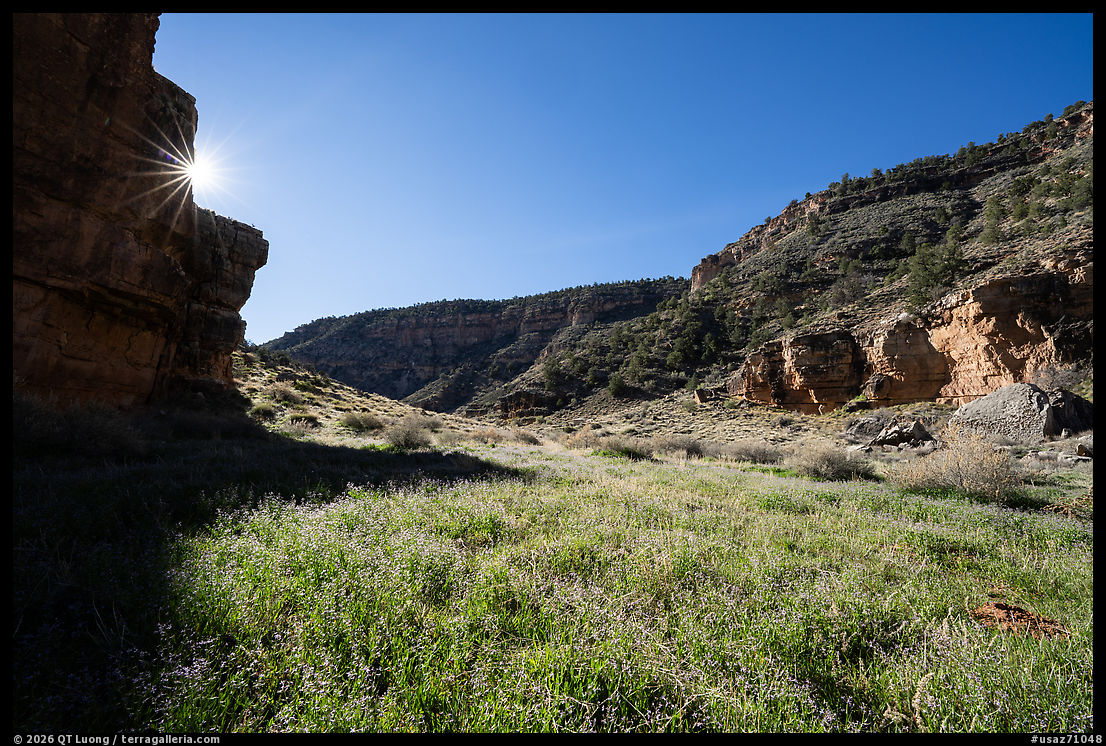
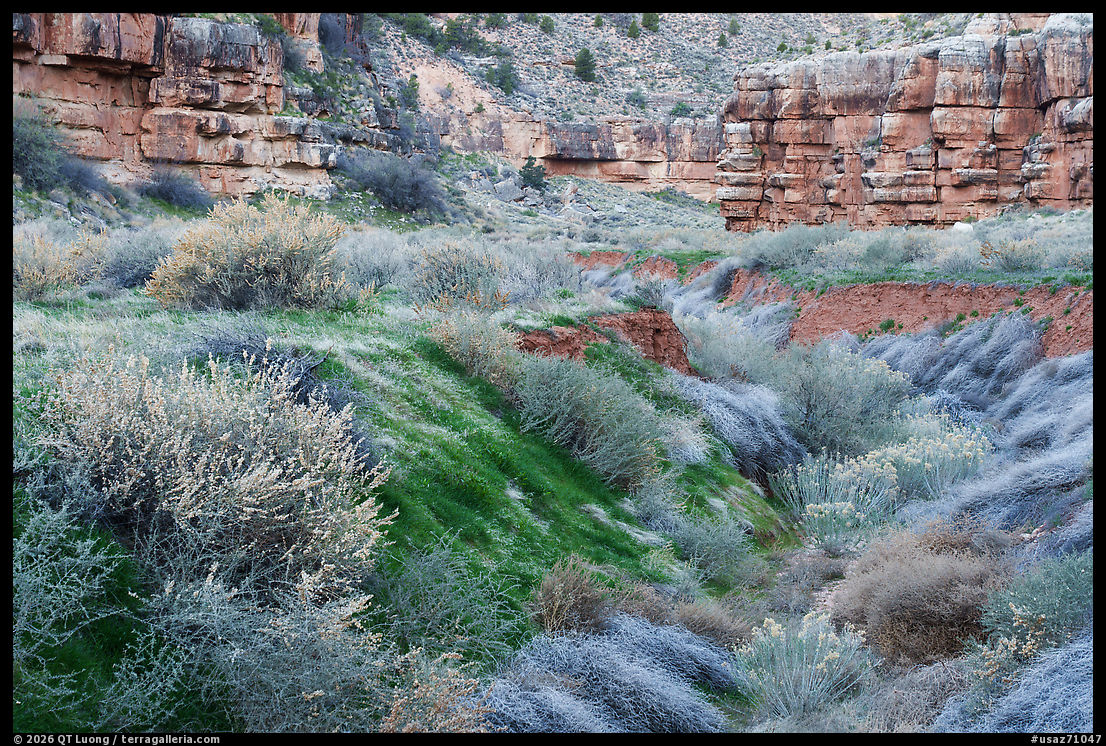
Prehistoric Trackways and Kasha-Katuwe Tent Rocks: Public Lands Remain Open to the Public
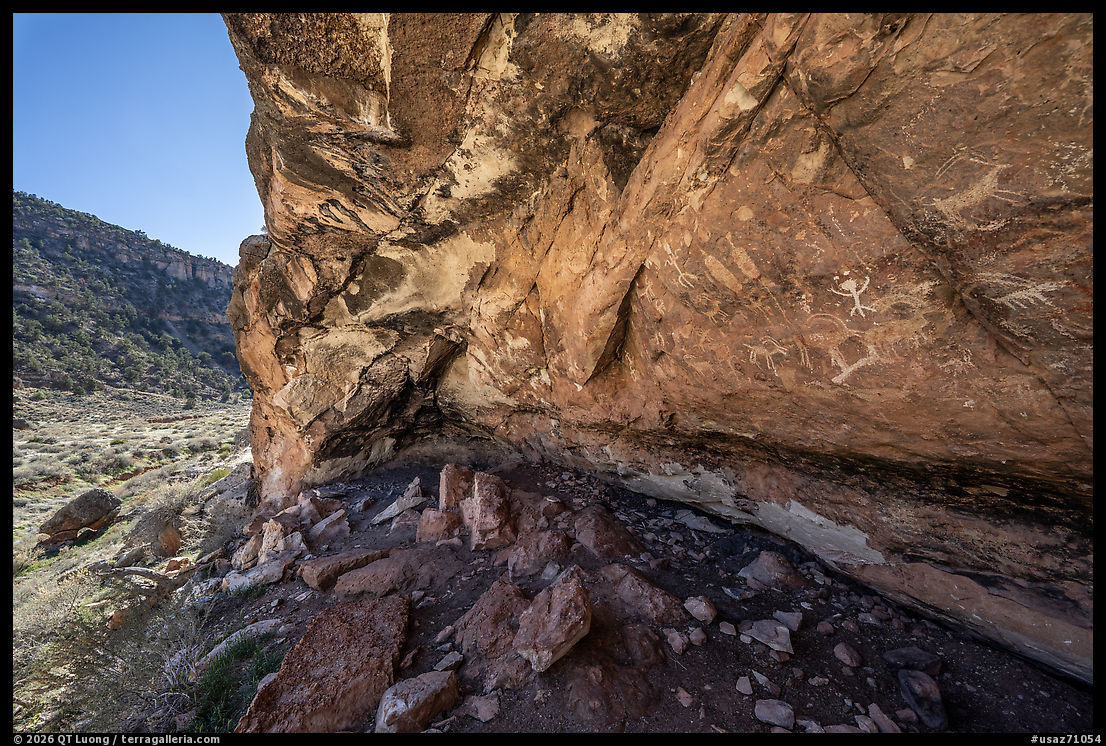
Not all of the places I visited were run by the Park Service. Prehistoric Trackways National Monument, in the Robledo Mountains near Las Cruces, is managed by the Bureau of Land Management, not NPS. It’s 5,000-plus acres of largely undeveloped desert: no visitor center, no entrance station, just a rough parking area and a web of paths climbing into Permian-age strata where fossil trackways lie exposed in the rock. During the shutdown, nothing about that experience changed. There were no gates to lock, no fee booths to close, no rangers to furlough on site. In earlier posts, I’ve argued that BLM landscapes like this are the purest expression of the public-lands idea—that, absent a specific closure order, they simply stay open to whoever is willing to make the effort to walk in. Seeing Prehistoric Trackways function as usual while nearby NPS units were shuttered made that contrast very clear. Although some of the best trackways are now housed in museum collections in Las Cruces and Albuquerque, a number remain exposed at the Discovery Site. I zeroed in on one formation that looked more visually striking than the others and, having neglected to bring my tripod, relied on hand-held, rapid-fire automated focus bracketing enabled
my recent camera to keep everything sharp. Later research, however, suggests that particular feature wasn’t a fossil at all.


The same was true, in a different way, at Kasha-Katuwe Tent Rocks National Monument, also BLM-managed in partnership with Cochiti Pueblo. Before the pandemic, I could just show up at the gate in the morning and enter the site like any other day-use area. In the intervening years, the site landed firmly on the map of mass tourism, and the crowds brought unwelcome disturbance to this tribal land. Between the slot canyon, tent rocks, and views, I consider the trail to be one of the best short hikes in the Southwest, however due to new visitation rules, photographers are challenged to be finely tuned to the nuances of mid-day light. Tent Rocks now operates under some of the strictest rules of any parklands: paid advance reservations with both BLM and the tribal authorities, hard caps on daily visitation, mandatory check-in at the Pueblo’s visitor center, and even pilot vehicles leading cars to the trailhead. All visitors need to be out by 4 pm. At 2:15 pm, a ranger told me to head down the trail, tailing me closely for the entire hike out.
Yet during the shutdown it was “open as usual”—which in this case means fully functioning under those tight constraints. Slot canyons and cone-shaped hoodoos were still accessible to anyone who navigated the reservation system, even as nearby NPS monuments sat behind locked gates. The difference wasn’t in how carefully the resource was managed—it was in which agency had the authority, and the will, to close the door.

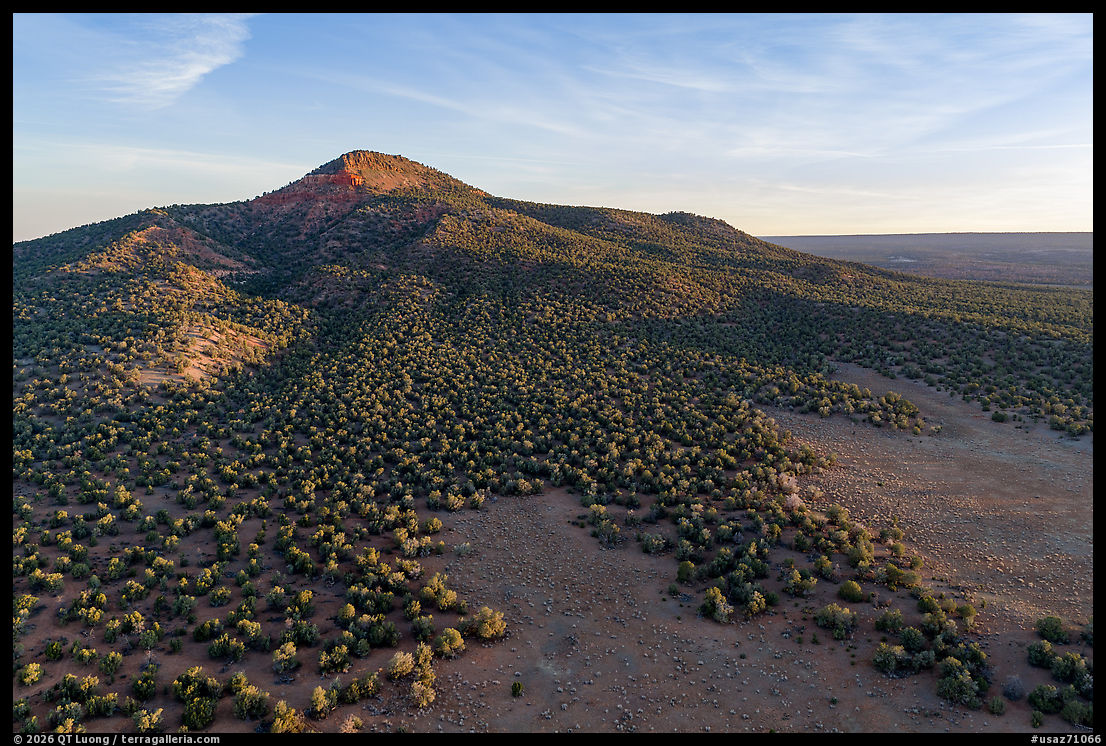
Castner Range National Monument: Not Ready for Opening
Castner Range National Monument, on the edge of El Paso in Texas, is a different kind of closure. I knew the former Army range was off-limits while ordnance is cleaned up, but since I was in the area I drove to the perimeter anyway. The best outside view is from the El Paso Museum of Archaeology, where the foothills rise cleanly behind the building—though the range is strongly backlit in the evening.
On the map, the Transmountain Highway that bisects the monument reads like a flat desert crossing; in reality it’s a steep, fast, four-lane commuter route between El Paso and Las Cruces, with heavy traffic and very few safe pullouts. With the land itself closed and the road functionally hostile to stopping, I ended up relying on the drone again to get a real sense of the monument’s rugged terrain. By the way, the military impacts even a popular site like White Sands National Park. Occasionally, the road into the park is closed when adjacent White Sands Missile Range conduct tests. Currently a portion of the park, including the Interdune Boardwalk, is off limits to support the recovery effort of the recent US Air Force mishap.

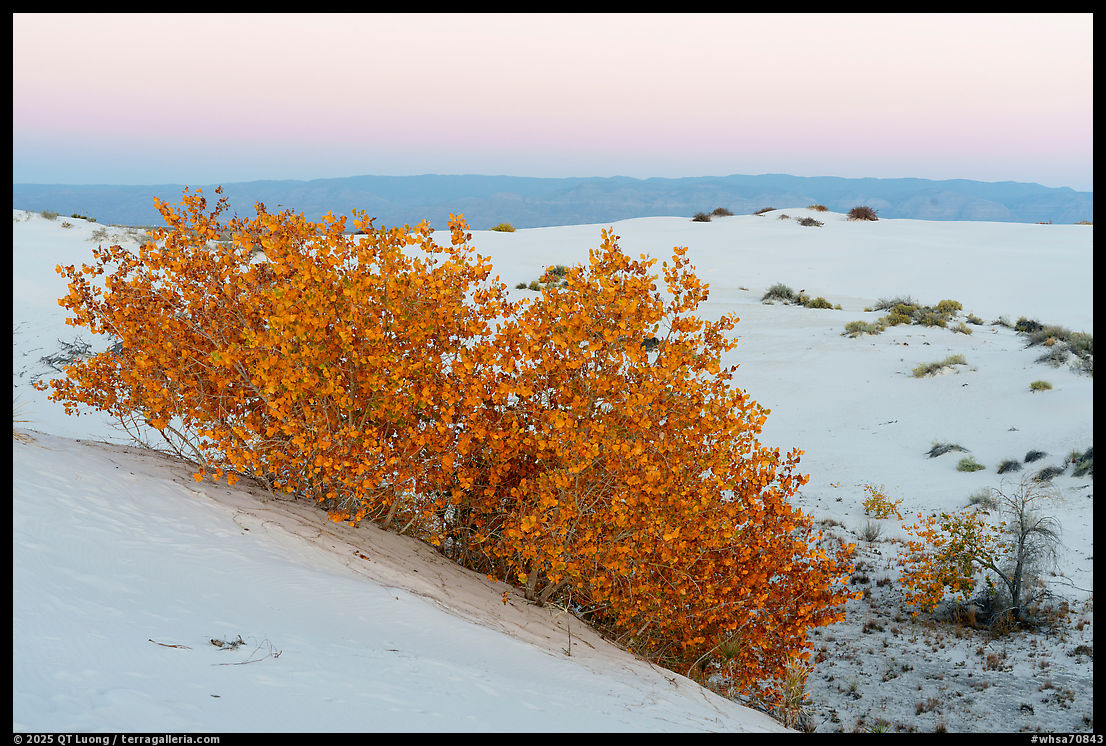
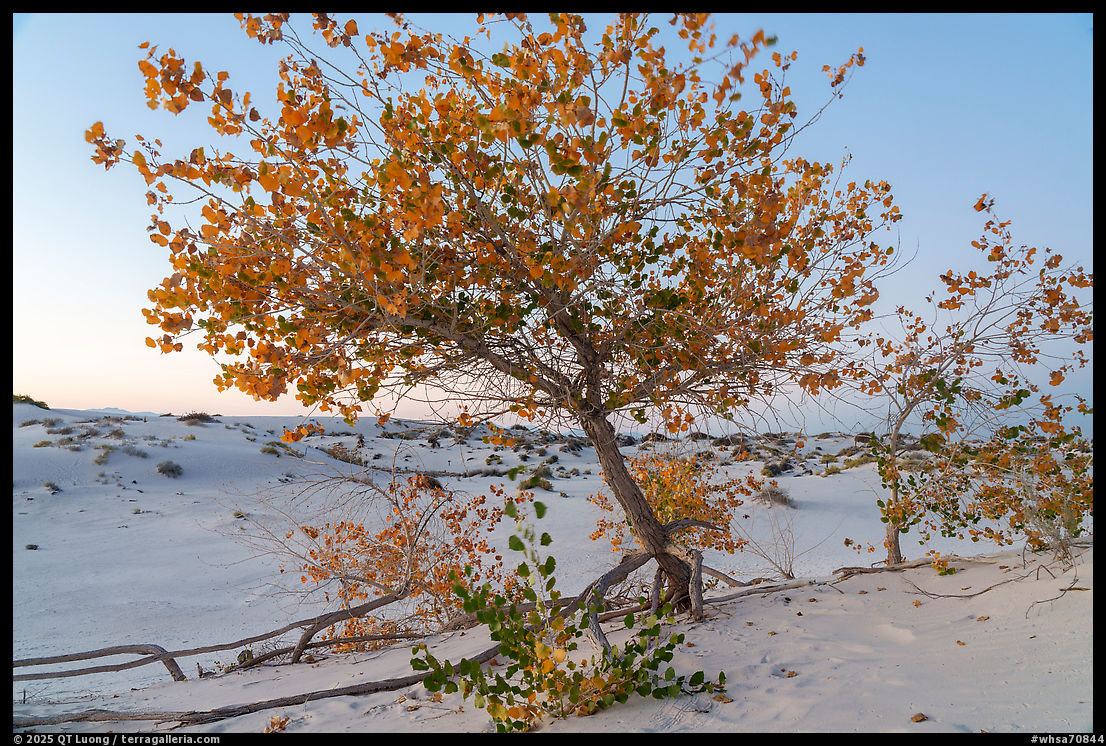
White Sands: A Park That Looks Fine on the Surface
Promoted to national park status in 2019
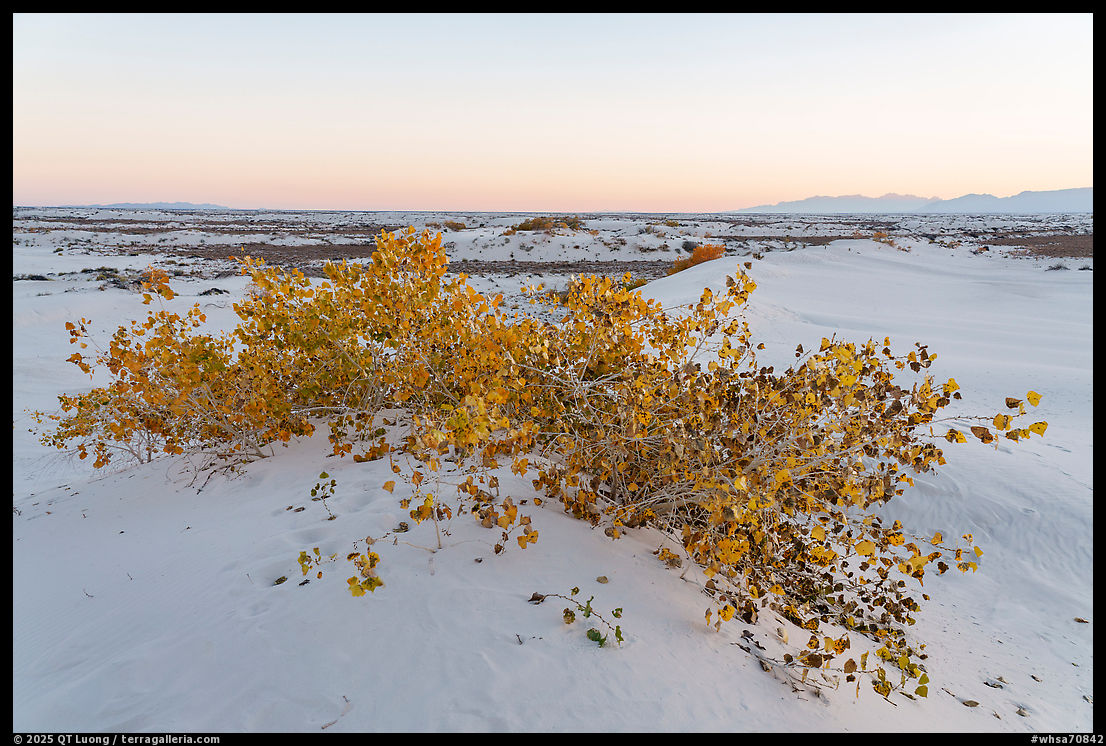
while I was there, White Sands National Park draws hundreds of thousands of visitors a year and functions as one of New Mexico’s marquee attractions. I had photographed the park in spring and in winter, but couldn’t resist the opportunity to catch a bit of fall color there—completing my
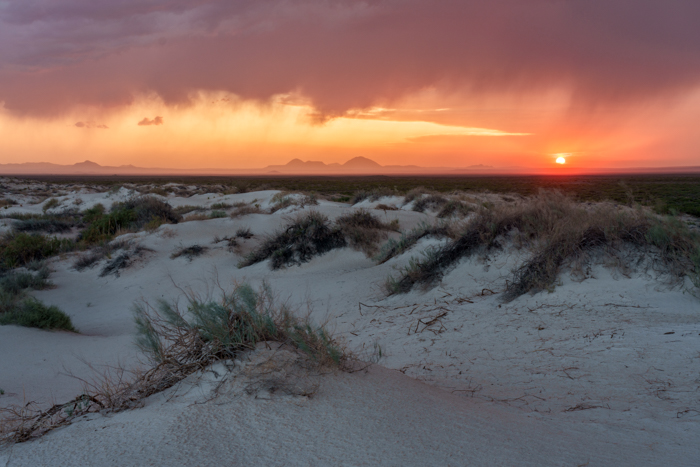
collection of fall foliage in the national parks. Although the park is renowned for its dunes, peripheral sections such as the Dune Life Nature Trail host Rio Grande cottonwoods and shrubs that turn a bright yellow at the right time of year.
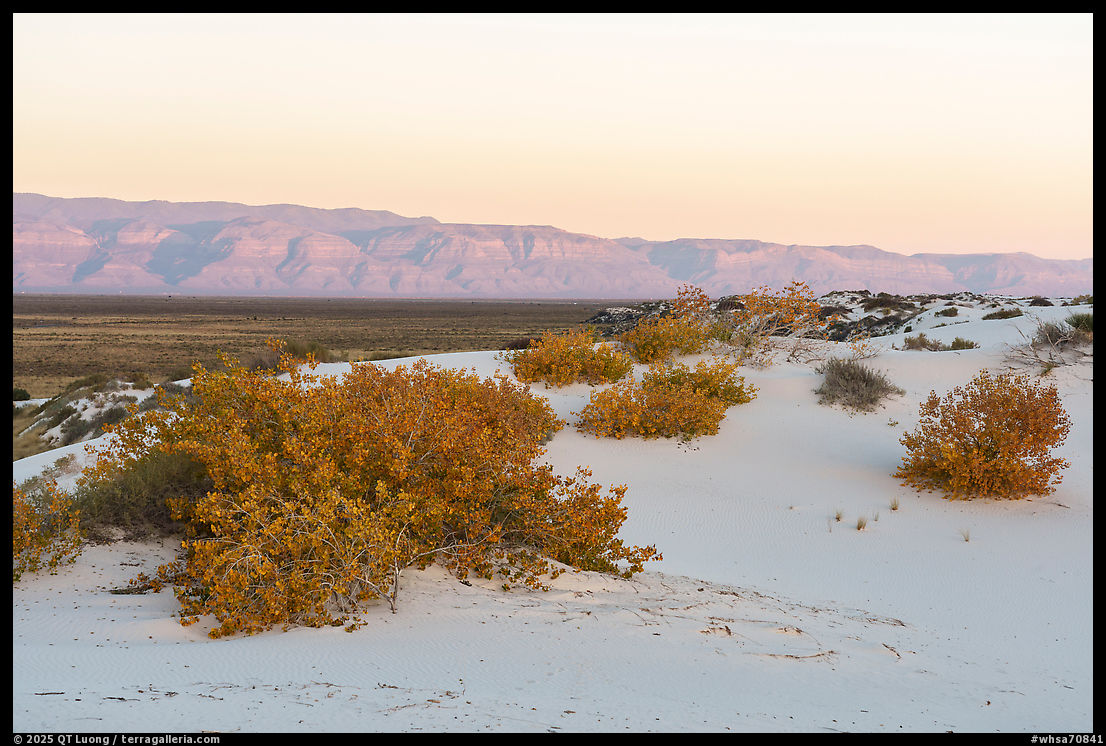
At the start of the shutdown, White Sands National Park was fully closed, unlike some other big parks that stayed partly open. By the time I arrived, on Nov 7, you wouldn’t have known the federal government had run out of money from what I saw on the ground. The entrance station was staffed, a ranger was answering questions at the visitor center, and maintenance crews were out on the main road—so present, in fact, that a lane closure cost me fifteen minutes of fading light on the dunes. The only visible change was that nobody collected fees at the gate – not helpful for the park.
Everything was calibrated to look normal. Restrooms were usable, Dune Drive was open to the end, and visitors were still getting their sunset on the dunes. If all you cared about was the immediate experience, the park felt almost untouched by the shutdown.
I later learned from a park ranger that this thin layer of normality was only possible because, like in other units, the park’s non-profit partner, Western National Parks Association, had stepped in to fund a partial reopening. The park was not fully staffed: one ranger at the visitor center, two maintenance workers, and two law-enforcement rangers worked each day, alongside bookstore and concessionaire employees. No other National Park Service employees were allowed to work. On the ground, the visitor experience felt intact, even as the underlying capacity of the park remained constrained. Whatever the stated rationale, it’s not hard to see how the situation could be used to argue that parks can “get by” with far fewer National Park Service employees than they once had.
From reading and from conversations with current and former NPS staff and park advocates, I’ve learned there’s a name for this: “facade management.” The idea is to keep the visitor-facing optics intact while the real damage accumulates out of sight in empty offices, unfilled positions, and long-term projects quietly dropped. The Organic Act gives the Park Service a double charge—to preserve unimpaired the natural and cultural resources of the parks and to provide for their enjoyment—and rangers sometimes call it the “dueling mandate” because those goals are often in tension. At White Sands, people inside the system would say the enjoyment side is being protected with great care, while the capacity to do the preservation work quietly erodes in the background.
If your metric is “Can I still get my sunset photo?”, White Sands looked healthy. If your metric is whether the park has the staff and funding to monitor invasive species, protect resources, and plan for a hotter, drier future, the picture is very different. I have spent much of my career making exactly the kind of pictures this model rewards: sunsets, access, the promise that the parks are doing fine. I am also paying attention to now in New Mexico and at home to everything those pictures don’t show.
The shutdown
Government shutdowns have collided with the Park Service before, and each one has been handled differently. In 1995, Interior Secretary Bruce Babbitt and NPS leadership closed most parks outright, arguing that without staff they couldn’t meet the Organic Act’s requirement to conserve resources “unimpaired” for future generations. In 2013, Jonathan Jarvis made the same call as NPS director, took heavy political heat, and later defended the closures as the only legally defensible option. By contrast, during the 2018–19 shutdown, Interior Secretary David Bernhardt kept parks open with almost no staff, and the result was predictable: vandalized petroglyphs, Joshua trees cut down for firewood, off-road tracks scarring desert soils, overflowing trash, and locked or fouled toilets. At the time, in a
write-up about visiting the national parks during the shutdown, I reluctantly concluded that with so little staffing the best solution was to close the parks and, for most people, to wait until they were fully staffed again. This latest shutdown sat somewhere between those precedents. In their
recent op-ed, Jonathan and Destry Jarvis restate that keeping parks open during a shutdown flatly violates the Organic Act. I think they slightly overstate the case. This time, at many of the large national parks, law-enforcement rangers and at least some maintenance crews have been kept on duty, which prevented a complete free-for-all like in 2018–19. However, it is true that large parts of the workforce that handle science, planning, interpretation, and day-to-day resource protection were missing. Smaller units, especially low-visitation monuments like the ones I visited in New Mexico, often don’t even get that minimal level of support: they were simply closed, or left in a kind of suspended animation, while the marquee parks were kept looking open and “normal.”

Every shutdown is disruptive, but this one landed on a system already weakened by staffing cuts and clawed-back funding. In that context, what I saw in New Mexico makes uncomfortable sense. A high-profile unit like White Sands can be kept looking normal—at least for now—because it’s politically risky to show visible decay at a park that draws national and international attention. Smaller places close or hang in limbo, and in the longer term they’re exactly the kinds of sites the administration treats as expendable. Former NPS director Jonathan Jarvis has warned that, on the current trajectory, the Park Service could be “pretty seriously damaged, you might almost say dismantled,” within a few years unless Congress intervenes. After a week of driving between half-open and fully closed monuments, that no longer sounds like exaggeration.
It’s easy to rally public support for Yosemite or Yellowstone. It’s much harder to get people worked up about a volcanic cinder cone in northeastern New Mexico, a ruined adobe fort on the High Plains, or mission churches slowly crumbling. But those are exactly the kinds of places that show what’s at stake: Capulin explains, in one compact cone, the volcanic forces that shaped an entire region; Fort Union and Salinas Pueblo Missions document the collision of Indigenous civilizations, Spanish colonialism, U.S. expansion, and trade networks that once tied this remote landscape into a continental economy. Treat the Park Service as a bare-bones tourism agency whose job is to keep the most popular viewpoints open, and these sites become hard to justify. See it instead as a long-term commitment to history, ecology, and shared public space, and they become indispensable.
The shutdown is temporary. The choices being made under cover of that shutdown—about staffing, funding, and which places are worth saving—are not. The real test will be whether, ten years from now, places like Fort Union and Salinas are still being stabilized and interpreted by a national park staff, or are just unmanned ruins with a state sign and a shrinking maintenance budget. What happens next depends less on how many people show up for sunset at White Sands than on whether we’re willing to defend the quiet, “unprofitable” corners of the system that add so much of to its meaning.