Steps Behind the Image: Whitmore Canyon Overlook
7 Comments
This is the first of a possible series of posts where I explain the multiple steps and thought process that led me from initial impression to final image.
At Whitmore Canyon Overlook, you face huge cliffs rising in front of you, rather than below you, like at most other Grand Canyon overlooks. My visit was timed for springtime, and although the profusion of wildflowers that I saw earlier in the Mojave Desert wasn’t there, clumps of yellow brittlebush still added a striking color accent to a rich diversity of desert plants. The arrival of sunlight brought a sharp and dramatic light that contrasted with the subdued shade that preceded it. My intent was to create a composition that would combine all those elements, which together formed the identity of the place I was standing at.
The scene
While the eye and mind can take integrate it all, capturing those elements in a photograph was a challenge. To start with, those cliffs above the Colorado River face the west, and the sun roses directly behind them. Here is the scene as it presented itself to me in the early morning. Nothing to photograph there, right?

Sky
As is often the case when the sky is too bright relative to the rest of the scene, framing without it immediately transforms the image. Without the need to preserve details in the sky, the exposure is brighter and reveals some potential. But first, I have to take care of some technical details.
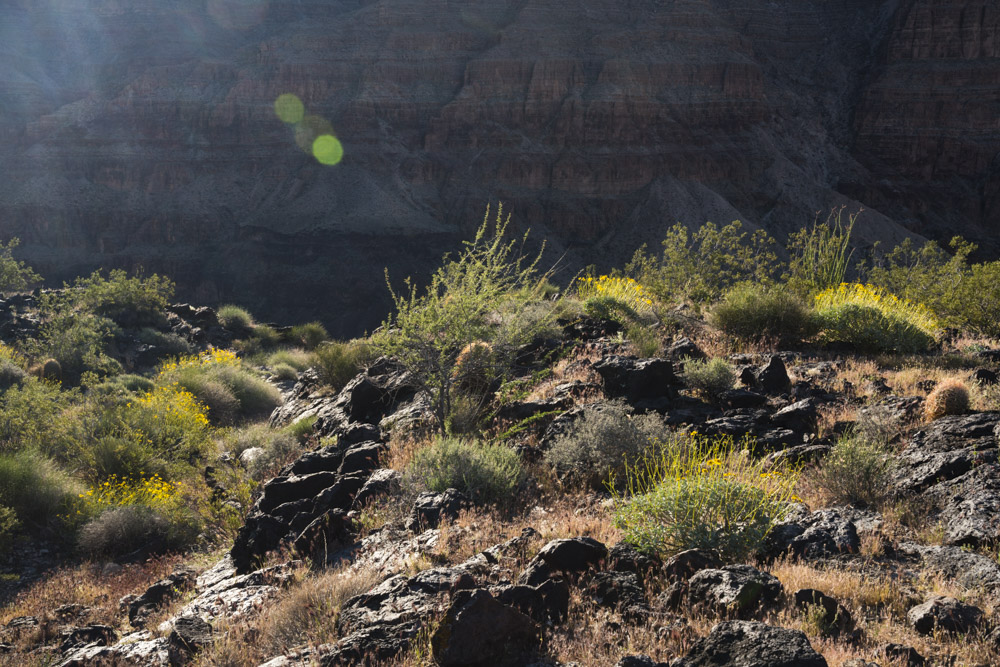
Flare
By shading the lens with my hand, so that the sun doesn’t hit the front element, I eliminate lens flare. To do so, most of the time you can stand in behind the camera with your eye in the viewfinder, and then move around your free hand (usually the left one) until you see that flare is eliminated and your hand doesn’t intrude in the picture. Sometimes, when your arm is not long enough, you stand in front of the camera and move your hand until you see that its shade covers the lens, using a remote or self-timer, before checking afterward that your hand didn’t intrude into the picture.
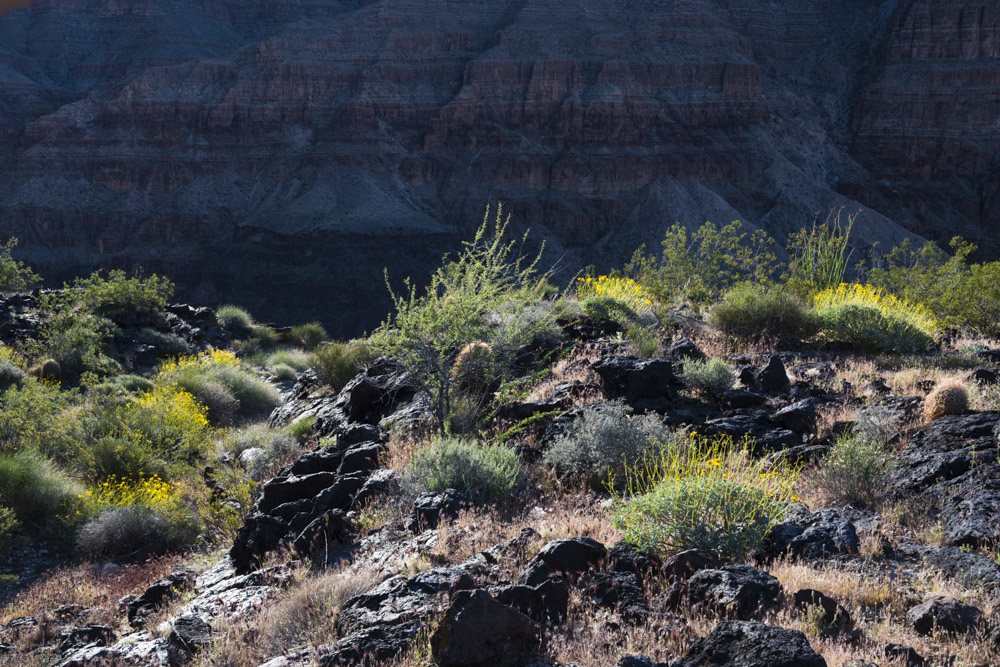
Surface reflections
The rocks appeared washed out, distractingly bright. That was because their surface was reflecting the sunlight. By using a polarizing filter, I remove the surface reflection, and now they are dark as lava rocks should be. Note that this was done while photographing straight towards the sun. The polarizing filter range of applications goes beyond shooting at a 90 degrees angle from the sun, and darkening the sky!
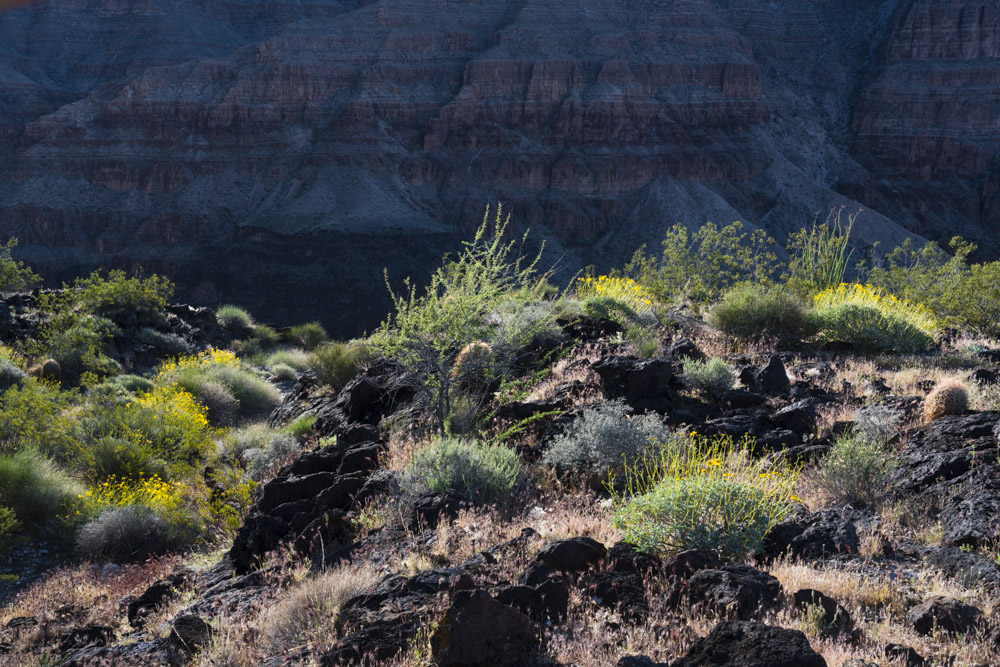
Clutter
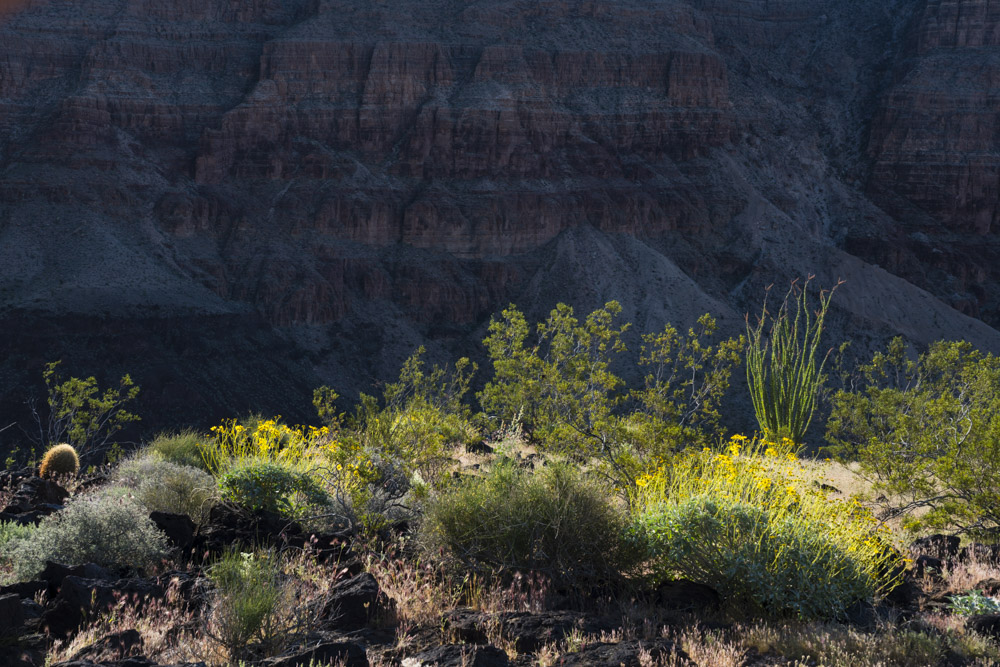
Now that the light is OK, I take a second look at the composition. It is too busy in the foreground. The most remarkable part is the backlit desert plants that are highlighted against the starkness of the shaded cliffs. To convey what I found interesting in the scene I do not need that many instances of lava rocks, brittlebush, and desert plants. I move a bit and zoom in from 40mm to 65mm.
Overlap
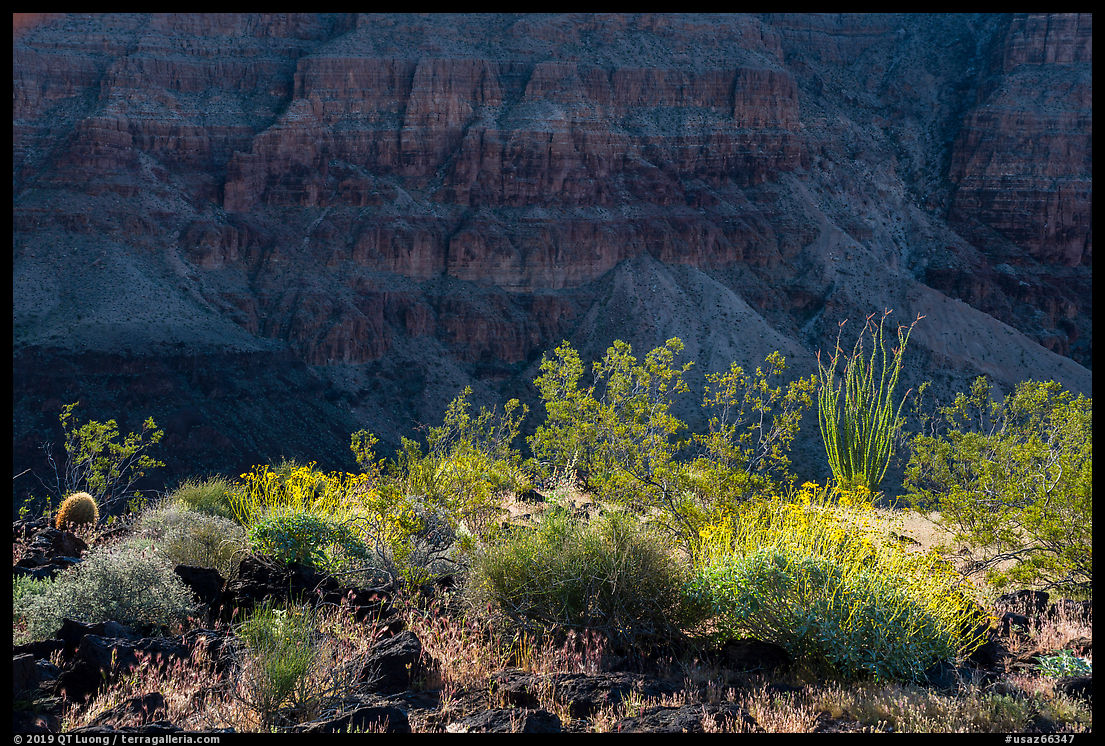
That is much cleaner, but the ocotillo (the shurb with long cane-like unbranched spiny stems) is partly hidden by a creosote bush shrub on its left, reducing the legibility of the desert plants. I move the camera just a few feet to the right, just so that the ocotillo appears in the gap between the creosote bushes. This eliminates the overlap.
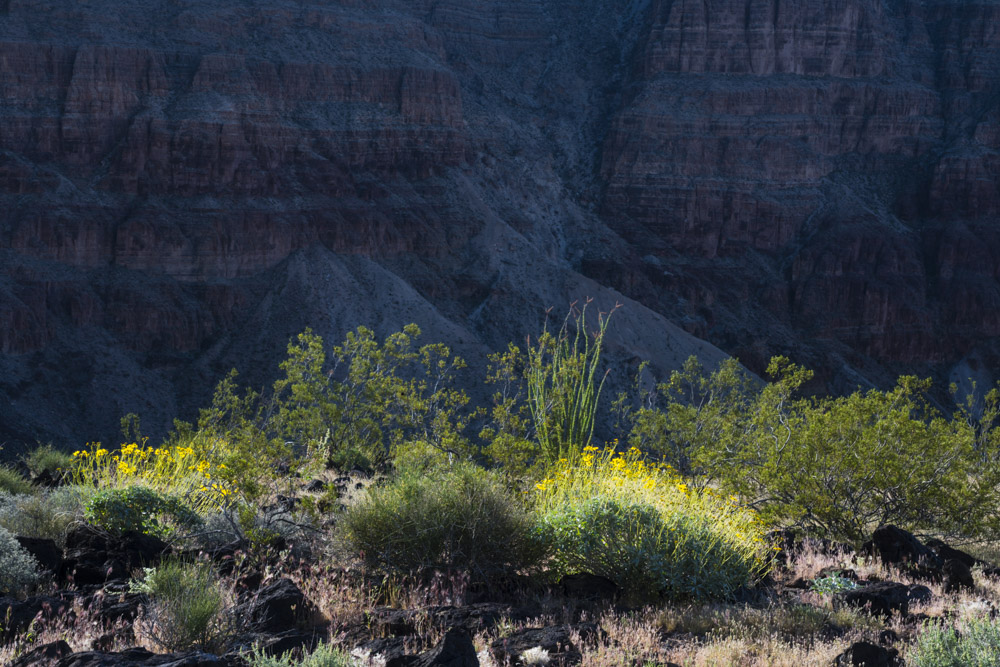
The final image
To reveal a bit more detail in the cliffs and balance the light better, I finish the image in Lightroom by adding a touch of exposure (+ 0.6) and shadows (+10) that I compensate by reducing the brightness of highlights (-100) and lowering the black point (-20).
By choice, most of my images look pretty straightforward, but I wanted to show that there is nevertheless quite a bit of thought and craft even behind them. While this sequence of steps is fairly typical of my thought process, most of the time I intuitively skip some of them, and do not record the intermediate images. That morning, I wasn’t in hurry, so I did that with the intention to share with you some of my process later. If you find this useful, please let me know, and I’ll try to build more “Steps Behind the Image” posts in the future.


Thanks, QT – really appreciate you sharing your thought process (and processing). Helps me a lot.
Very nice and helpful description of making lemonade from the lemons that nature sometimes gives you. Since we often don’t have the luxury of waiting for great light, we make do with what we have. Shooting the shade is sometimes a strategy for harsh light, but you’ve done both here. Nice.
Great and useful description of your process in creating a beautiful image. Thank you.
Thanks for taking the time to share this. Both insightful and helpful.
Thanks QT,
That is good info. It is always
useful to know what a experienced pro photographer
is thinking and processing in their mind when approaching
a photograph.
More please,
Jeff
I’d shure love to see more of this. Very interesting, thank you.
Once again, thank you very much for your clear and helpful explanations.