13 tips for sharp photographs with a telephoto lens
3 Comments
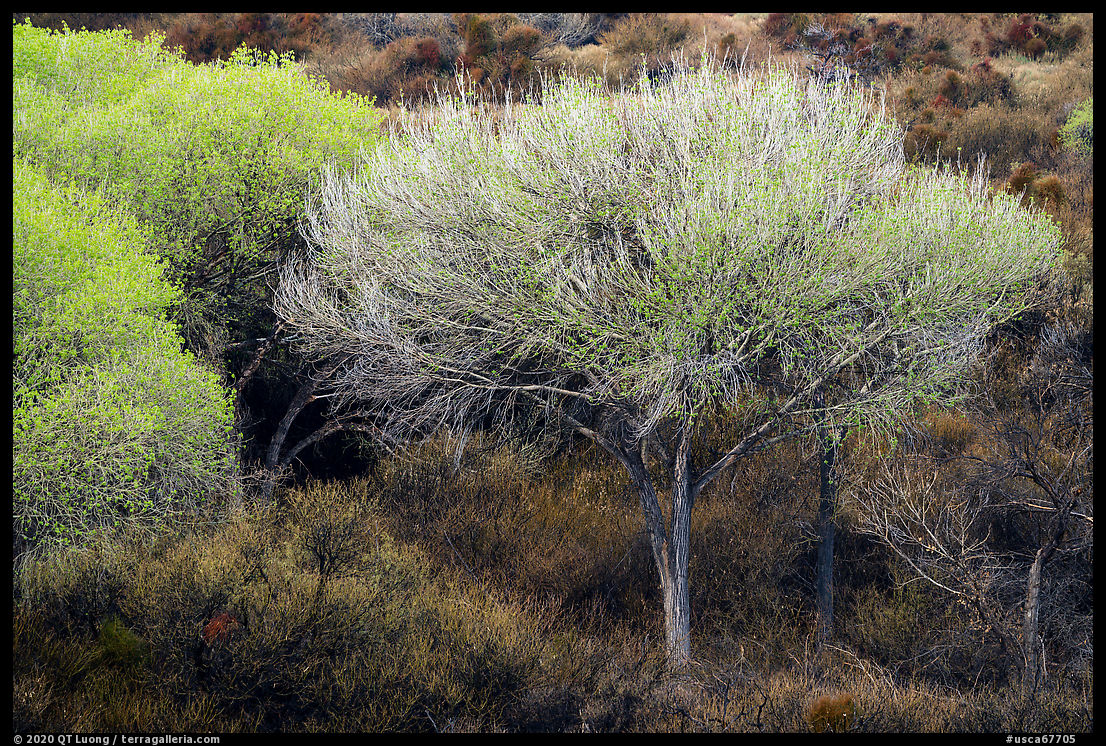
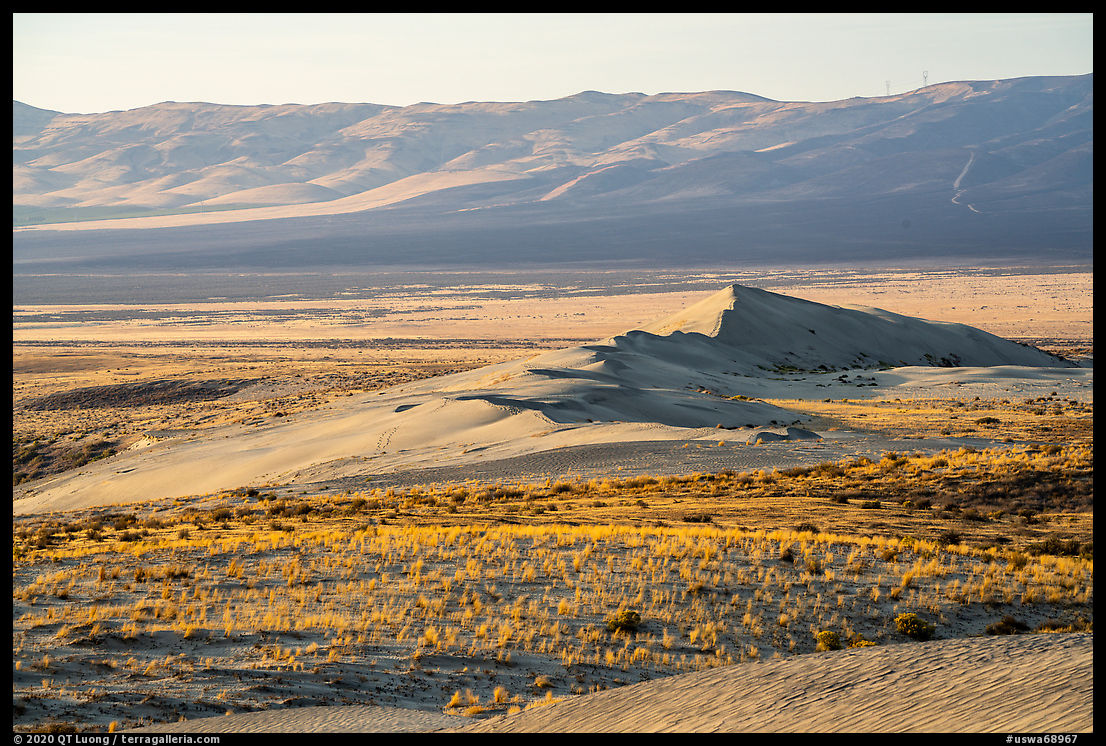
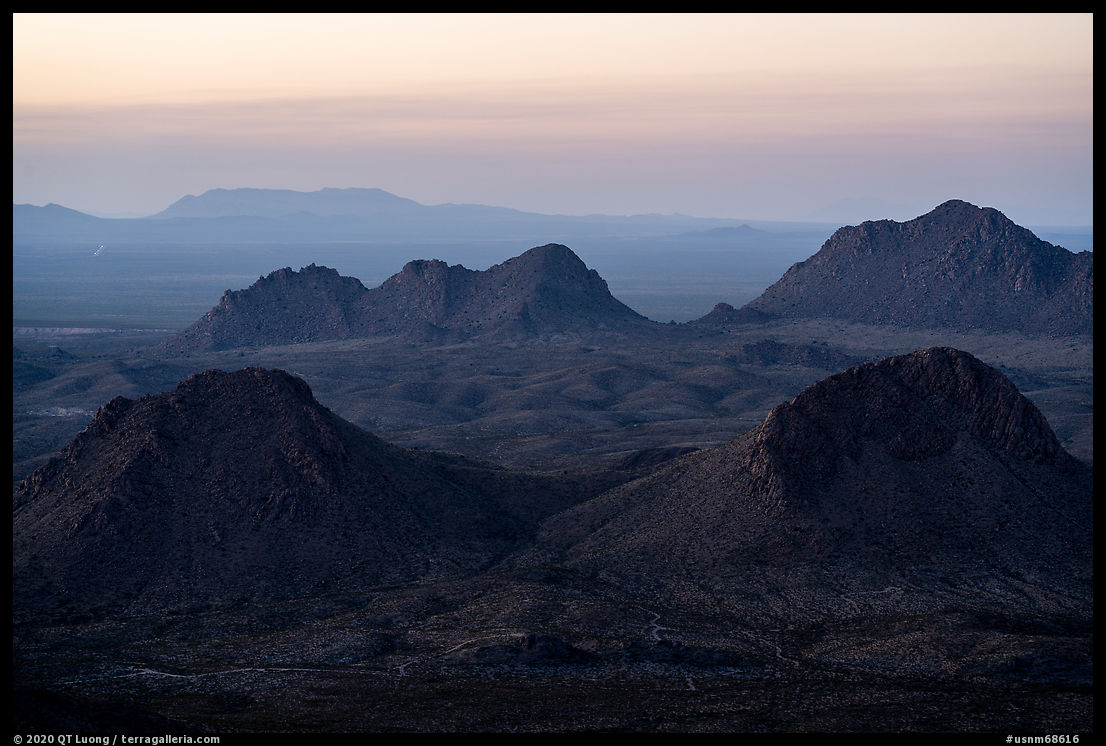
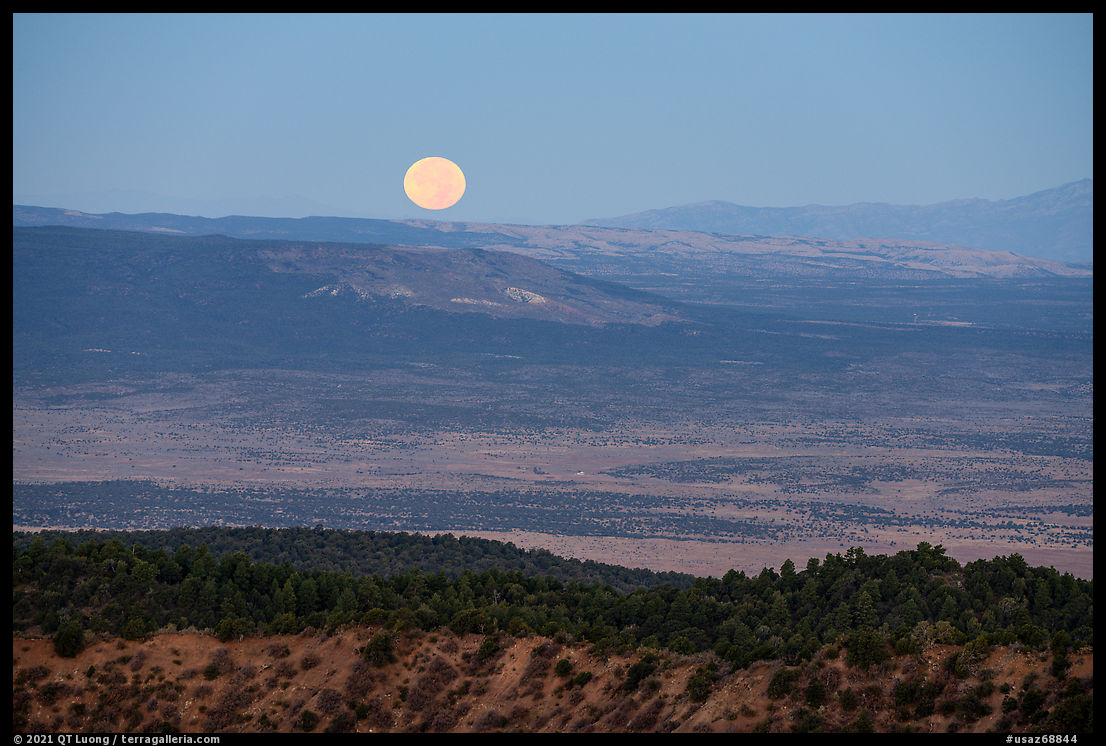
Using case studies of the first images in Our National Monuments, I’ve touched on why one would want to use a telephoto lens for landscape photography and that even getting a sharp image can be a challenge. Below are 13 practical tips in no particular order for overcoming this challenge. All images in the article were photographed with the Sony FE 100-400 lens for Our National Monuments, but not used in the book.
Check Sharpness
Shots can look great at a glance on the LCD, but turn out unusable in print because they were not sharp enough. Checking the camera LCD at 100% magnification to see if your shot was sharp before moving on to the next one is always a good idea to prevent disappointments. That practice is all the more important in telephoto photography because there are so many reasons why telephoto images may lack critical sharpness. If you notice that images are not sharp, then it is time for some of the adjustments described below.
Mind focus and depth of field
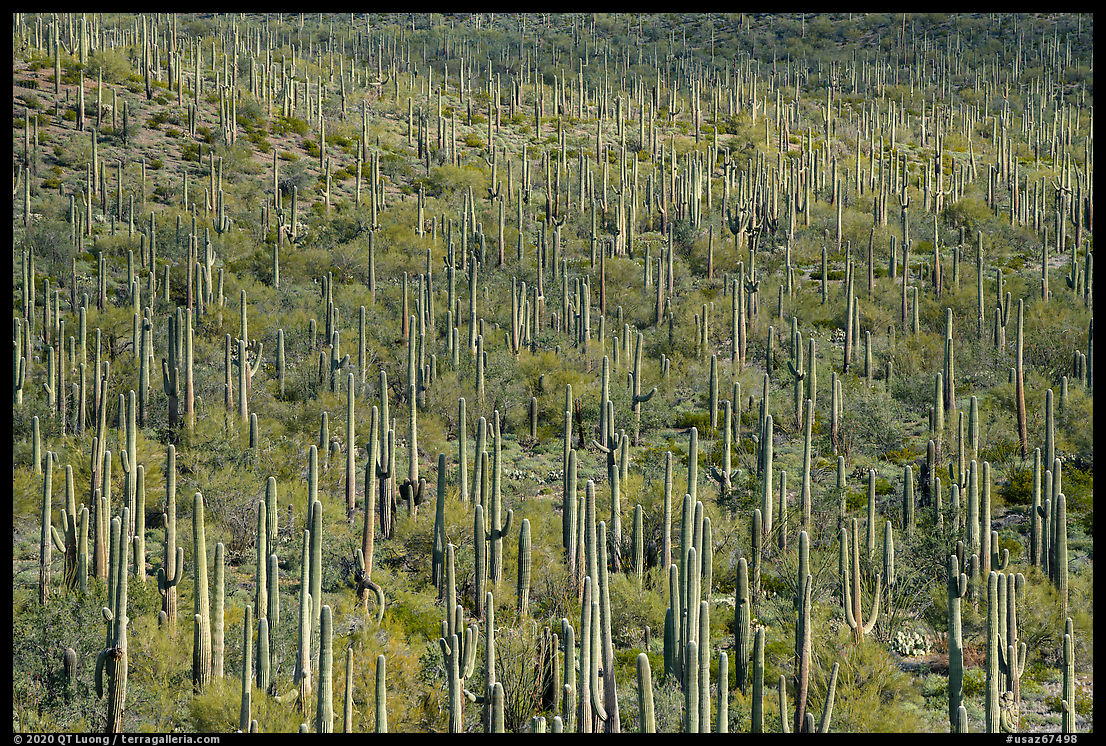
One reason why it is more challenging to get sharp images with telephoto lenses is that the depth of field area is so much smaller than for normal and wide-angle lenses. Any imprecision in focusing shows up. Manual focusing at 100% magnification is the most reliable way to proceed, but if you use autofocus, but sure to check if it is perfect. For an indication of how narrow the depth of field area can be, refer to this example, where we saw that with a 340mm lens on the Sony A7R4, even at f/22, the depth of field area including infinity starts half a mile away, meaning that you cannot have any object closer to half a mile and infinity in perfect focus at the same time.
Consider focus stacking
At a longer focal length, getting a foreground and background both in focus can be impossible. Stopping a lens down to f/22 is not optimal because it results in degraded image quality due to diffraction. In addition, the requirement to use a slow shutter speed makes the capture more vulnerable to vibration. A useful alternative is to merge exposures made with different focus points at f/11, a feature automated by Photoshop.
Time for better air clarity
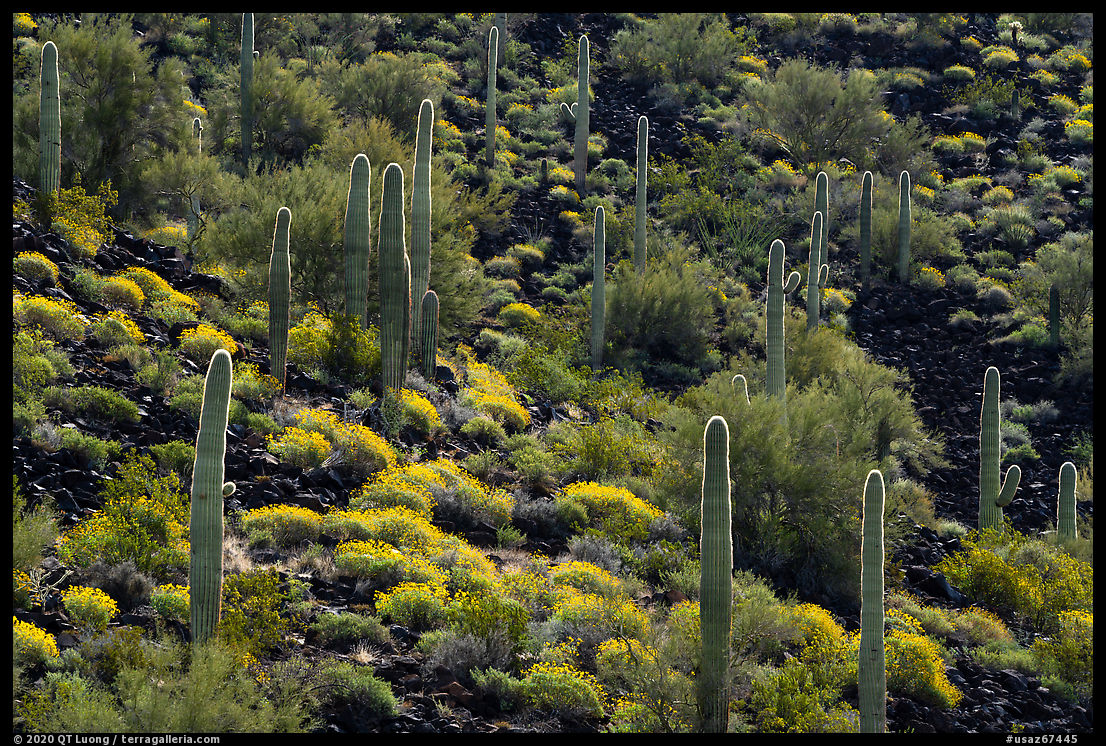
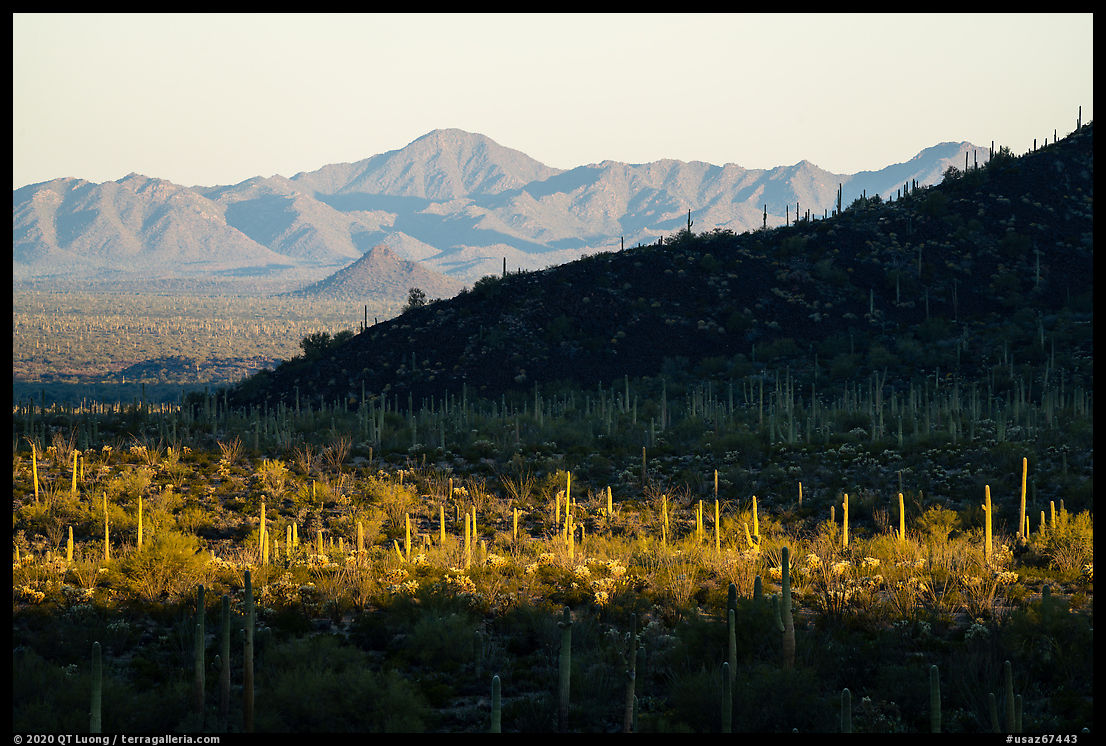
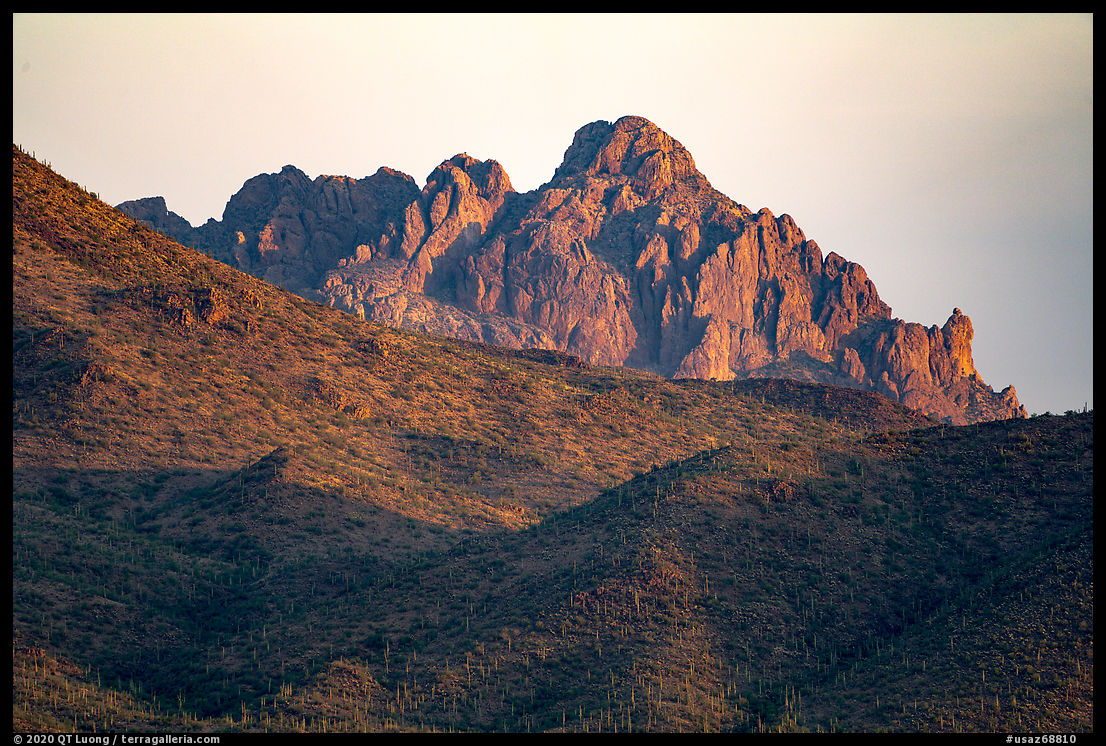
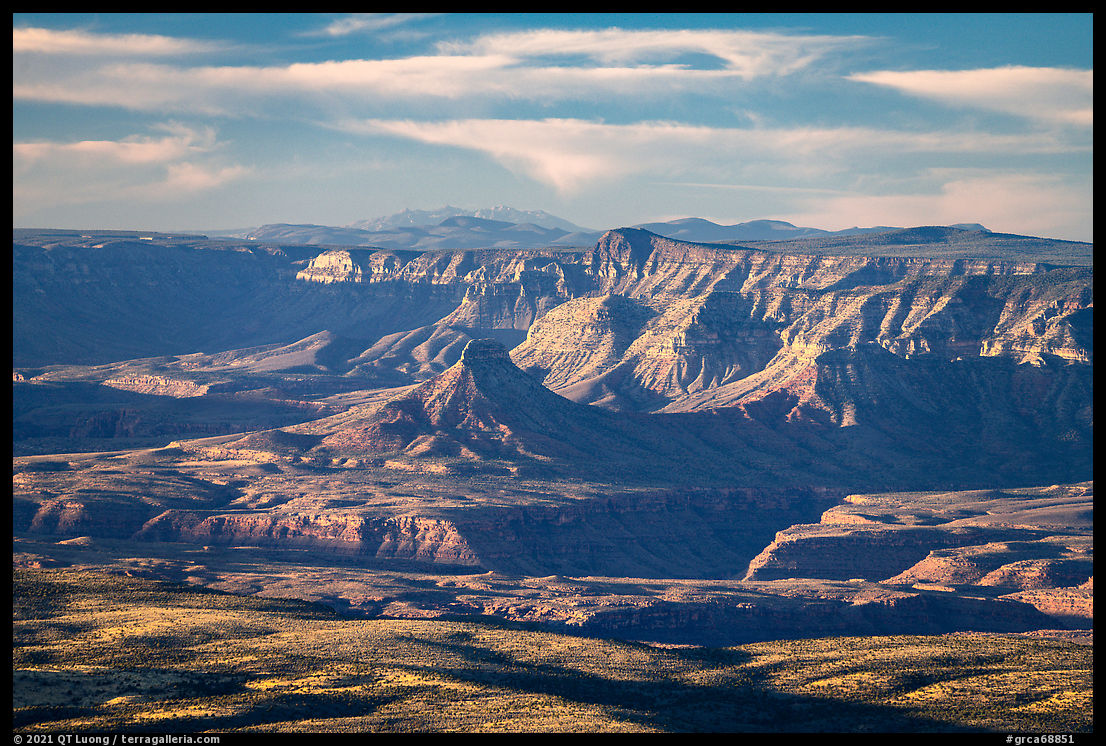
Air clarity is an overlooked issue with telephoto photography. Often with those compositions, even the closest subjects can be far enough that image degradation due to air quality is quite noticeable. On a hot afternoon in the desert, looking in the viewfinder of a telephoto lens, you can see distant elements vibrating due to air convection. Even in windless conditions, if you take a picture in those conditions, nothing at a distance comes out sharp. In the cooler temperatures of the morning, the air is often more clear, and that is often the best time for telephoto work. In addition, at dawn and dusk, when the sun is not out, haze is much reduced.
Use a polarizer
Haze consists of particles in the air that reflect light, reducing contrast and desaturating colors. A polarizer makes the haze disappear because it cuts reflections. The more distant the subject, such as the South Rim of the Grand Canyon from its Northwest rim, the more haze there is, which makes a polarizer particularly useful for telephoto shots.
Use a sturdy tripod
The main reason for unsharp telephoto images is unwanted camera motion. Handholding a telephoto lens with successful results is difficult. Those lenses are often large and heavy. Small camera movements affect the composition. You need faster shutter speeds for sharp images, with the general rule that you need an exposure time in seconds faster than 1/F, where F is the focal length in millimeters. This is difficult to attain in low light, particularly if you stop down and use a polarizing filter. In the slightest of breezes, even a tripod that works fine for normal lenses is not enough to stabilize a telephoto lens. Typically, I use a series 2 tripod and a medium-size ball head. However, that combination is often insufficient for a telephoto. On road trips, I pack a series 3 tripod and a full-size ball head. While I don’t like to hike too much with that setup, it works fine for roadside photography and short hikes. I have found it makes a significant difference for telephoto lenses.
Use a tripod collar
Tripod collars are often used on telephoto lenses to reduce the strain on the lens mount caused by a heavy lens with a long lever arm. That is a good enough reason since the strain could result in long-term misalignment of the lens mount. The issue relevant to this article is that without a tripod collar, the offset of the center of gravity degrades the stability, and the lever arm of wind pushing the lens is larger. Most high-end telephoto lenses come with a built-in tripod collar. Lesser telephoto lenses don’t, but you can buy a third party collar for them. Once I added a tripod collar to the Sony 70-300, I noticed a higher success rate, whereas before I often struggled to get sharp images. However, in terms of weight and bulk, the difference with the better Sony 100-400 became minimal.
Stabilize the tripod
Even though a light tripod is not optimal for telephoto photography, sometimes that’s all you got. You can somehow make it into a heavier tripod. Many tripods come with a hook at the bottom of the center column or the platform, from which you can hang weights, such as your camera bag or a shopping bag that you load with rocks. Another related technique is to apply downward pressure to your tripod. The easiest is to press on the top of your camera with a hand, but you can also step with your feet into a strap attached to the center column or platform. Note that while those solutions address the lack of mass of the tripod, they don’t address its lack of rigidity, hence the “somehow”, which is experimentally quantified by David Berryrieser.
Use a remote release
Unless you use an extremely sturdy tripod, pressing the shutter will result in some camera vibration. For normal lenses, with a self-timer delay of 5 seconds (but not 2 seconds!) the vibration dies down enough, but in my experience, for telephotos, 10 seconds is more appropriate. The problem is that quite a bit can happen during those 10 seconds, including a gust of wind picking up. And there are those situations when the shot needs to be timed, for instance for a wave. A remote release alleviates those issues.
Time for the wind
Telephoto lenses are particularly sensitive to the wind because of their physical size and magnification. If you pay attention to the wind pattern, you’ll notice that it is almost never uniform. There are gusts alternating with calmer periods. Try to release the shutter during a lull. It can take a lot of patience, but such lulls often happen.
Shelter from the wind
Not only the wind is not uniformly distributed in time, but the same also applies in space. When I stepped up on the summit ridge of Dona Anna, the wind hit me with full force, but by descending a few meters the downwind side of the summit, I found enough shelter to photograph at sunset. Even a tree can offer enough shelter. Getting lower to the ground usually results in lower wind speed, so just lowering your tripod can help, with the additional benefit that a lower extension means higher rigidity. Besides taking advantage of terrain configuration, you can shelter your camera with your body. Among many other useful applications, an umbrella makes an excellent wind shelter. For roadside shots, I have used my car as a shelter, either by pointing it towards the wind and standing behind the rear hatch or even by shooting from a seat.
Crank up ISO
If you are not able to get out of a stiff breeze, unless you have the beefiest tripod, there are always going to be some vibrations. The shorter the shutter speed, the lesser their impact. Everything else being equal, you can get shorter shutter speeds by increasing ISO. Increasing the ISO from base 100 to 400 in the daytime doesn’t result in significant noise and loses only minimal detail, but it divides your exposure time by a factor of four.
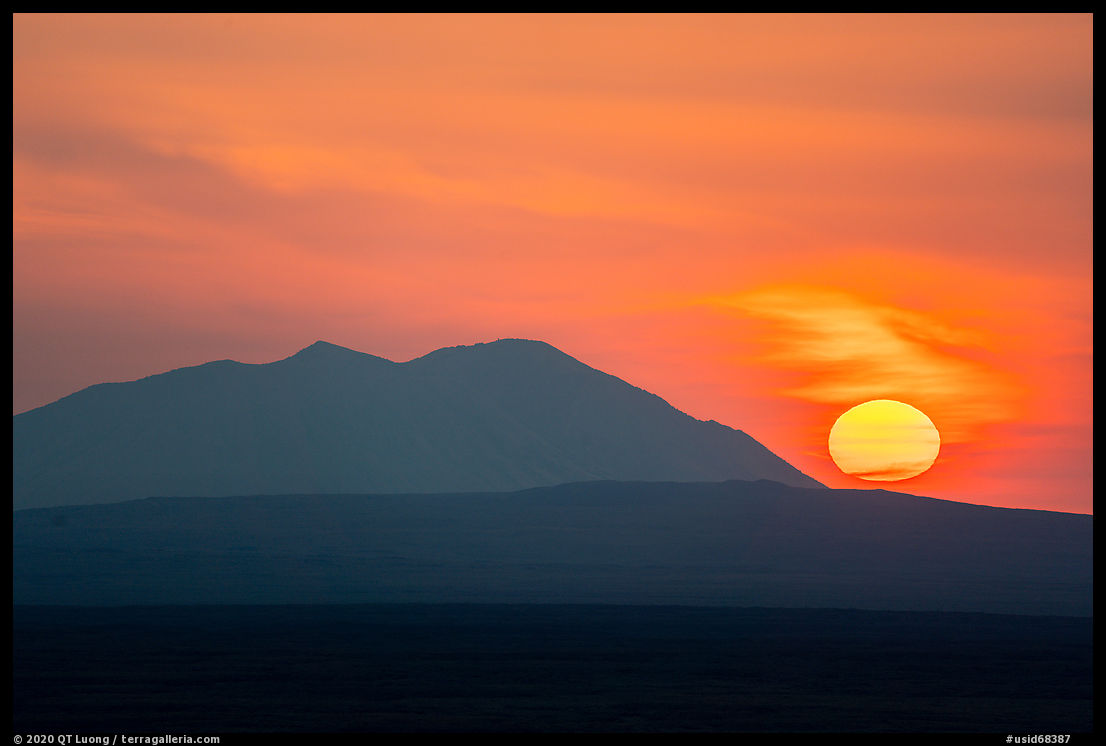
Take multiple exposures
In some situations, you may not have the time to check at 100% magnification that the shots are sharp, maybe because there are quick changes not to be missed, such as the sun cresting above the horizon. That is a case where making redundant exposures can be useful to increase the chance that you got a usable shot.
Part 2 of 2: 1 | 2


Thank for sharing your knowledge and skills. I always had fun using my Canon/Sigma 60-600. This tips will fine tuning my blurry photo.
While I always use a cable release when using large format cameras, my experience with FX digital is different. I’ve found that firmly grasping the tripod-mounted camera, pressing it down, then gently squeezing the shutter release is more effective. The lower mass of digital equipment (I’ve an 85mm lens with aftermarket collar) and resultant wind-induced vibration is better countered “hands on.”
Thanks for sharing! These are very useful knowledge and tips for my future photography practice. Also, wonderful photoes!