A Week on Ofu Island: Setbacks in Paradise
Summary: a personal account of a week on Ofu Island in the National Park of American Samoa during which carefully-laid plans were thwarted by a combination of weather, equipment failures, and transportation issues threatening to leave us stranded in the South Pacific.
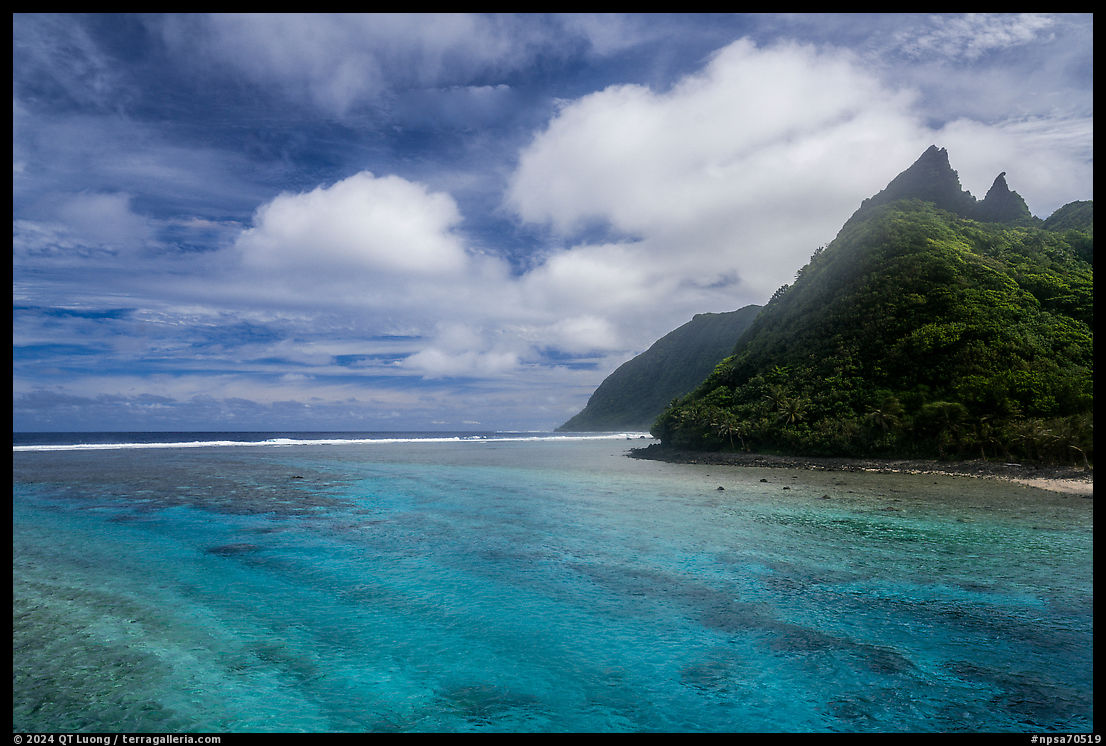
My friend Tommy travels without plans or expectations. This approach, increasingly popular with some photographers, guarantees he won’t experience disappointments that can mar even a trip to a paradisiac tropical island. However, for the National Park of American Samoa (read some background, or a comprehensive practical guide to Ofu that provides a perspective complementary to this travel story) it would have been difficult for me to embrace, because I had been there before and knew what I missed then. The label for my National Park of American Samoa photograph in the exhibit Treasured Lands starts as follows:
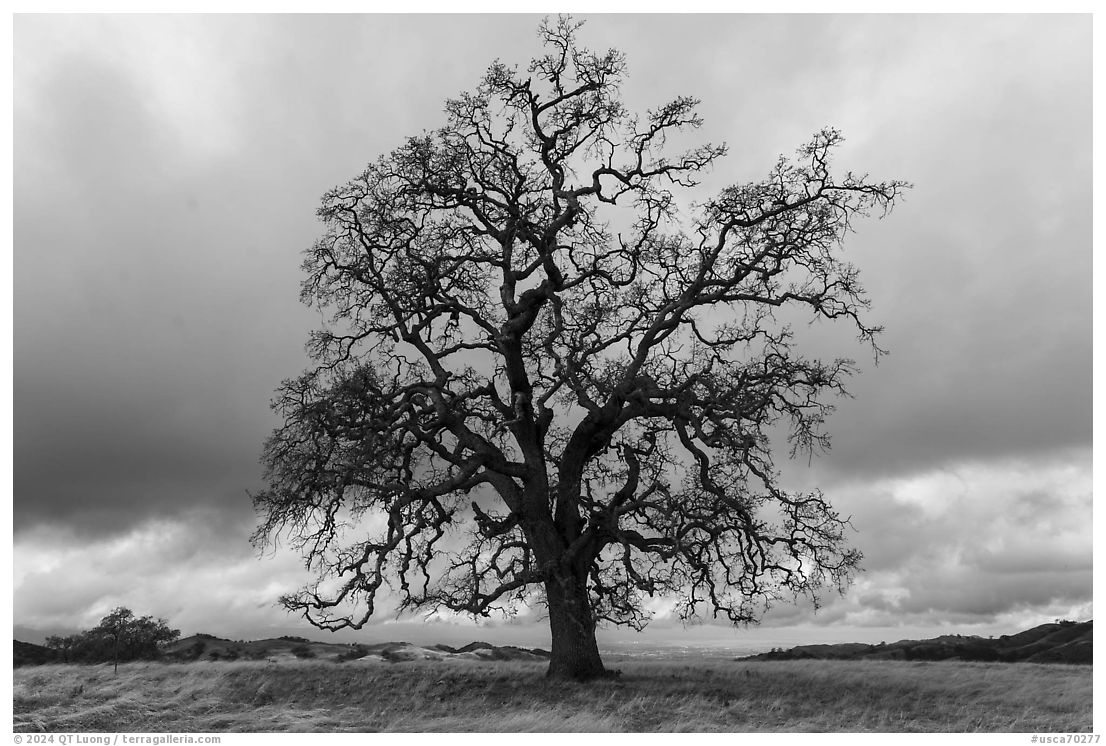
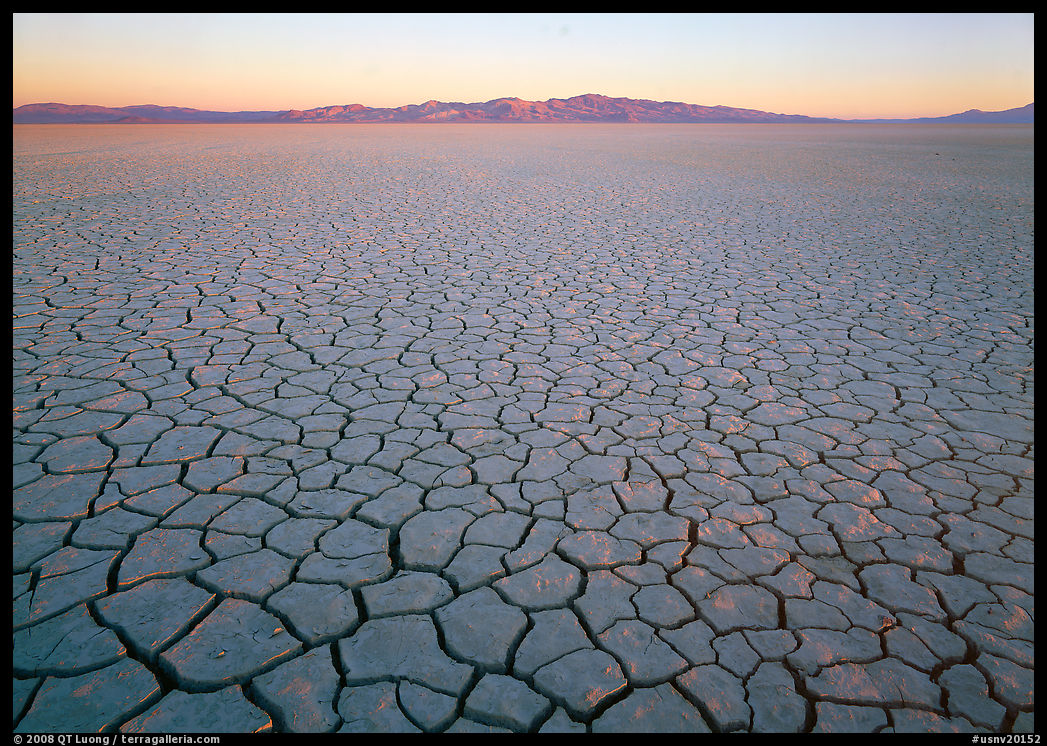
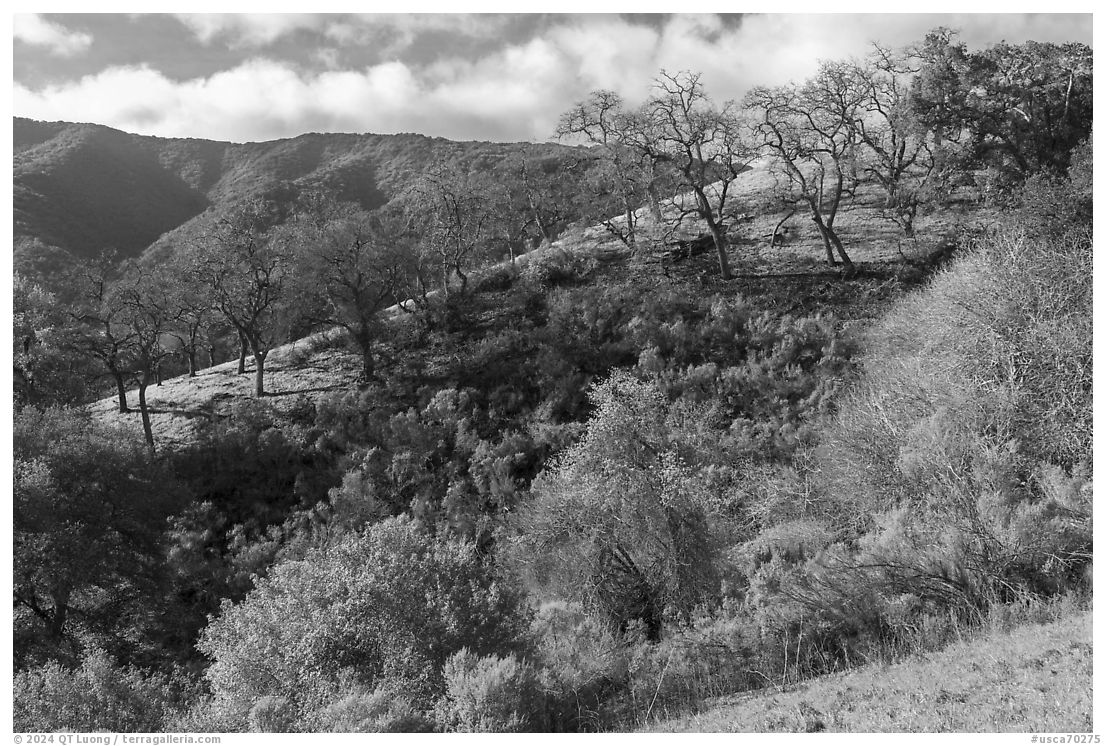
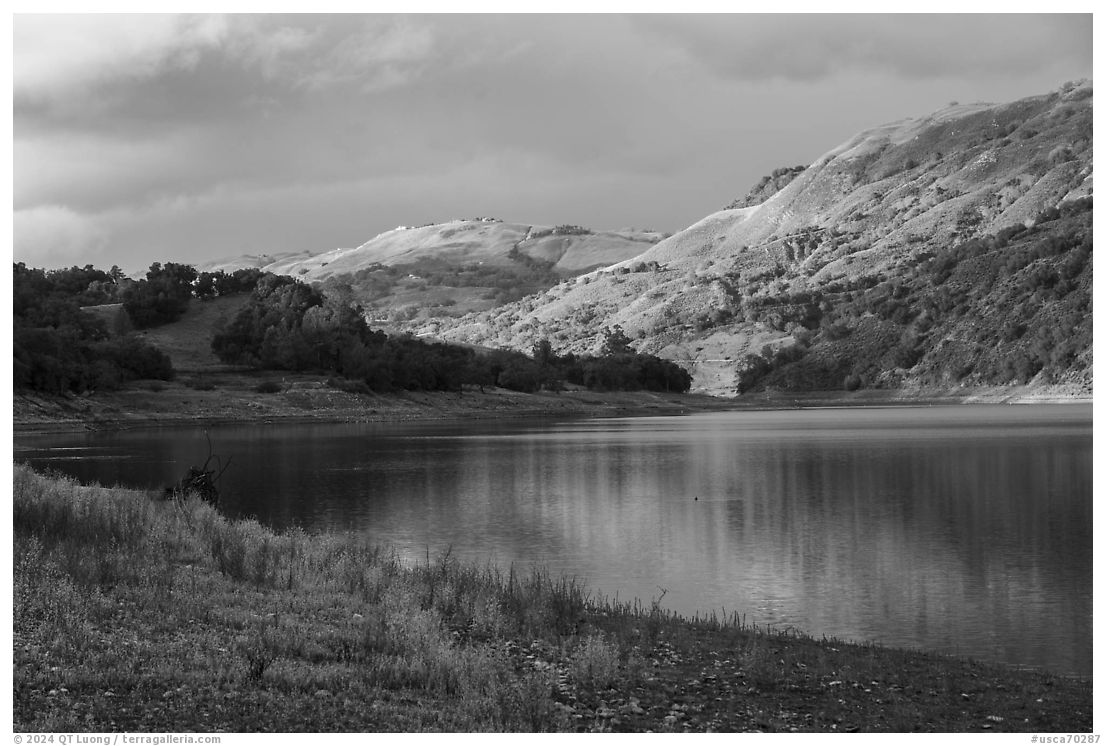
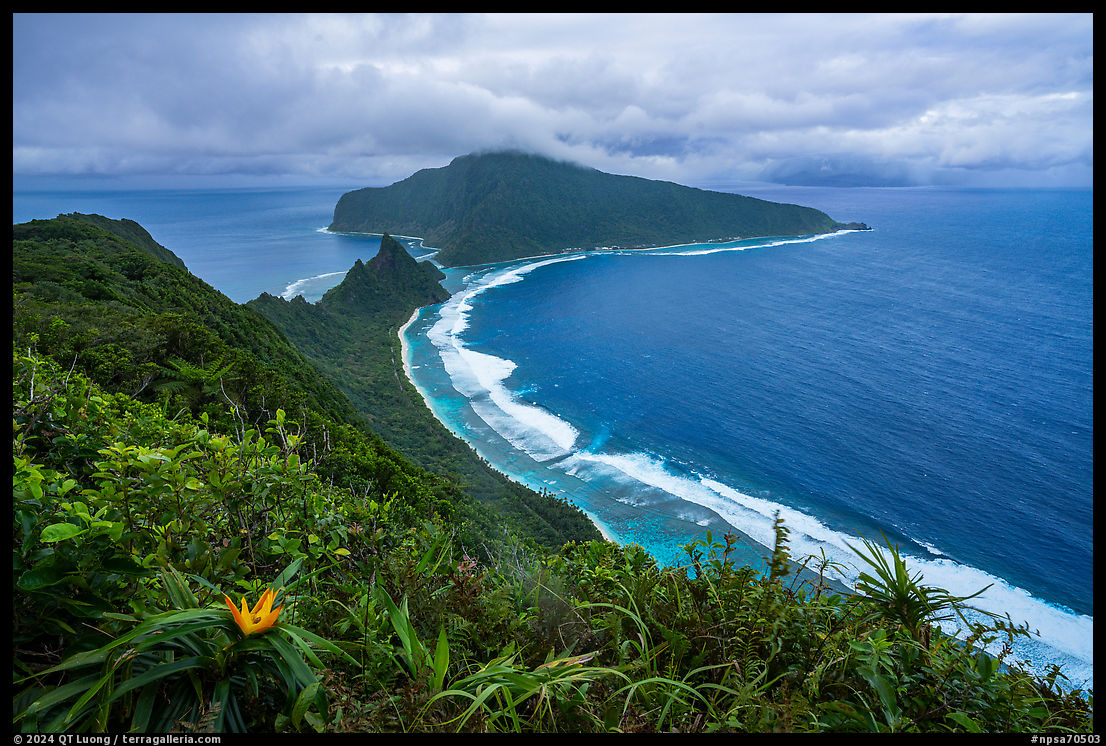
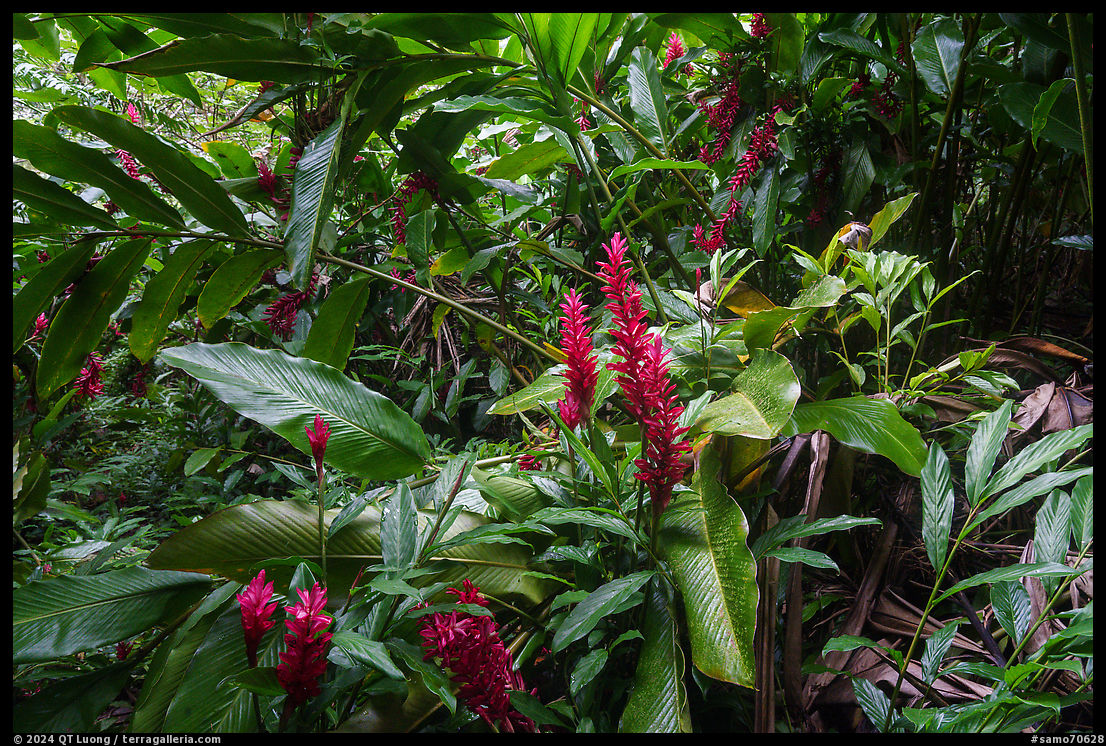
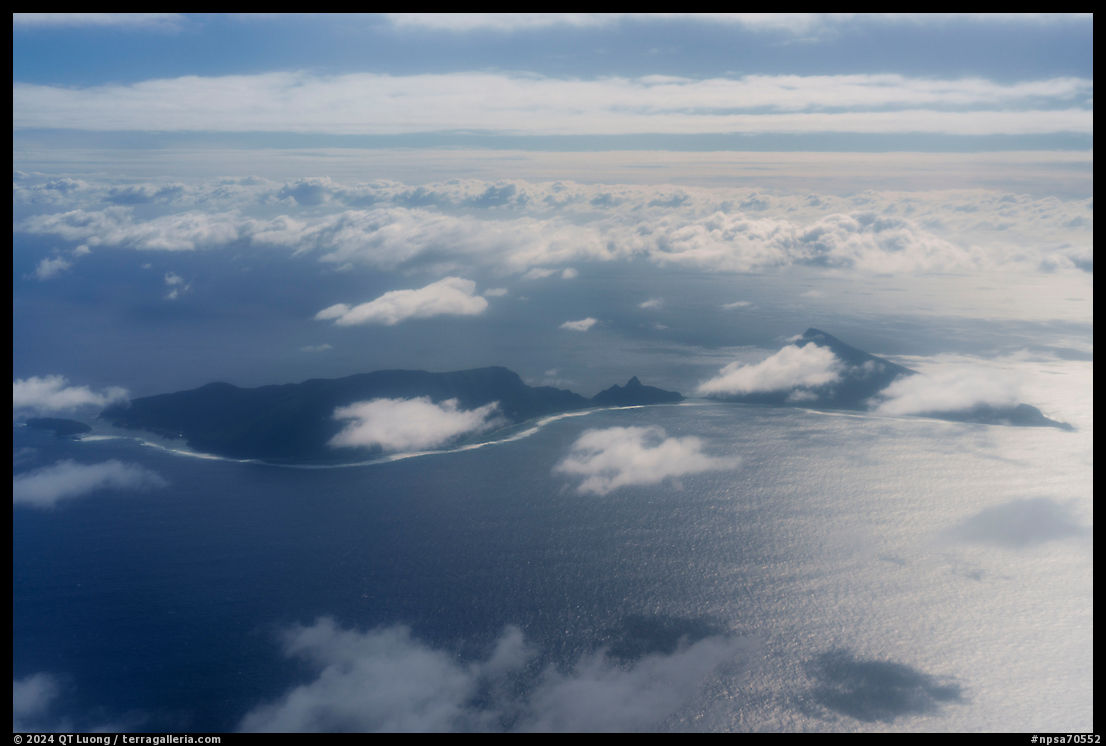
In Polynesia, a paradise-like chain of volcanic mountainous islands clothed in the greenery of old-world tropical rainforest is ringed with steep sea cliffs, glistening beaches, and biologically rich South Pacific coral reefs.In 2002, when I visited Ofu Island, considered by many to be the crown jewel of the National Park of American Samoa, I realized that those three distinctive elements of the park could be captured in a single iconic image: a split image whose top would depict the beach and mountains, and whose bottom would be an underwater view of the coral reefs. However, the Nikonos V camera that I brought was insufficient to photograph that vision. In addition, due to unforeseen logistical problems, I could spend only two days on Ofu, one of which was cloudy, which isn’t good for shallow underwater photography. In the following decade, a few photographers captured a split image of Ofu. Only one of them, Floris van Breugel, fulfilled my vision of the iconic image. Photographs like that, which could tell by themselves the story of the park do not happen just by serendipity or immersing oneself in the moment and communing with nature.
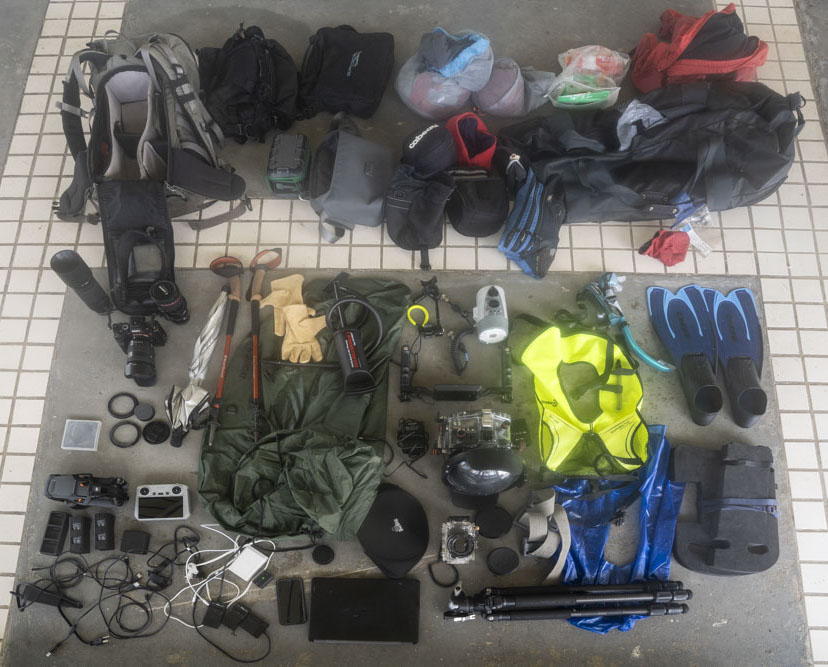
After I decided on short notice to join Tommy for a trip to American Samoa, my priority was to try to make the photograph that had eluded me. I meticulously reviewed the previous split images I had made before in other locations to understand how they could be improved. I studied all the materials I could find about this most challenging type of photograph. I gave serious thought about upgrading my digital underwater set-up – a 15-year old Canon 5Dmk2 and 17-40mm lens in an Ikelite housing with an 8-inch dome port – and obtained a pro-deal, but after testing, for various reasons eventually decided to stick to my existing equipment. I built a custom floating board and practiced in a swimming pool. Despite the seemingly draconian weight limit for flights to Ofu, I packed all sorts of gear for underwater photography to make sure I would be prepared to deal with many situations. As another objective was to hike the trails that had eluded me, I researched them thoroughly and packed serious hiking equipment.
First day on Ofu: scouting in cloudy weather
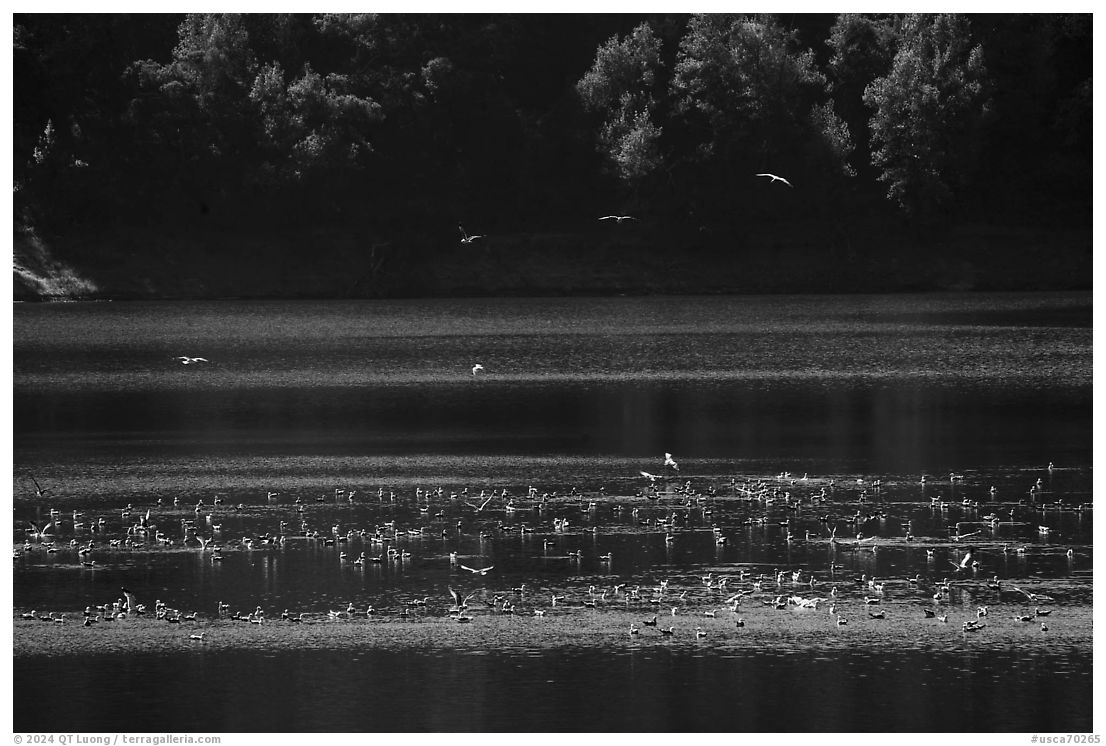
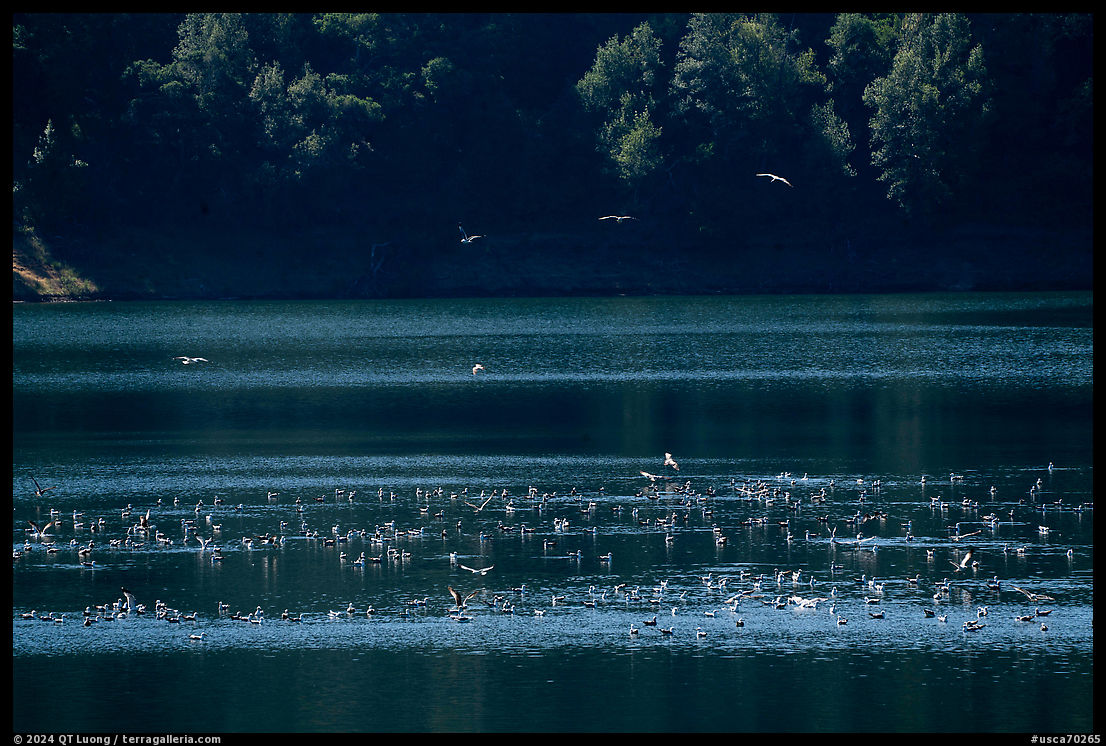
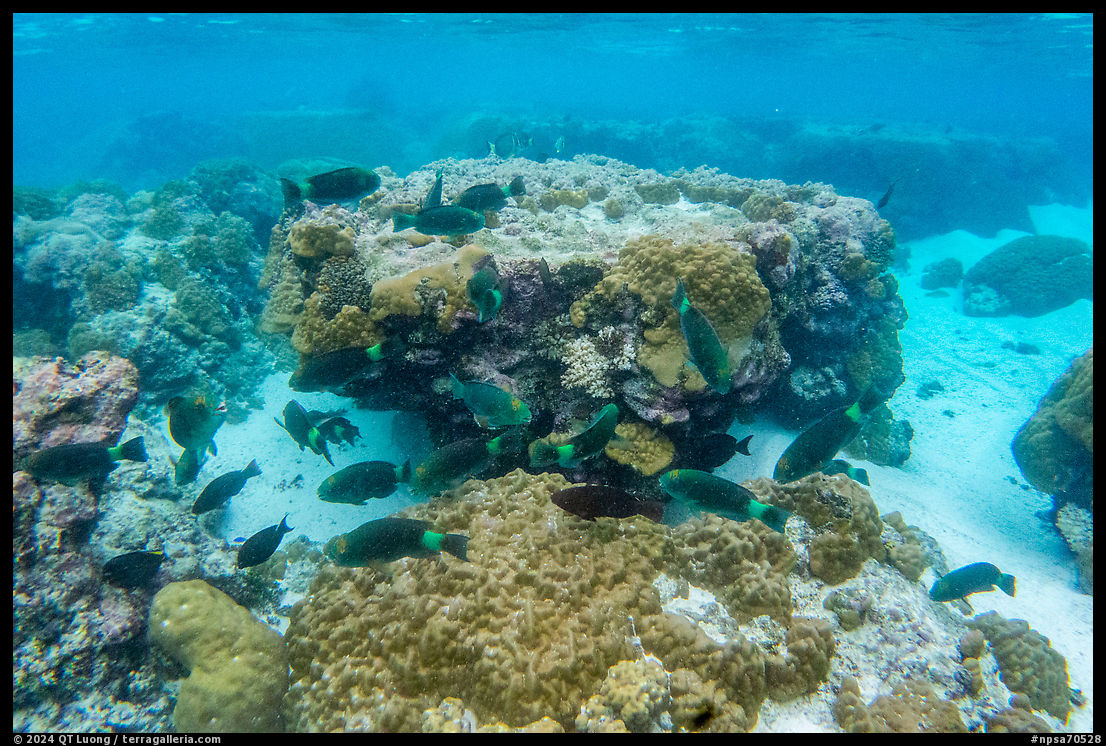
A few days after we travel to American Samoa, we land on Ofu in sunny weather, with just a few tropical clouds in the clear blue sky. As the Vaoto Lodge is just a few steps from where the plane parks on the airstrip, it is quick work pulling my duffel bag across the lawn. I was eager to get in the water, but before we had to attend the welcome briefing from Ben, the friendly and laid-back Vaoto Lodge caretaker, and unpack our bags. I also needed to reconfigure my camera backpack to fit the bulky underwater housing and snorkeling gear. We walk along the island’s only road from the lodge to Ofu Beach. For the first one-third of a mile, the bank from the road descends steeply into ocean water. As soon as we see a beach, we scramble down. Seeing that clouds have moved in and the water appears choppy, I swim without the camera for a visual inventory. The water is delightfully warm, corals are diverse, and fish are abundant. However, due to the overcast sky, underwater views are murky and wave action ruins the visibility by stirring up the sand. It starts raining. On the way out, the surf pounds me, and I end up with sand all over my hair. Cloudy weather is not favorable for underwater photography as one needs the sun to shine into the water to light up the subjects and create contrast. Therefore, we return to the lodge, borrowing bikes to scout for a segment of the beach where the lagoon would be wider and the water calmer. Biking to the bridge between Ofu Island and Olosega Island, we stop at several locations and note the conditions, hoping to return the next day in better weather.
Second day on Ofu: storm
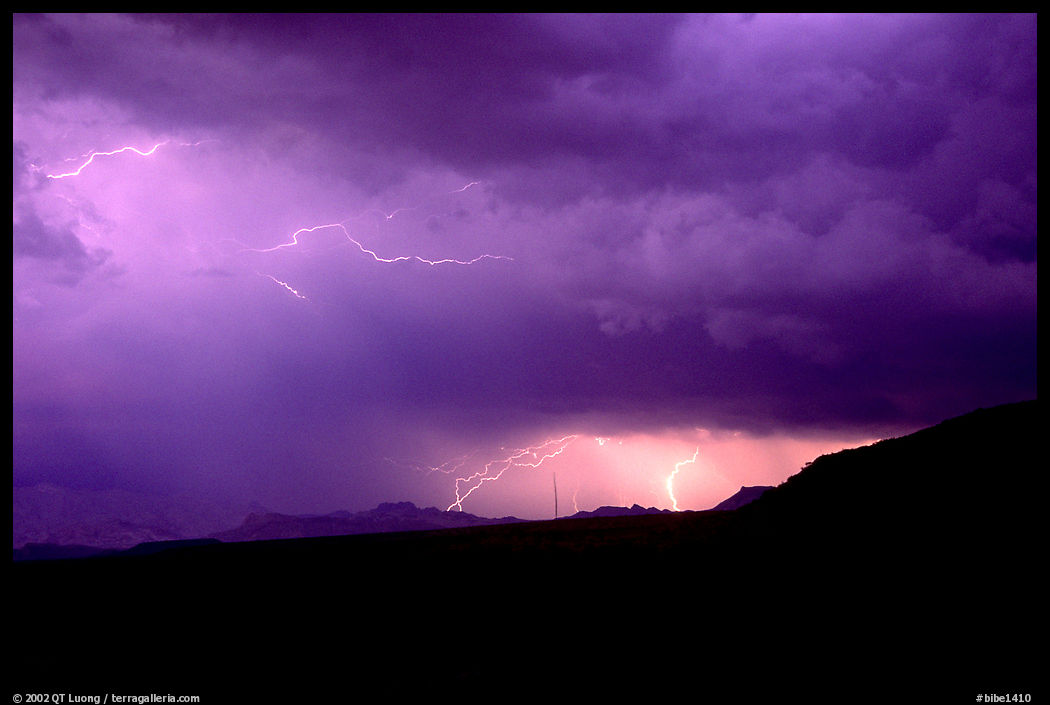
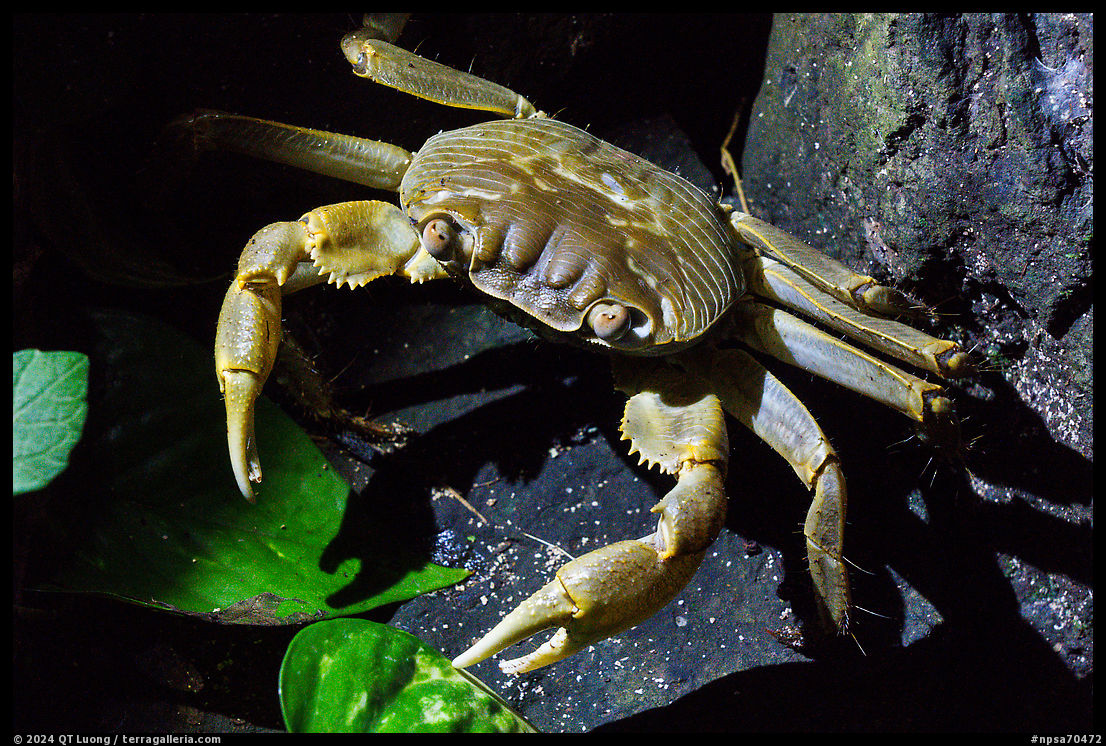
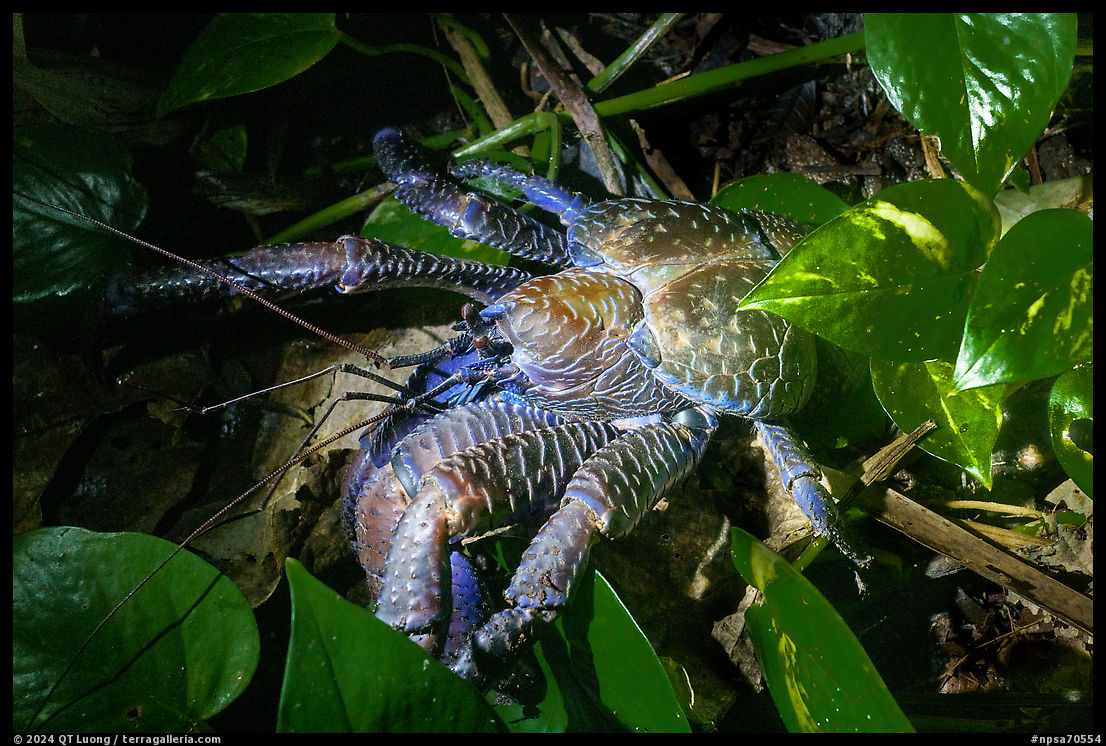
Those hopes are dashed when the day starts with heavy rain and wind. When it is only raining, I can enjoy a photography session despite the inconvenience of having to struggle to keep the gear dry under an umbrella. High wind makes that impractical, so we spend the entire day inside the lodge’s spacious common area. Wifi is available and my Astca SIM card provided a reliable cellular signal the day before, but today nothing works. The Manua Islands consisting of Ofu, Olosega, and Tau normally get their internet and cellular phone from an undersea fiber optic cable. Instead of having it land at a beach, they laid it over the reef where it got damaged. While repairs are in progress, they transmit data to the local towers by radio signal. Water in the atmosphere affects the transmission of the signal over the lengthy 60 miles separating the Manua Islands from Pago-Pago, the main city in American Samoa. As a result, cellular and internet are down. As it rains all day, we socialize with the other guests. Besides Tommy and I, the only other tourists on the islands are the kind family of Greg Miller, Mary, and their daughter Abi who is a park ranger at Rocky Mountain National Park. Manaia (“Nice”) and his grandson George live on Tau Island. They were hoping to catch a fishing boat for the crossing from Ofu to Ta’u, but in that storm, it was not possible. Walking in the forest at night in the rain may sound like a strange activity. However, thanks to Manaia, it turned out to be the highlight of our day, when he invited us to join him for coconut crab hunting.
Third day on Ofu: rain
As Saturday started with no rain, I thought of hiking Tumu Mountain since the trail will be closed on Sunday and we planned to cross over to Tau Island on Monday. However, when I see a clearing, I try my chance at the beach. As I set up to drive the truck, Manaia and the Millers asked to join and drive to the bridge. They take a while to get ready and eventually drop me off with all my photography gear in the backpack and all my underwater gear in the duffel bag at a beach Tommy and I had scouted two days before. By this time, The clearing is gone. It lasted only fifteen minutes. As rain starts, I take cover under the only shelter available along the two miles of Ofu Beach until the others pick me up a few hours later. It rains most of the afternoon and evening. Since I have already used up three of four days on Ofu without results, I am pondering extending the stay. Hawaiian Airlines has a monopoly on flights from the United States to Pago-Pago, American Samoa’s only sizable airport. The other routes home are circuitous and involve transit through at least three airports, which would be burdensome given my luggage. When I look for new flights to Honolulu from Pago-Pago, I discover that everything is sold out for the next 25 days, even though Hawaiian Airlines has added a Thursday flight for the summer to the Monday and Wednesday flights. Flights to Pago-Pago and the Manua Islands are not available every day, therefore one has to make choices when arranging a trip to American Samoa. The combined length of Ofu and Olosega Islands is less than four miles, their surface area is five square miles, and the national park consists of a stretch of two miles of beach. Because of that, when Tommy asked for itinerary suggestions, I proposed to spend a few days on Tau Island. Tau and Ofu/Olosega are less than seven miles apart, so it made more sense to cross by boat and book our Manua Islands return flight to Pago-Pago from Tau rather than flying from Ofu to Pago-Pago and then from Pago-Pago to Ta’u. However, it meant that to catch our flight from Pago-Pago to Honolulu next Wednesday, we would have to be able to make the crossing to Ta’u. Manaia had offered to join him on the boat on Saturday, but having made no underwater photographs (let alone any satisfactory beach photographs) so far, I had declined. It turned out that on Saturday the surf was still too high for a boat crossing.
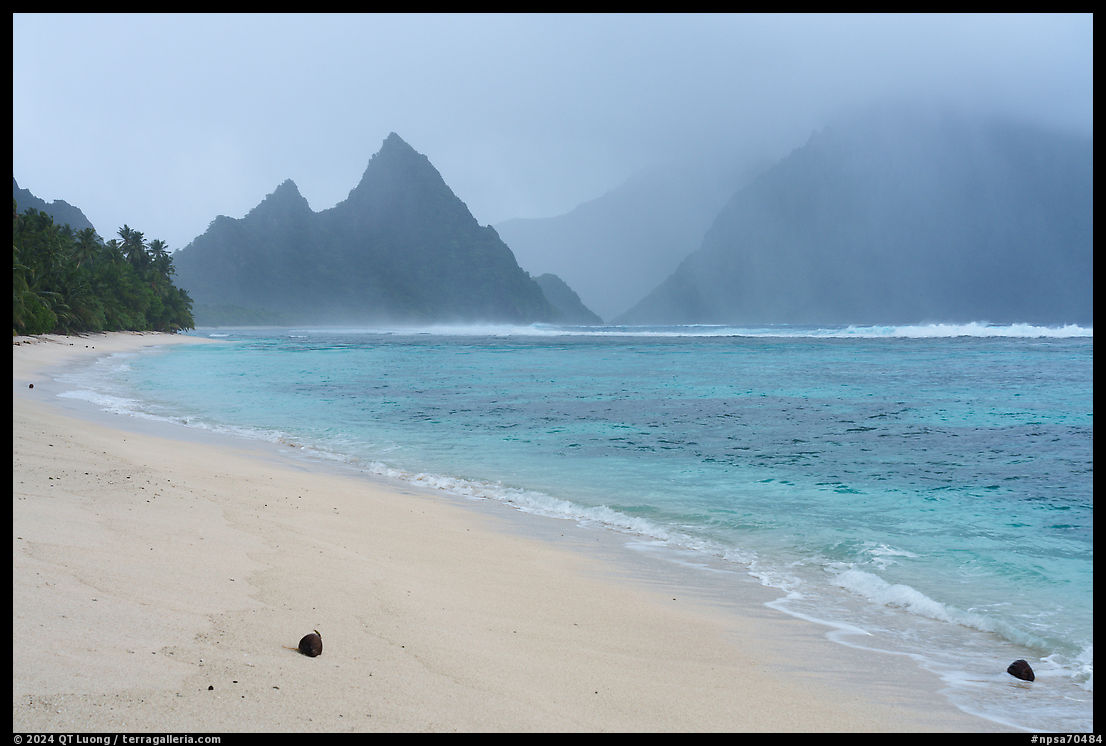
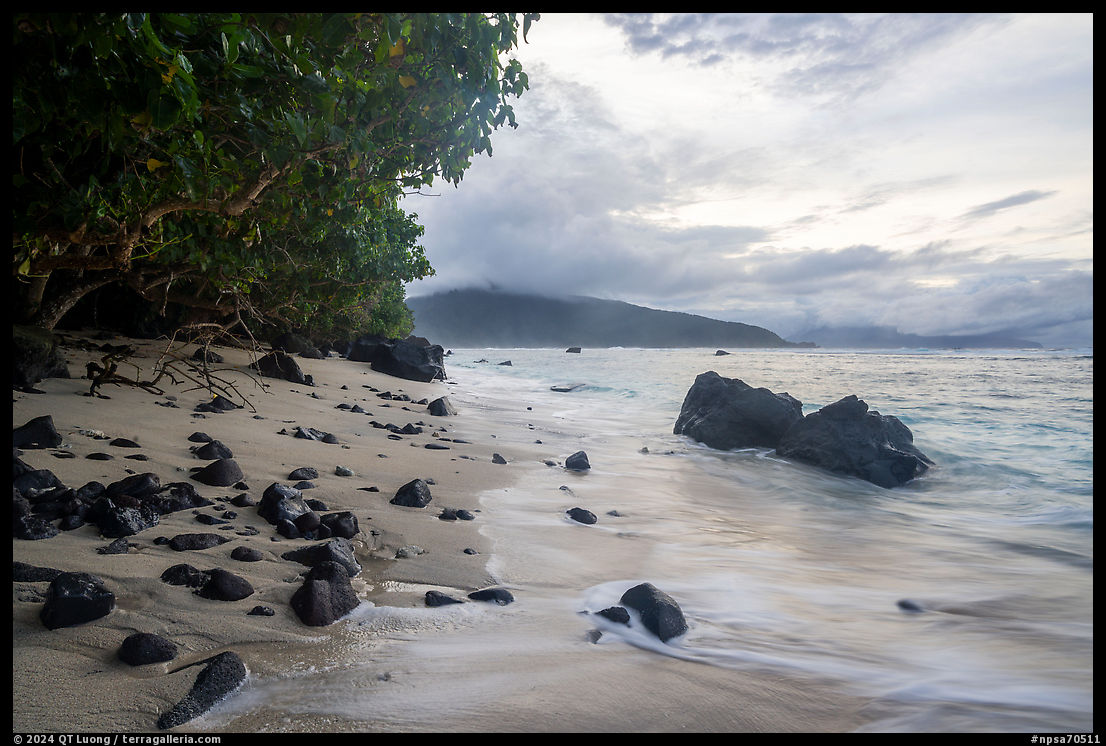
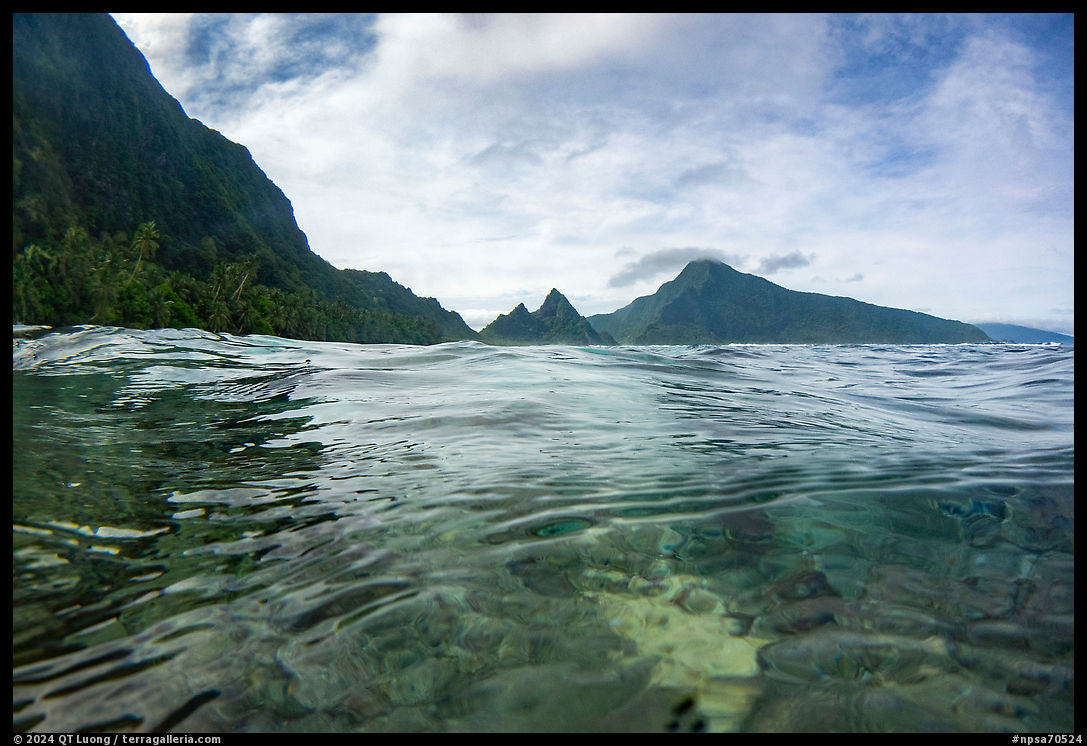
Fourth day on Ofu: cloudy Ofu Beach and flooded housing
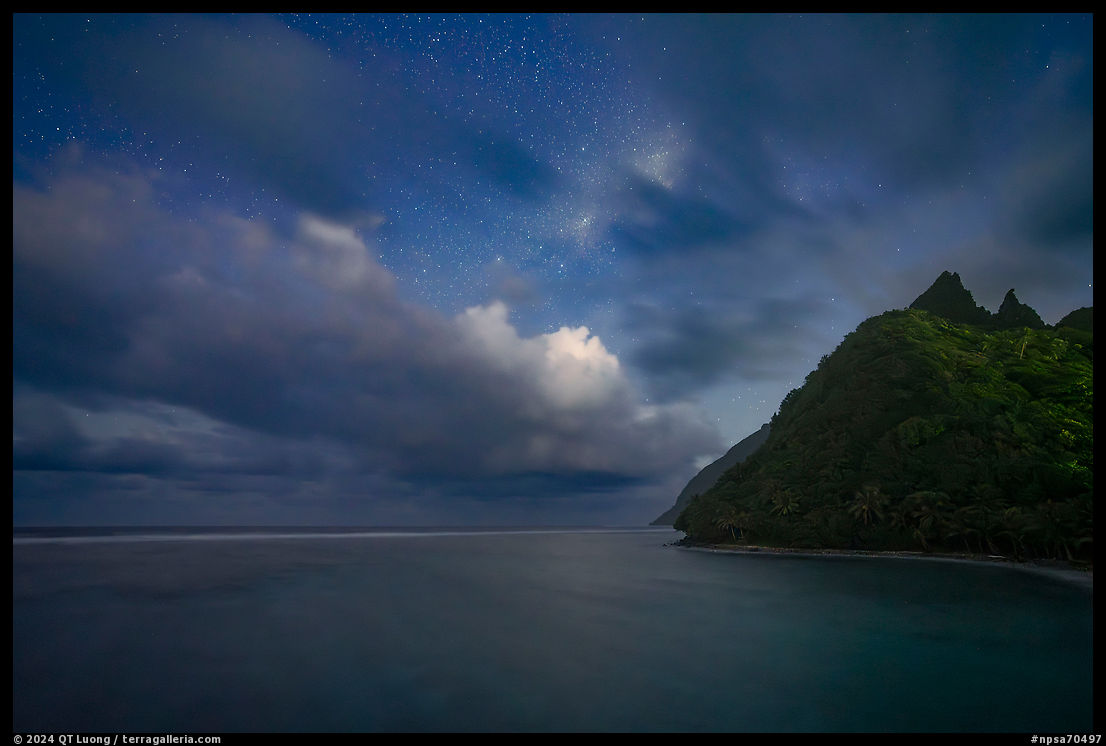
I get up at 6 am, but seeing that it is cloudy, go back to sleep. At 9 am, the weather seems to be improving. After I eat breakfast in a hurry, we drop off my bags at the beach shelter, then return on bikes for maximum flexibility. I do a quick round of beach photos on land in sunny conditions. By the time I get in the water, a cloud hanging over the mountain is shading the lagoon, so although the sky is mostly clear, no sunlight penetrates the water. Today is my first, and possibly only chance to make the photograph I envisioned. Wave action is less strong than the other day, but there is considerable current. At first, I try to fight against it, but it is impossible to stay in place, even if standing chest-high in the water. For each of my swimming passes, I walk to the west end of the beach and drift for a few hundred yards past the shelter. After several passes where I aim for over/under shots, underwater stills, and underwater video, the sky gets overcast and I feel cold. Although conditions were less than ideal, thanks to my preparation I may have gotten something. I hesitate to call it a day. One of the reasons I brought my heavy scuba-diving grade underwater housing rather than a much lighter surf housing was to use underwater strobes in case natural light was less than optimal. Since I have not yet deployed the strobe, I set up for one more pass. I am already tired, I feel hurried because it is late in the day, and I have to set up the cumbersome underwater strobe. Upon entering the water, I realize something is off and stand up immediately. The housing drains an unusual amount of water. I had failed to close one of the latches fully. Back at the shelter, I open the housing and try to turn on the Canon camera. It doesn’t. Saltwater is deadly to electronics. That evening, we moved to the Asaga Inn, whose owner, Celesty had been in correspondence with Tommy about arranging a boat from Ta’u. In the evening, she states that only the next morning will the boatman be able to assess the seas and decide whether he can come from Ta’u to pick us up. Having ruined my Canon camera, I cannot make another serious attempt at the split shot. I am very eager to move on to Ta’u, where there are two routes that I want to hike. In the while, it is a bit of a consolation that the location is favorable for night photography.

Fifth day on Ofu: travel delay and cloudy Tumu Mountain
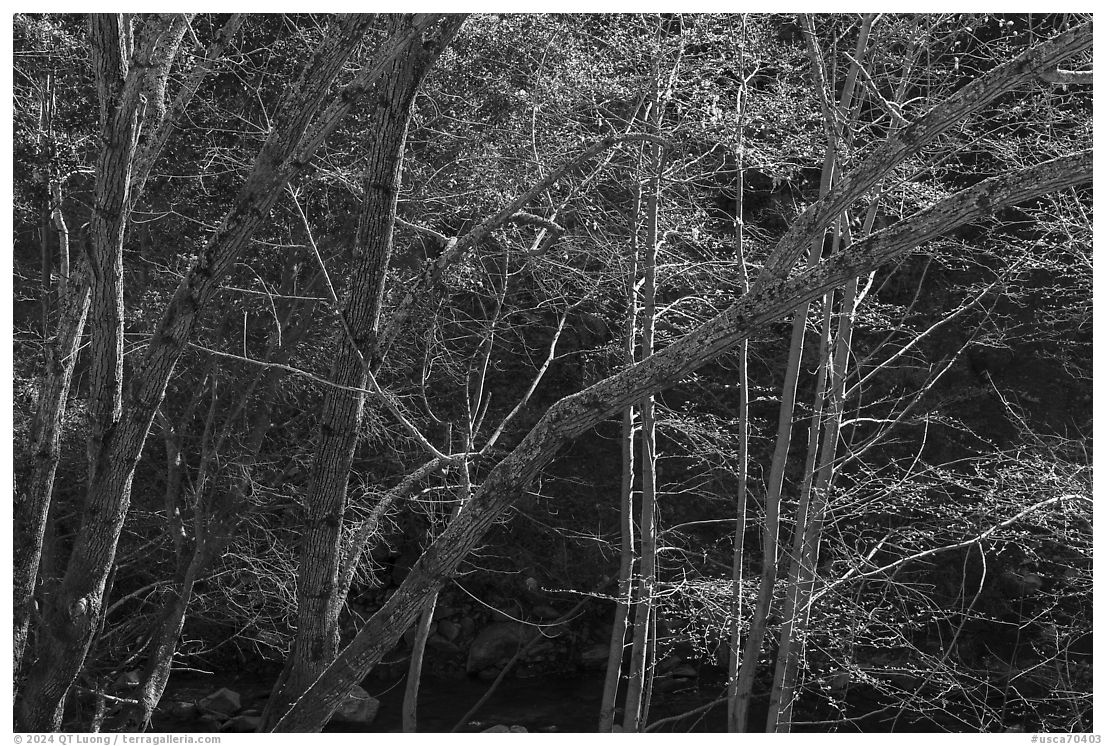
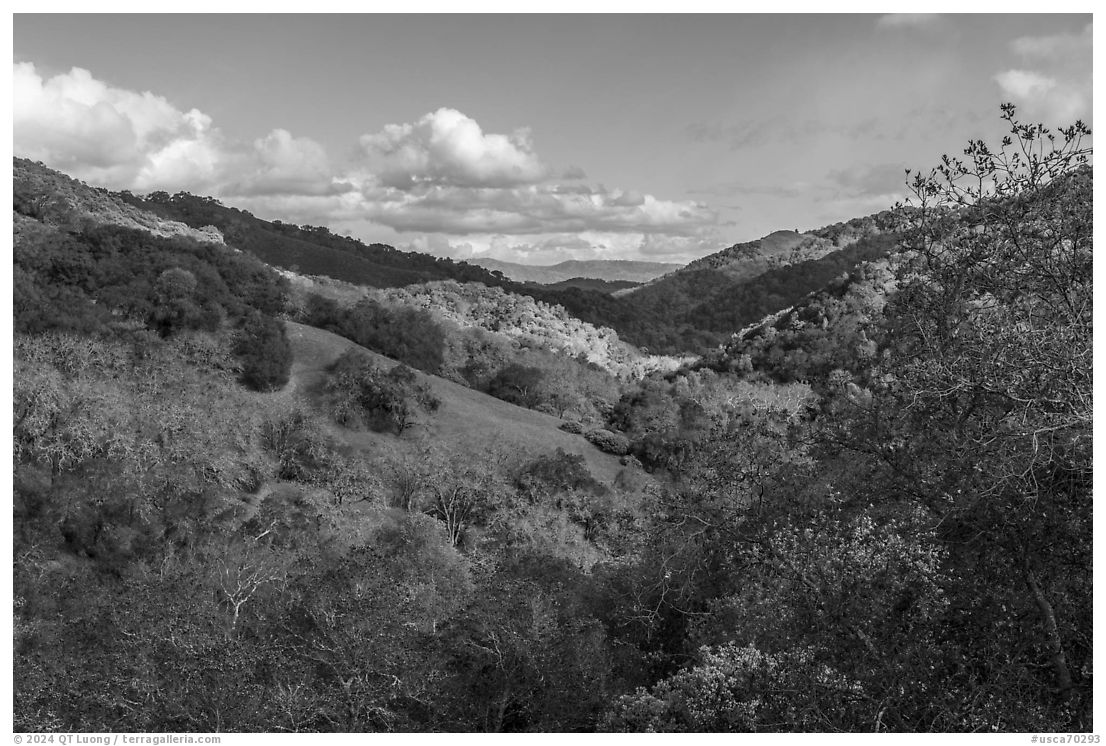
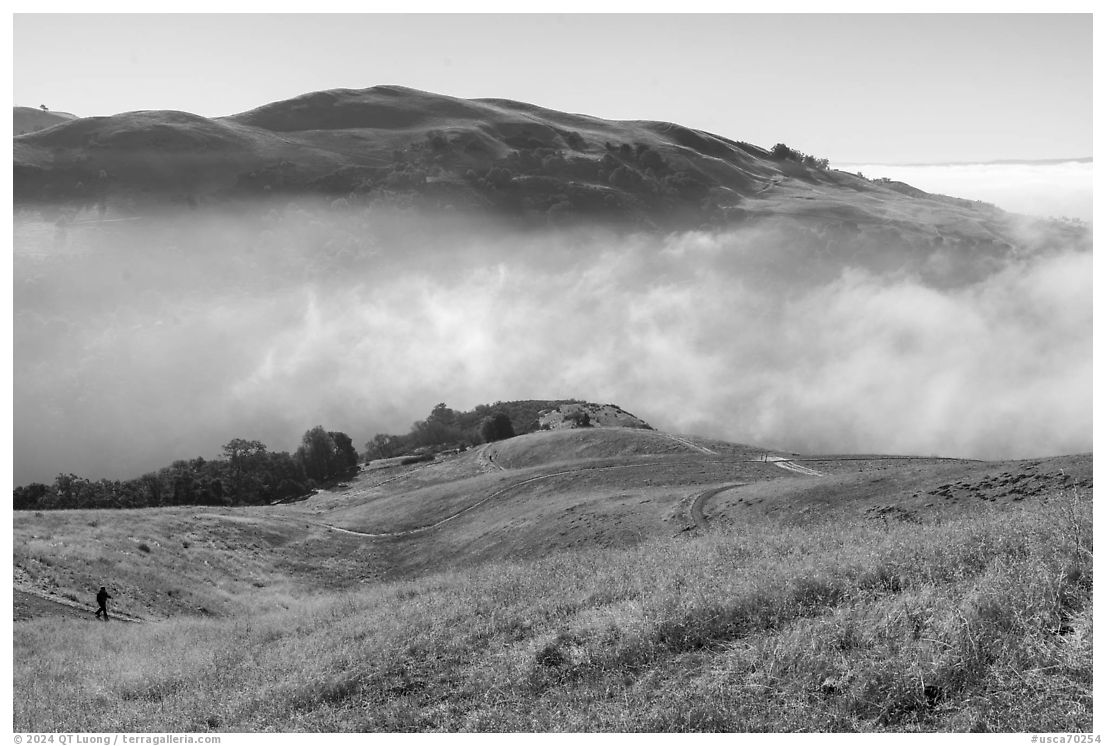
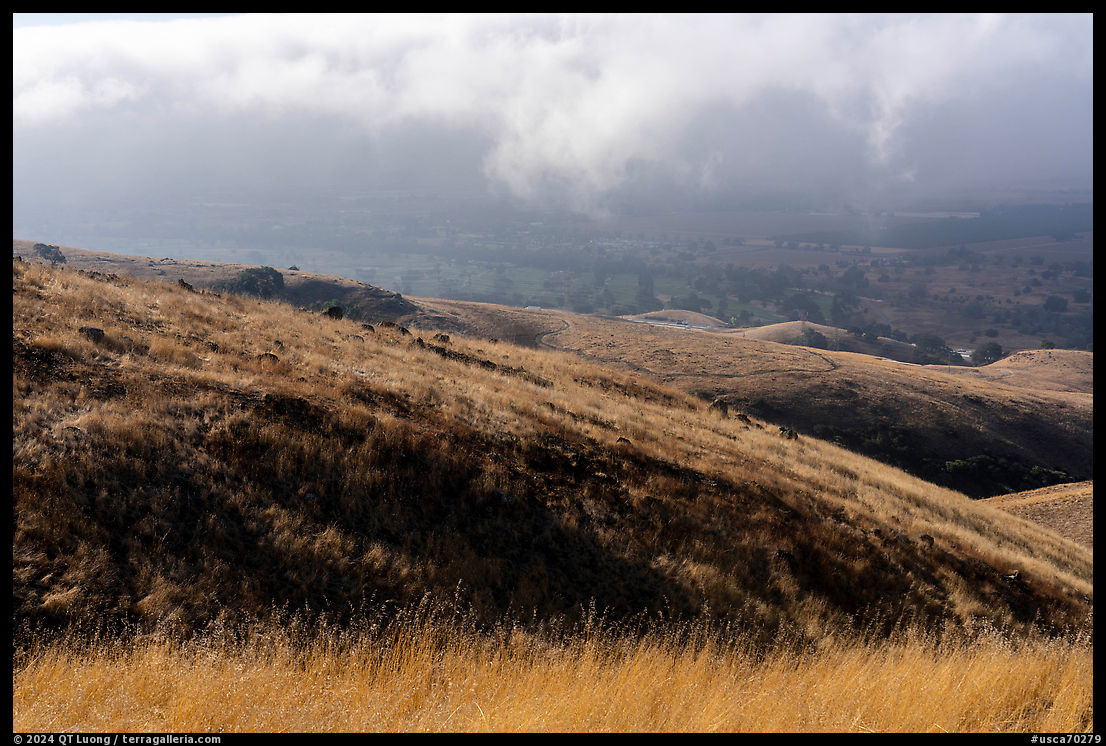
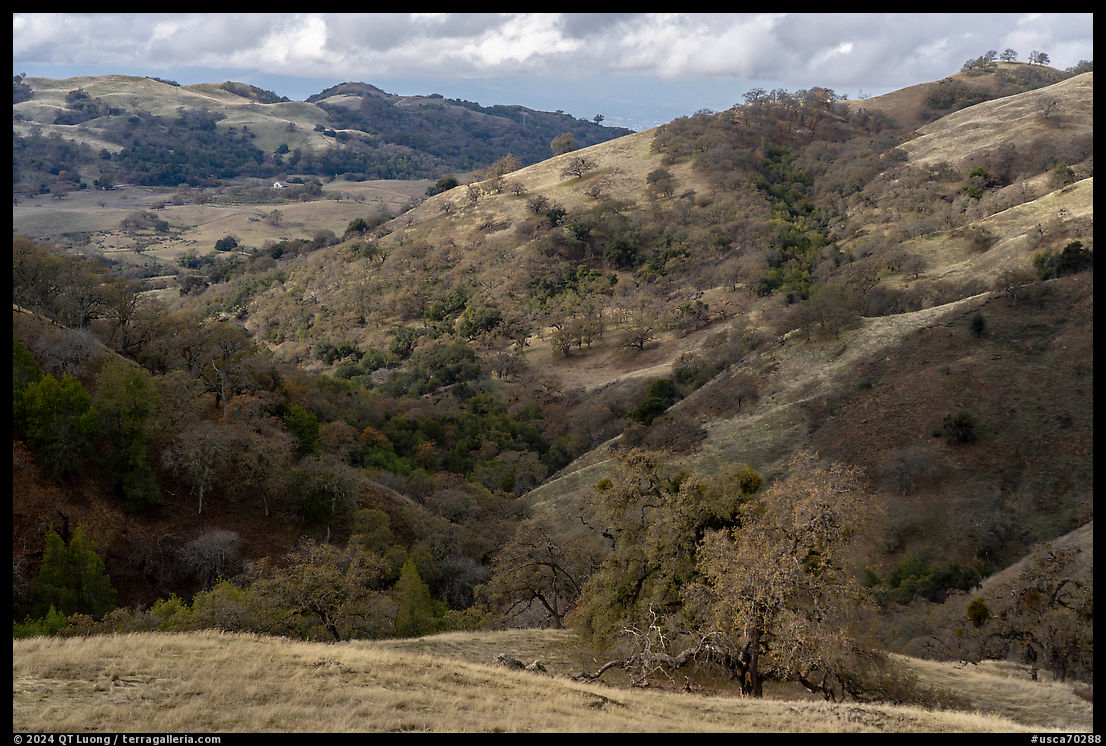
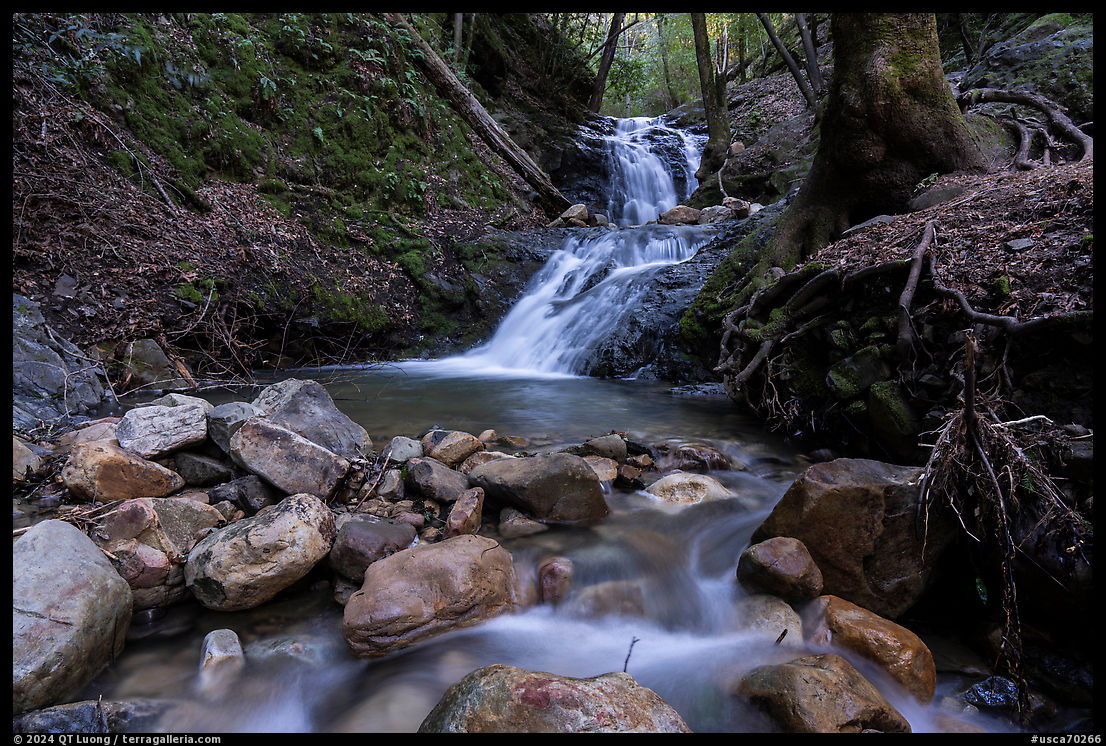
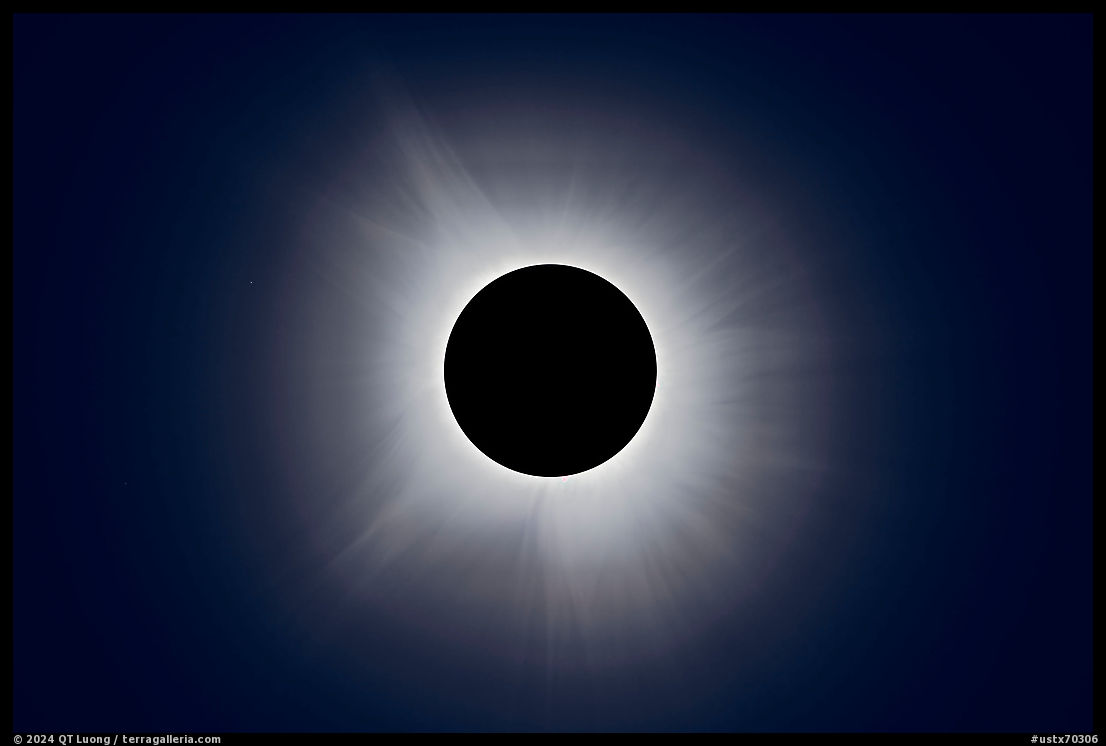
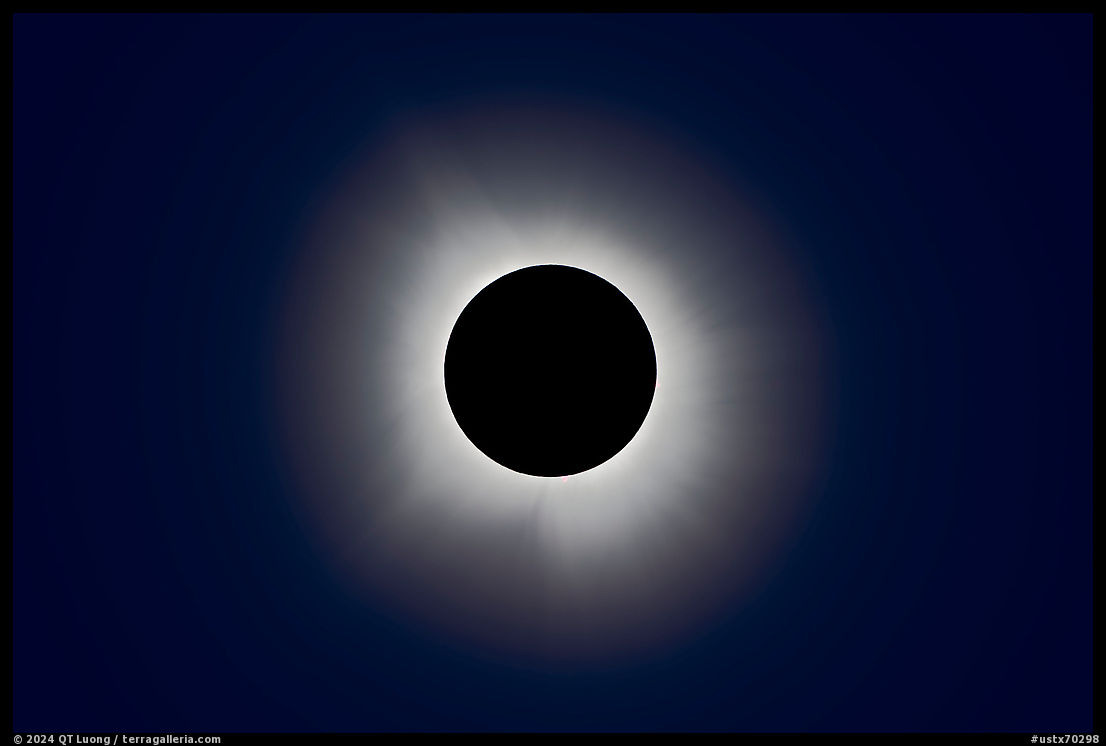
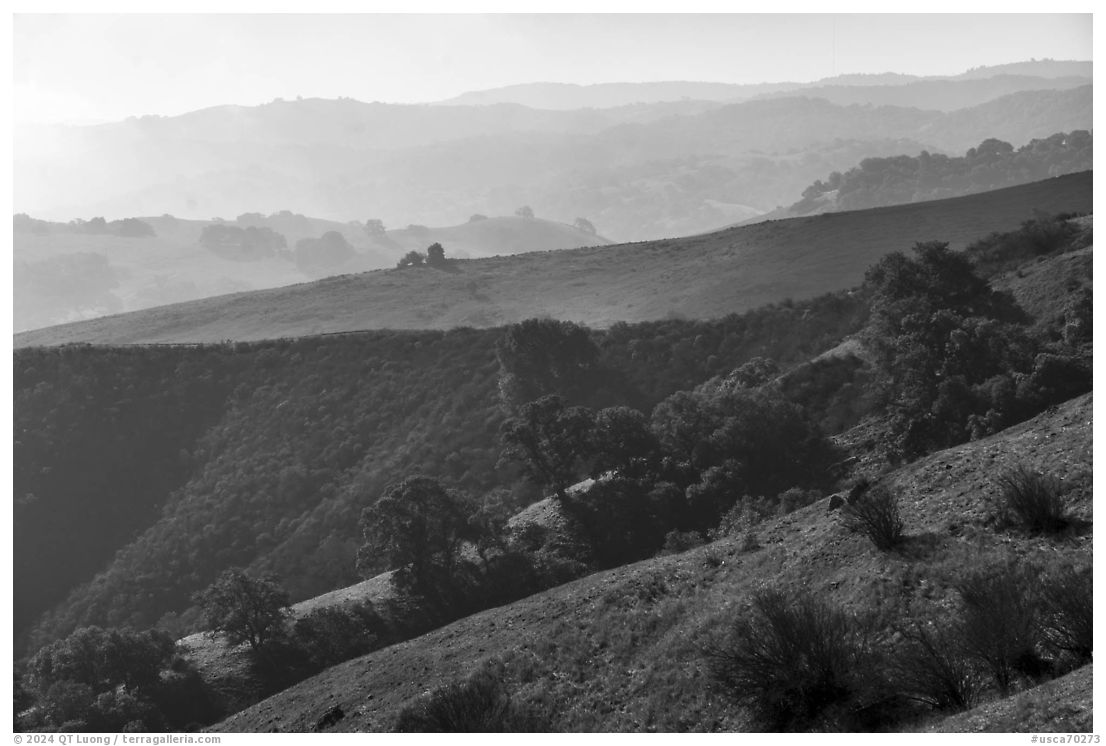
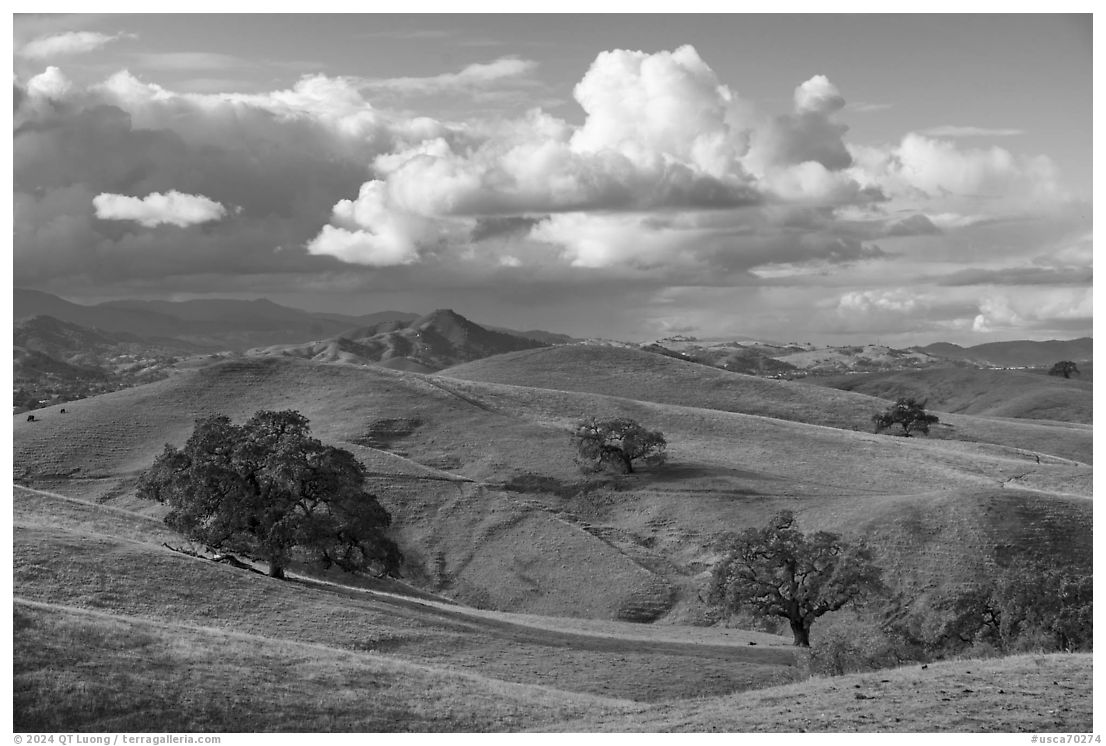
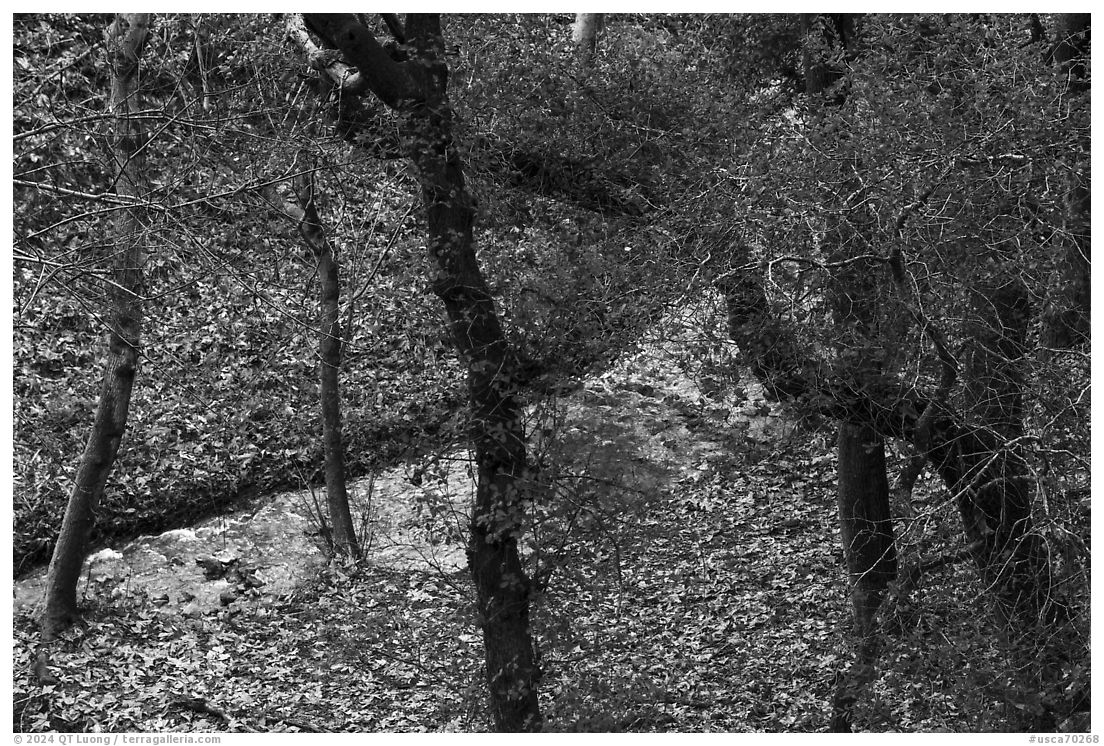
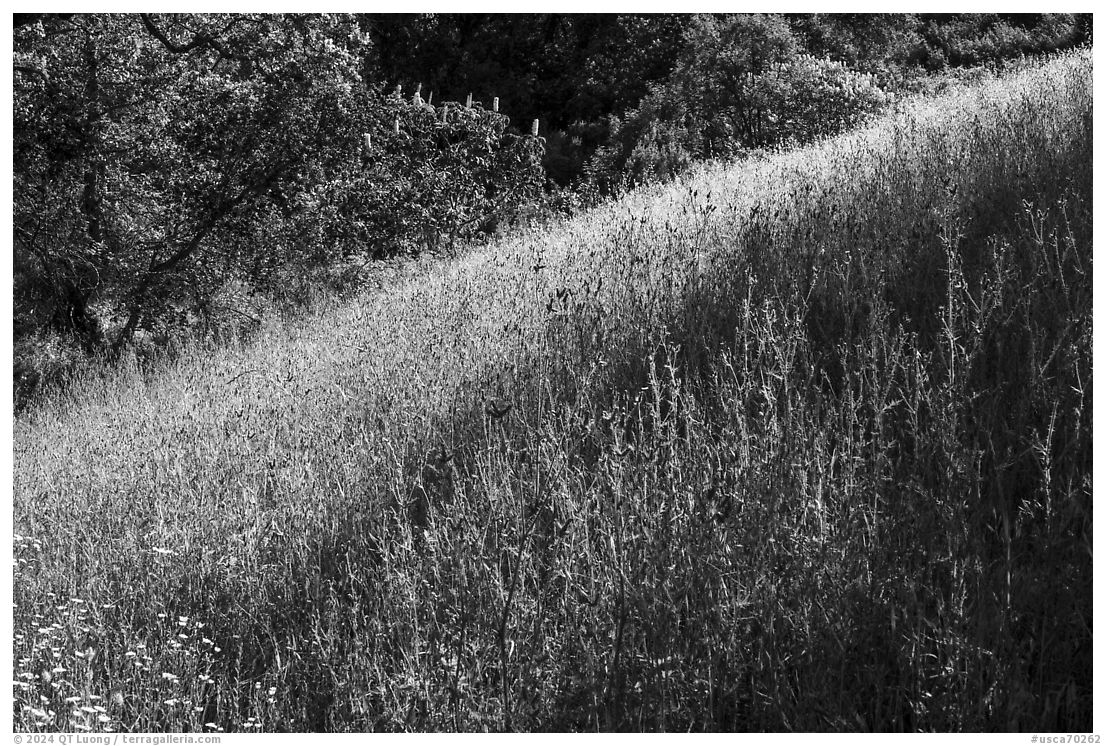
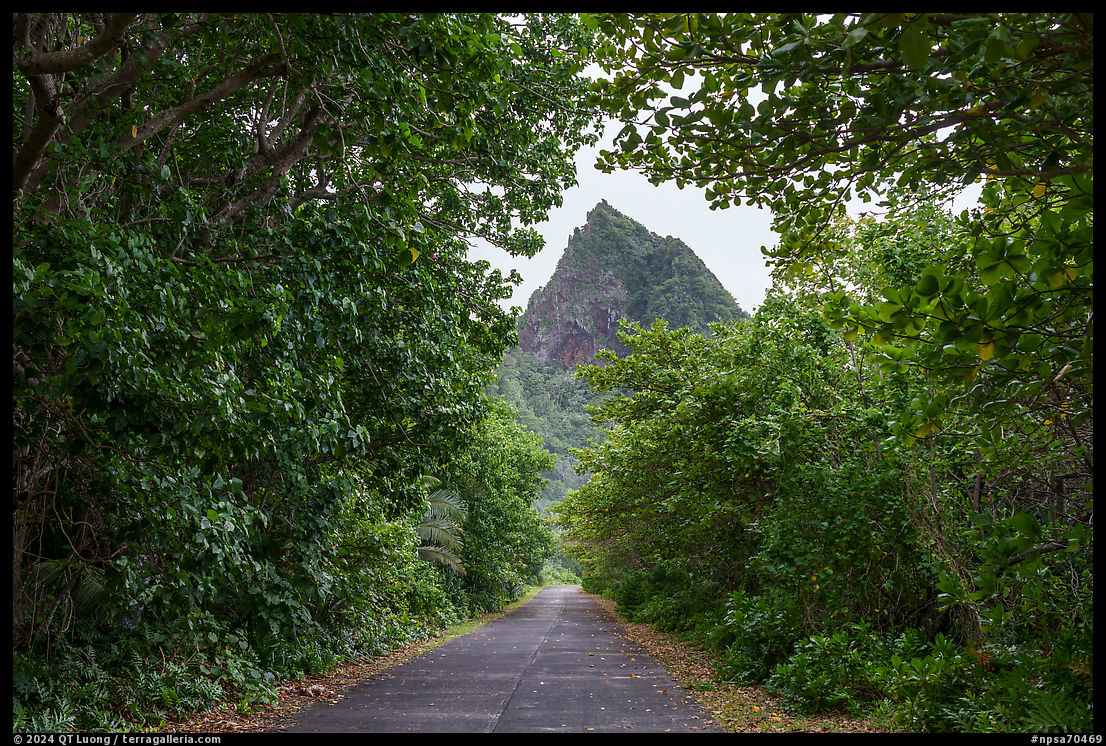
On Monday, I am up at 4:45 am for some night photography and to restart a time-lapse sequence from the bridge. Celeste is also up but has not heard from the boatman. Tommy and I stay on the bridge until after sunrise, after which I launch my drone – take-offs are not possible further west because of the airstrip. Suddenly, Manaia shows up with the truck to pick us up for the crossing. Back at the Vaoto Lodge, we learn that although the seas have calmed, there are still breakers at the particular harbor where the boat is located, preventing it from exiting the harbor. There is a boat on Ofu, but the captain is out of fuel, possibly because the supply cargo trip of last week was canceled. We called Samoan Airlines eight times to inquire about the Tuesday flight. Only one time someone picks up the phone, and after Manaia talks with them in Samoan, they transfer the line to the relevant desk which does not answer. Tommy is not surprised, since in the lead-up to the trip, he spent more than $80 on long-distance calls, most of them consisting of being on hold. Waiting for updates from the boatman means having to stick around the lodge instead of going about our day. I have never packed a laptop on any of my photography trips before, but for this one, I made an exception because I wanted to be able to review the split shots to make sure that I nailed them and correct any mistakes if necessary. During the downtime, I try to access the Canon’s Compact Flash card from the laptop. It is dead. Unlike SD cards, which are waterproof, CF cards have many openings for pins that make them vulnerable to water. I have no underwater photographs. The feeling of failure sets in. Past 1 pm, Manaia announces that there will be no boat today. Although it is cloudy, I decided to hike Tumu Mountain. Manaia drops me off at the trailhead at 2 pm. Previously, he had asked if I needed a machete. Two visitors replied the same as I did, that if they needed one, it would be time to turn around. They ended up turning around quickly. However, I find the lush rainforest trail easier to follow than expected even though I often need to duck below branches. Two hours later, in sight of the radio tower, I realized I had missed the junction for the overlook. Going down, I find the junction marked with pink tape and hike the faint trail to a single fixed rope, arriving at the overlook at 4:30 pm. Action and a relative sense of accomplishment have helped me get past the disappointment of the lost water photos. Even in cloudy conditions, the view is great, maybe among the top ten park views. To the eye, the colors are a muted grey, but they are there and Lightroom color slider moves of 10 units are sufficient to reveal them. Less than an hour after my arrival, low clouds obscured the view entirely. It starts raining, sometimes heavily. The umbrella is not useful since I need to use the hiking poles, and as my glasses get wet, I struggle to see well in the dark. Arriving early at the trailhead for the arranged 7:00 pickup, I walk to the pier from where the sea looks navigable. At the Vaoto Lodge, eggs and tofu have run out, so I content myself with peanut butter as the sole protein source.
Sixth day on Ofu: travel delay and cloudy Ofu Beach
I wake up at 5:45 am on Tuesday and photograph in cloudy conditions until 8:30 am. Back at the lodge, I pack hastily and drag my bags to the airstrip where we bid farewell to the Millers and try without success for stand-by seats for the 10 am flight. A new guest, Whitney Lauritsen, a woman of many talents, arrives. She is on a quest to visit all the parks and is missing only the Virgin Islands and Alaska. Fed up with wasting time at the lodge waiting in vain for the news from the boatman, we head out to the bridge in sunny conditions. By the time we are back to the national park beach, the clouds darken the waters again. I had packed up a backup underwater camera, the Sony RX100 in a Meikon housing with an additional Inon wide-angle lens. The water is calmer than on Sunday, but the current is still strong, so I go for a drift snorkel with Whitney. On the first pass, I notice a strong left-side vignetting on all images. Examining the housing on the land, I find that two small rubber pads are missing, causing the camera to be misaligned. I cut a rubber band from my camera emergency kit using the survival tool in my camera bag and installed it in place of the pads. On another pass, pictures suffer from fogging. Having not used the Meikon housing for years, I had forgotten that the Inon lens is best used with water filling the space between the lens and the housing. My last pass takes place around 5:30 pm, without a strobe, I crank ISO to 1600, but shutter speeds are still marginal, so I call it quits. See the under-over split shots I was able to get from that afternoon. Tomorrow, we need to catch the flight from Tau in the morning, otherwise, we won’t be able to make our return flight from Pago-Pago. Because of his trade as an electrician – despite having majored in art at UCLA, Manaia knows everybody in the Mauna Islands, yet he has not been able to secure a boat passage to Tau in five days. As we go to bed without hearing a word from the boatman, Tommy and Whitney plan to hike the next day to Tumu Mountain. Since Tommy wanted to start at 6:30 am, I was thinking that if I joined them for a chance at better light than I had, I could return to the beach at midday.
From Ofu to home
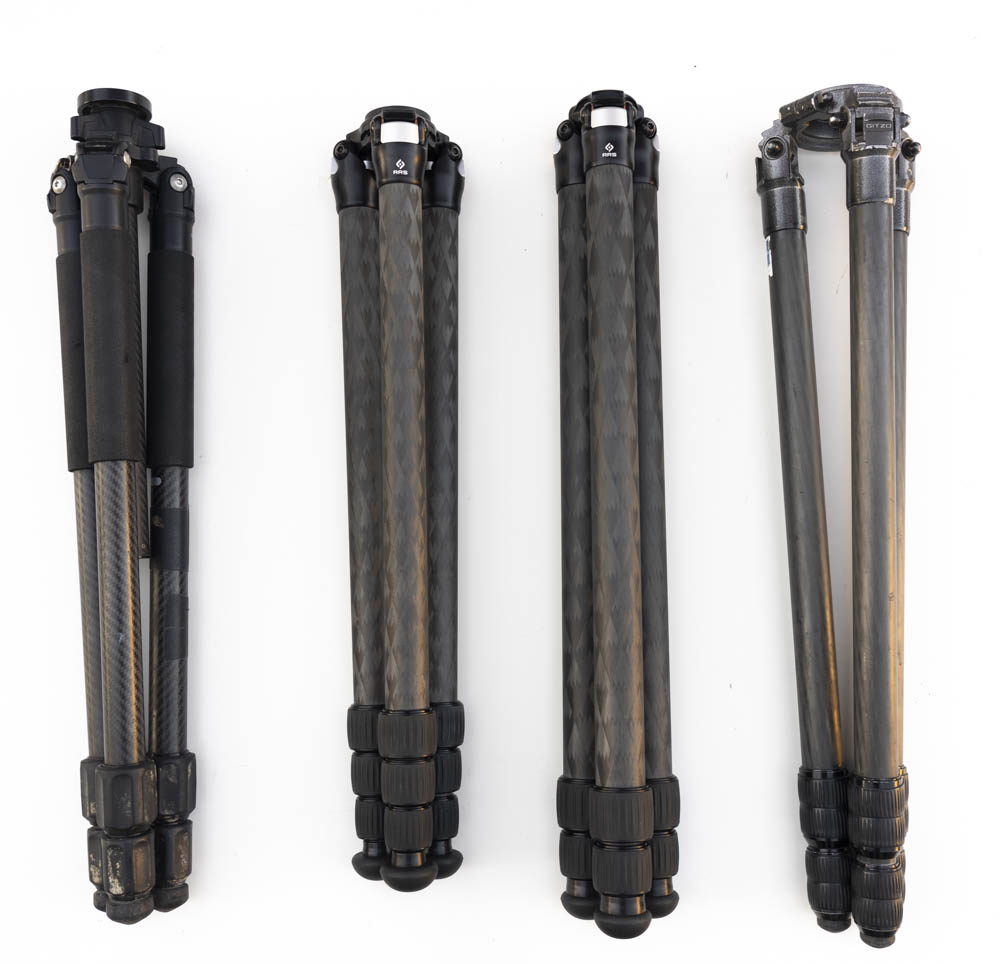
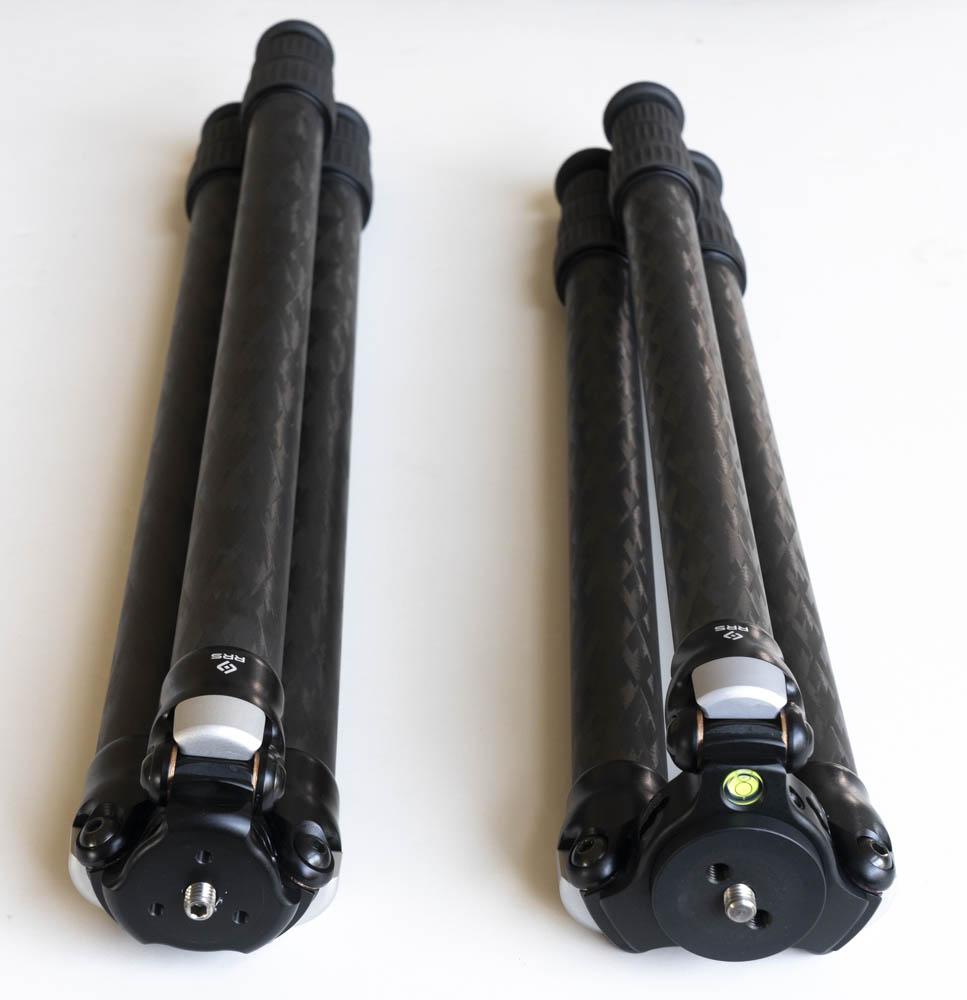
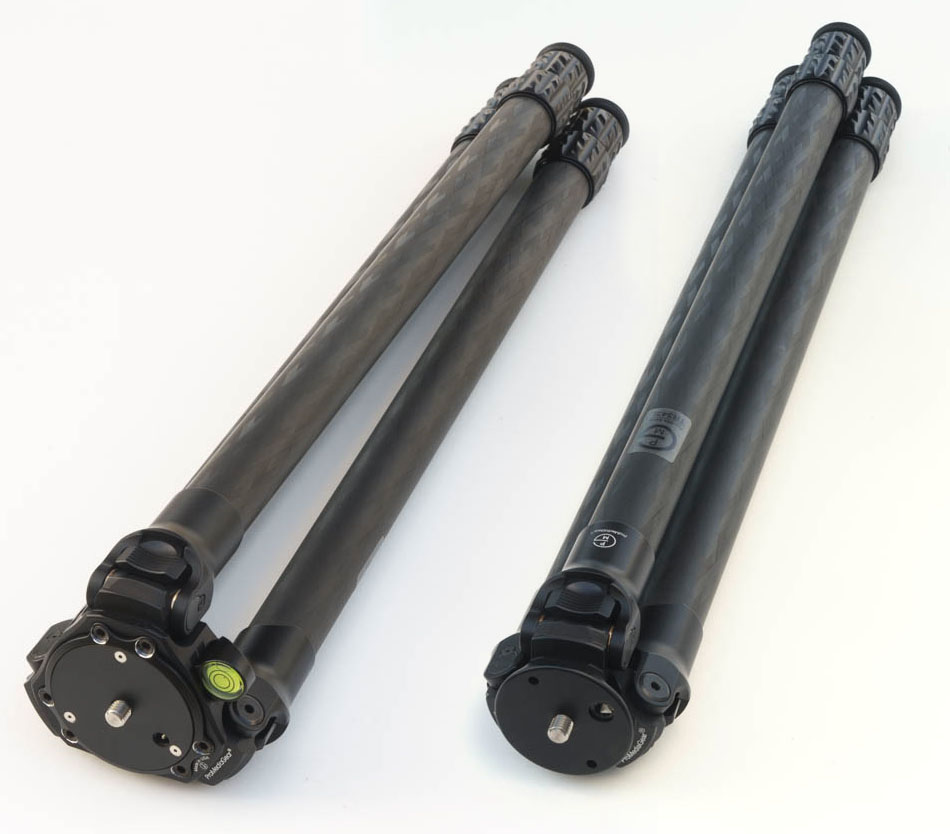
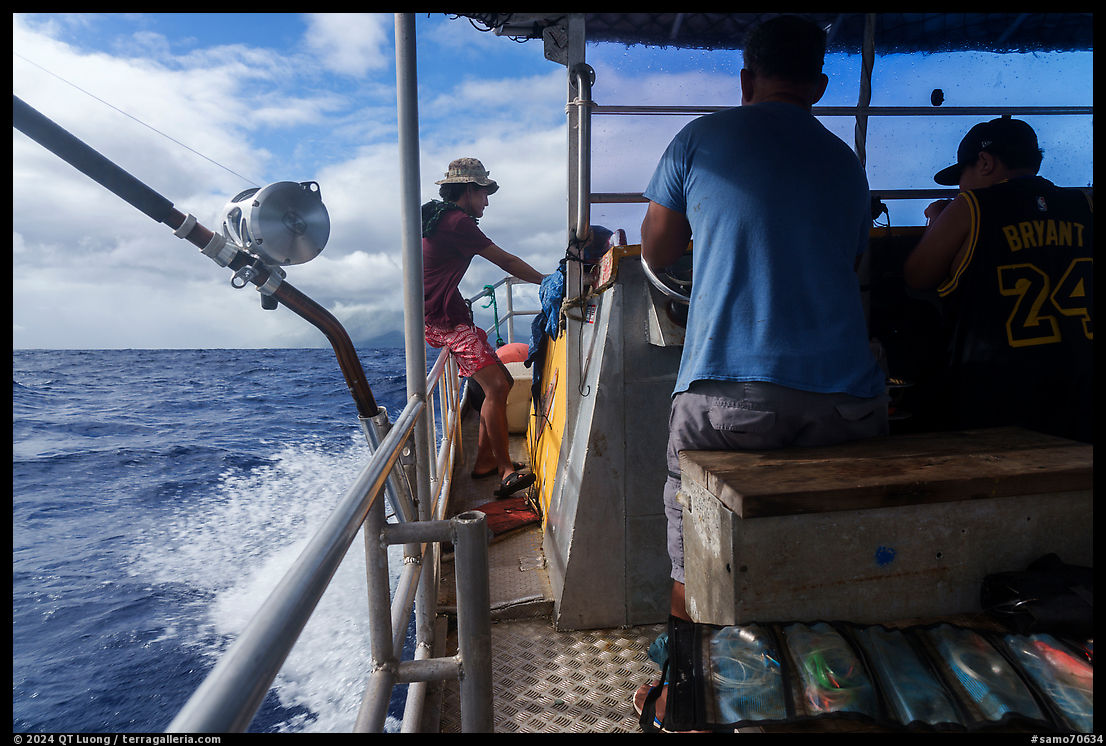
At 8:15 am on Wednesday, George yells that the boat is at the pier. According to plan, we would have been on the Tumu Mountain Trail, but Whitney needed to finish some client work in the morning. Since we did not hear from the boatman in the morning nor the evening before, Manaia packs in a hurry. By the time we get to the pier, it is almost 9 am, making it certain that we will miss our flight at 10:05. A cargo ship is moored at the pier. When we learn that it will leave in a couple of hours for Pago-Pago, we calculate that the eight-hour crossing may make it possible for us to catch our flight to Honolulu and we decide to go for it. However, the Coast Guard does the vessel to take us, so we are back to the alia. The harbor is on the west end of Ofu, so we need to navigate 12.5 miles of ocean, which takes about an hour. The seas are rough, but the ride with the fishermen is fun. Although I try to shield my A7R5 camera from water splashes, it still gets wet. Since the second day on Ofu, my A7R4 kept stubbornly displaying an error message “Accessory not compatible” even when the lens and battery are from Sony. After I dismissed the message, I had only a few seconds of respite before it popped again. Now my A7R5 is also afflicted by this behavior (note: after a week in dry California weather, both cameras appear to have recovered). This adds to a litany of equipment issues, as during that trip, I also cracked my expensive and hard-to-replace Firecrest polarizer and my previously reliable Induro tripod developed the dreaded floppy legs syndrome. In addition, both of my wide-angle and normal zooms often developed internal condensation resulting in locally lowered contrast. At the harbor of Faleasao on Ta’u, we hitchhike on a truck that takes us to Siufaga from where we have a better chance of catching a ride across the island to Manaia’s house. A third ride on the back of a truck takes us to the airport around 11:30 am. The airline agent mentions an afternoon charter flight, so we hang out. Passengers begin to arrive, but suddenly it starts raining torrentially. The plane was on its way, but due to poor visibility at the Tau airport, it turned around and landed in Pago-Pago. After more waiting, we learn that the flight has been canceled for the day. We were so close to having made it. Manaia offers us to stay at his artistically decorated home next to the beach where he demonstrates the meaning of Samoan hospitality. On my 2002 trip to American Samoa, although I had spent involuntarily five days on Tau, the lack of information caused me to miss the difficult and seldom-traveled trails to Lafauti Fall and Lata Mountain. One of my goals on this trip was to hike them, but that won’t happen. Because the rain has resumed, we don’t even attempt to visit the national park.
After all those setbacks, things suddenly work in our favor on Thursday to get us home. At the airport, we meet Eseta, the charming homestay host with whom we would have stayed if we had reached Tau on schedule. She mentions that in June, the Park Service will start rebuilding the trail to Lata Mountain for which I had envisioned hiring guides to cut the way up with machetes. The charter flight is not full, and the person who commissioned it agrees to let us ride back to Pago-Pago with them. At the Hawaiian Airlines office, Tommy miraculously obtains guaranteed standby seats. We spent the rest of the day touring the western part of Tuitula Island with Whitney, during which I rebooked my flight from Honolulu to SFO, whose cost in miles has ballooned to 31K. The last moment of concern comes at the departure lounge. The Hawaiian Airlines agent had handed me out a boarding pass without a seat assignment, with instructions to wait for my name to be called. All the other passengers, including Tommy, are seated in the airliner, it is past flight time, and they still have not called the names of the passengers to be assigned seats. I am eventually given a boarding pass with a window seat next to Tommy. It all worked out and I got home on Saturday, which was not a given. I was so concerned about how to get out of the islands, but in retrospect I felt privileged just to have been there. Although difficult in the moment, despite all the unrealized plans, the trip to American Samoa worked out as a great experience, and as a preparation for the next one. If this story has inspired you to visit Ofu, be sure to read my comprehensive guide to Ofu Island.