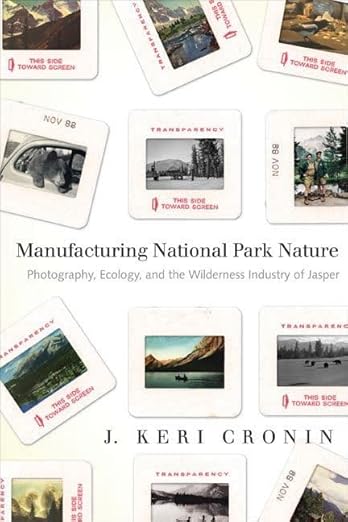
Manufacturing National Park Nature
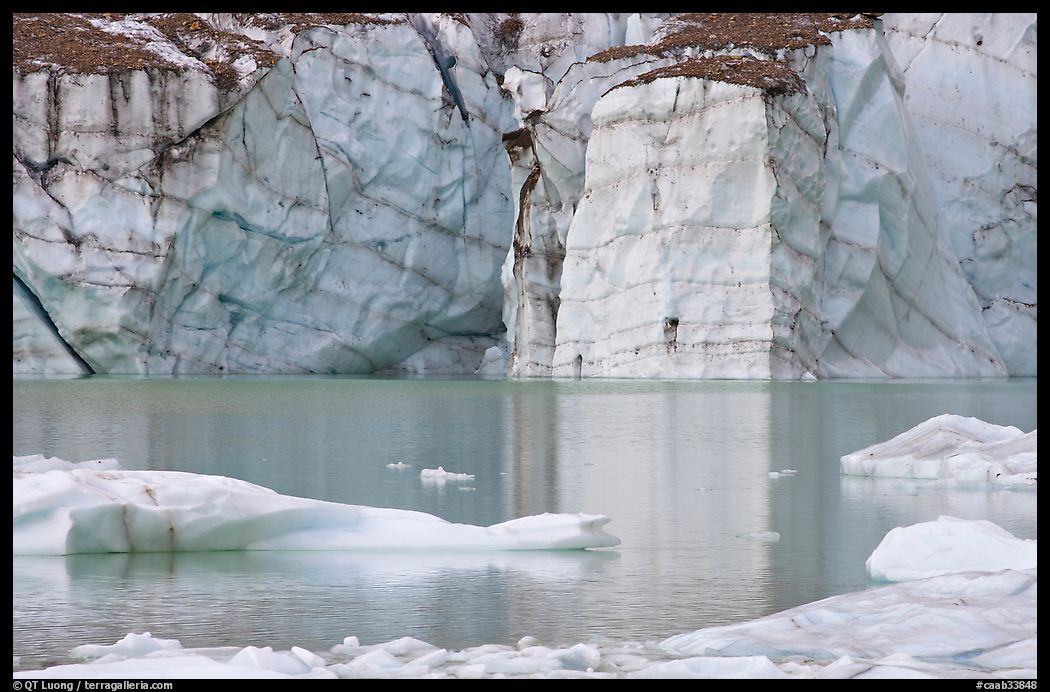
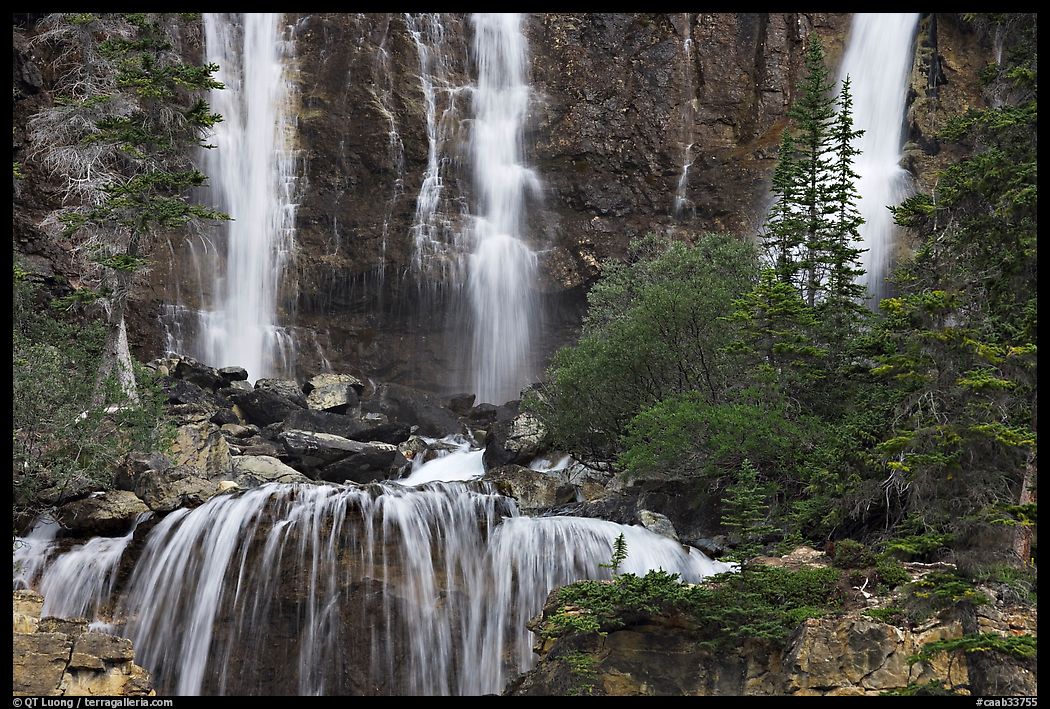
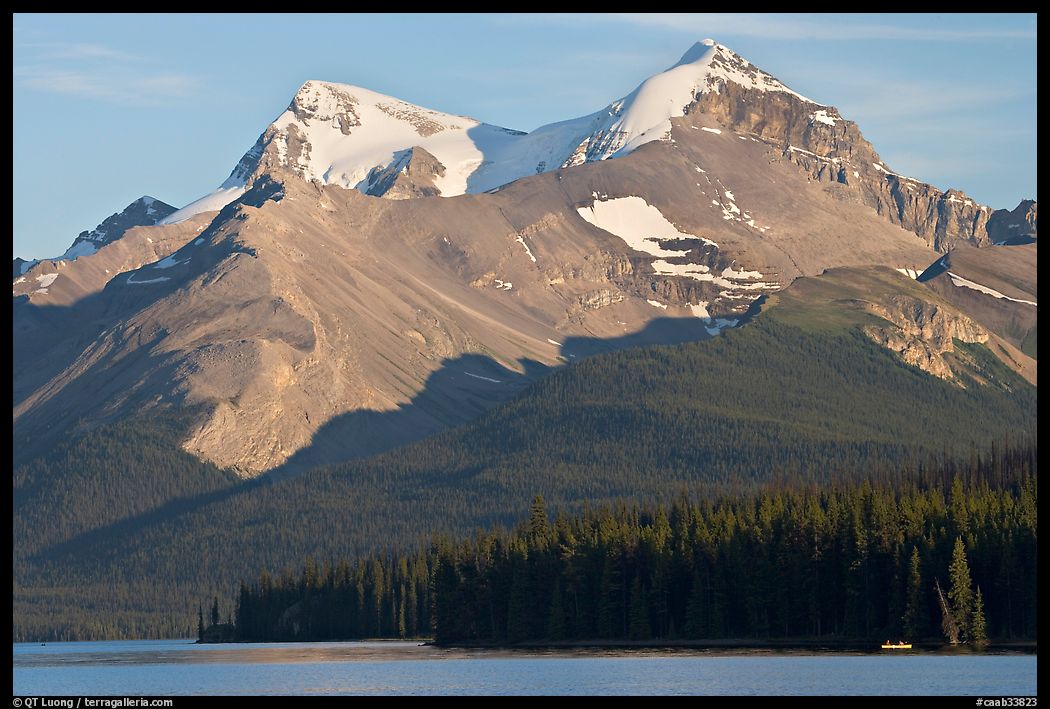
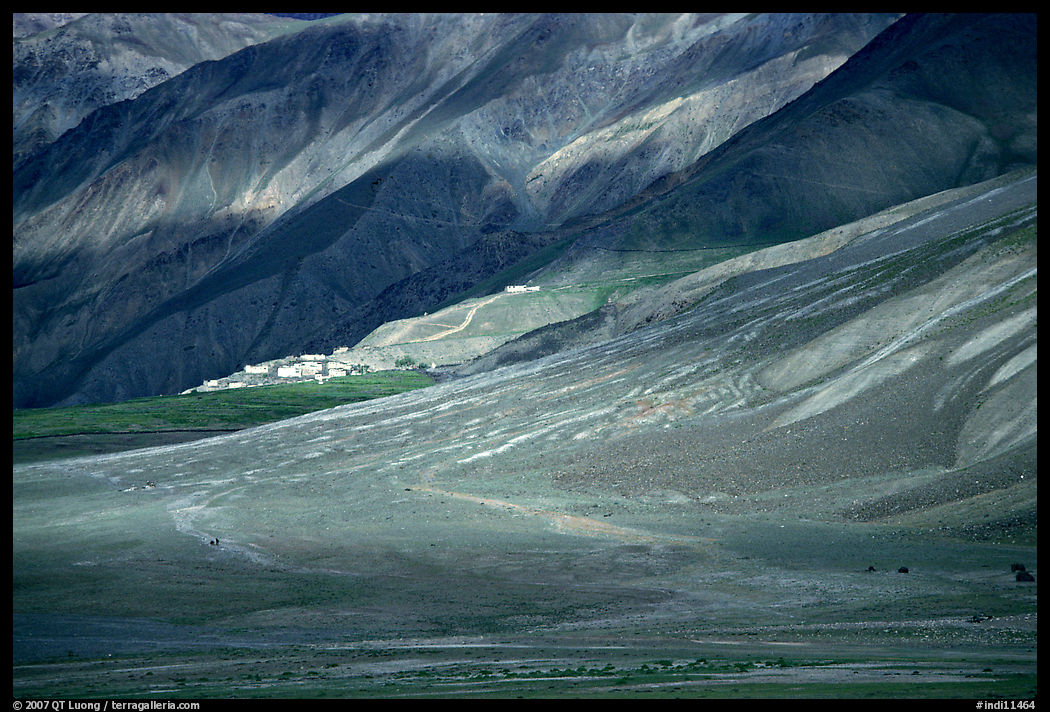
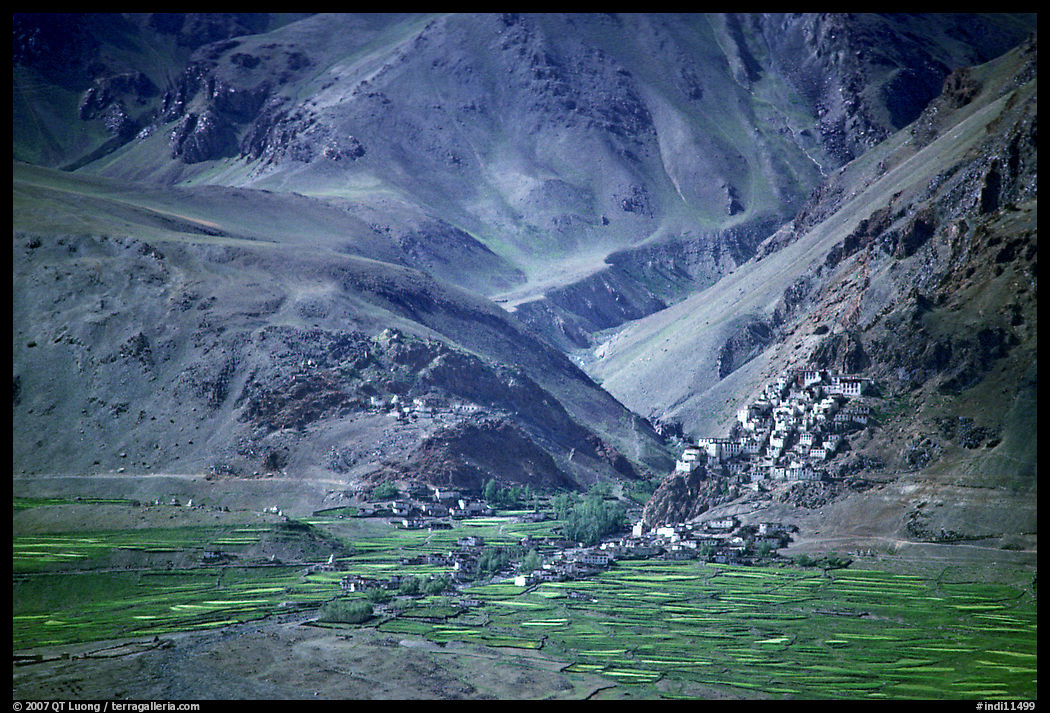
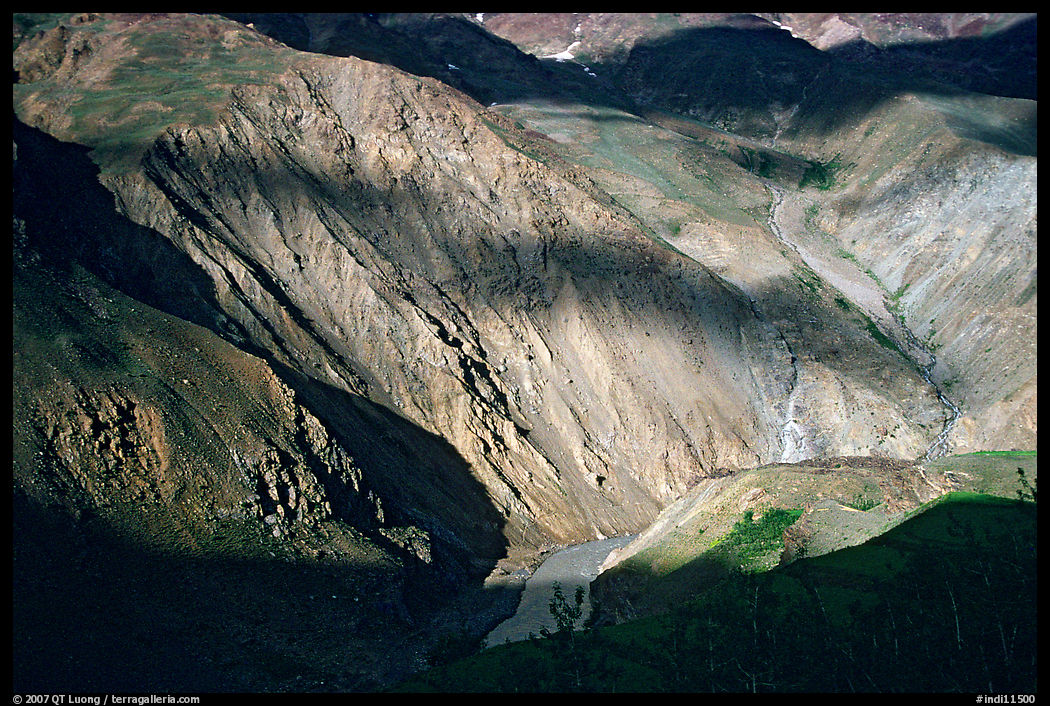
Forming the backbone of North America, the Rocky Mountains have long stood as an emblem of wilderness, with Glacier National Park in Montana dubbed the “Crown of the Continent.” Yet north of the border lies an even more spectacular expanse, protected within four contiguous Canadian Rocky Mountain parks. Glacier delivers vertical drama, not because its peaks are higher, but because the Going-to-the-Sun Road grants visitors direct access to towering walls and deep valleys. Its namesake glaciers, however, are nearly gone—reduced to remnants of what once numbered more than a hundred. Of the Canadian parks, Banff National Park is the most famous and visited, thanks to its early establishment, extensive infrastructure, and postcard landmarks like Lake Louise, Moraine Lake, and Peyto Lake. Banff still retains significant icefields, but Jasper National Park surpasses them by far. Anchored by the Columbia Icefield, Jasper reminds visitors that this is still, quite literally, an Ice Age landscape. The largest of the Canadian Rocky Mountain parks, Jasper feels less developed and less visited, its sheer scale offering a different register of awe.
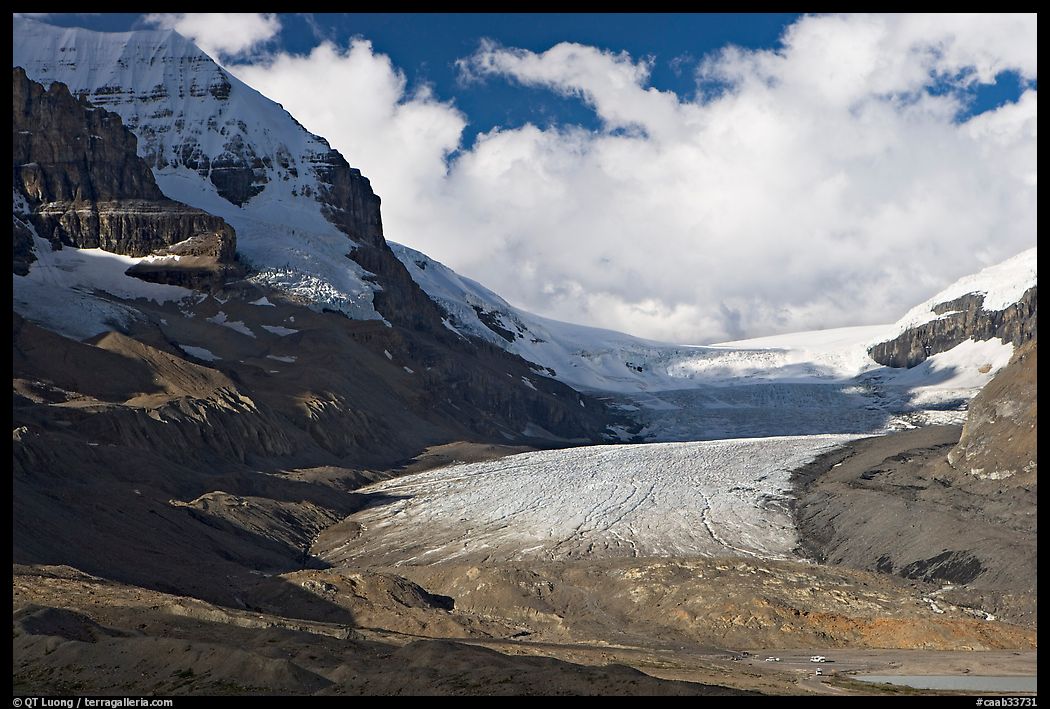
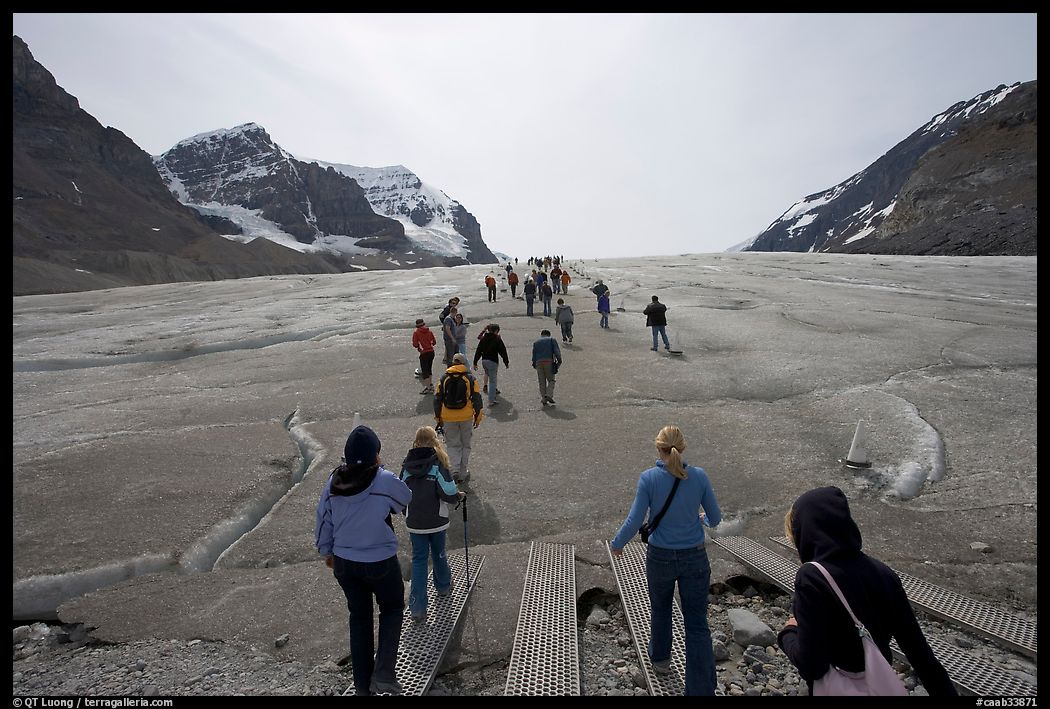
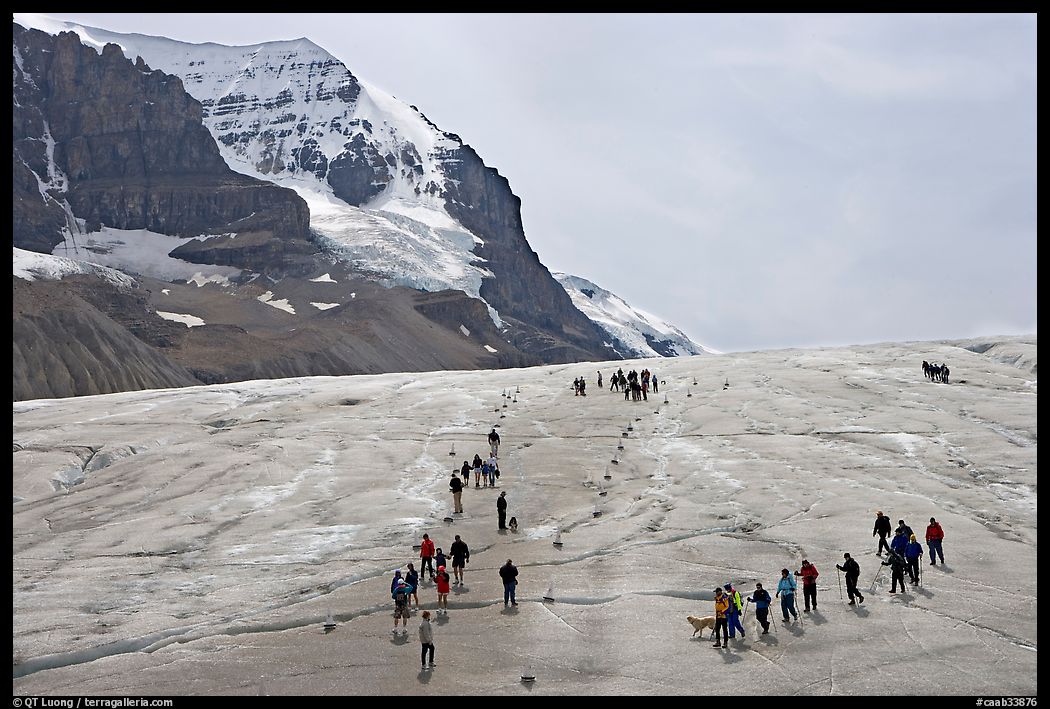
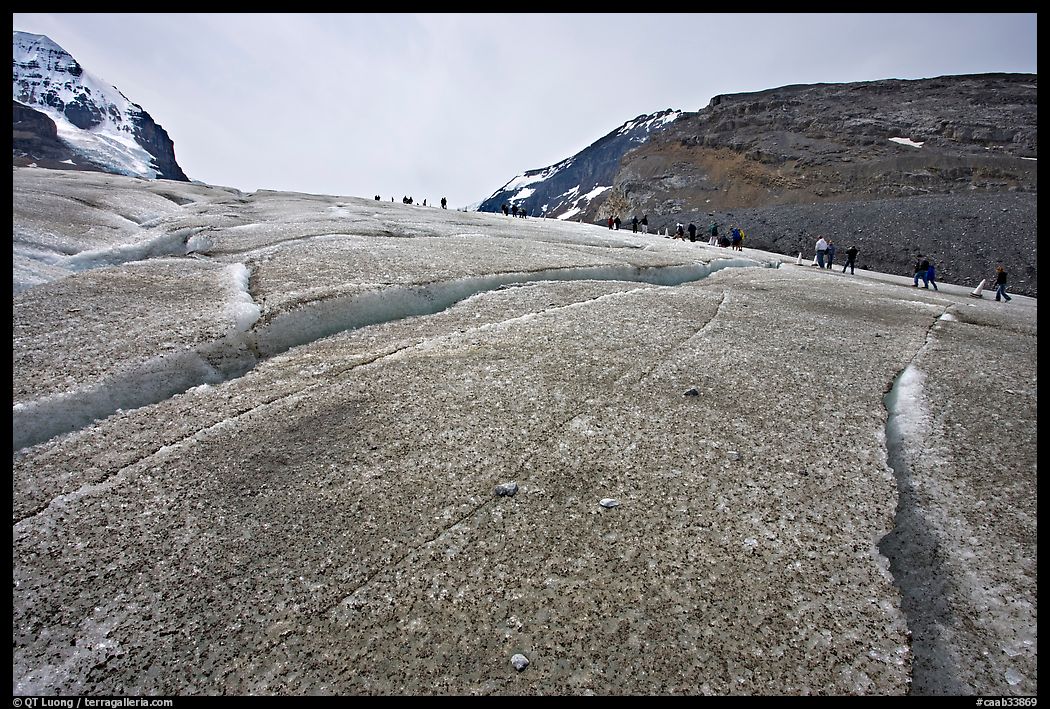
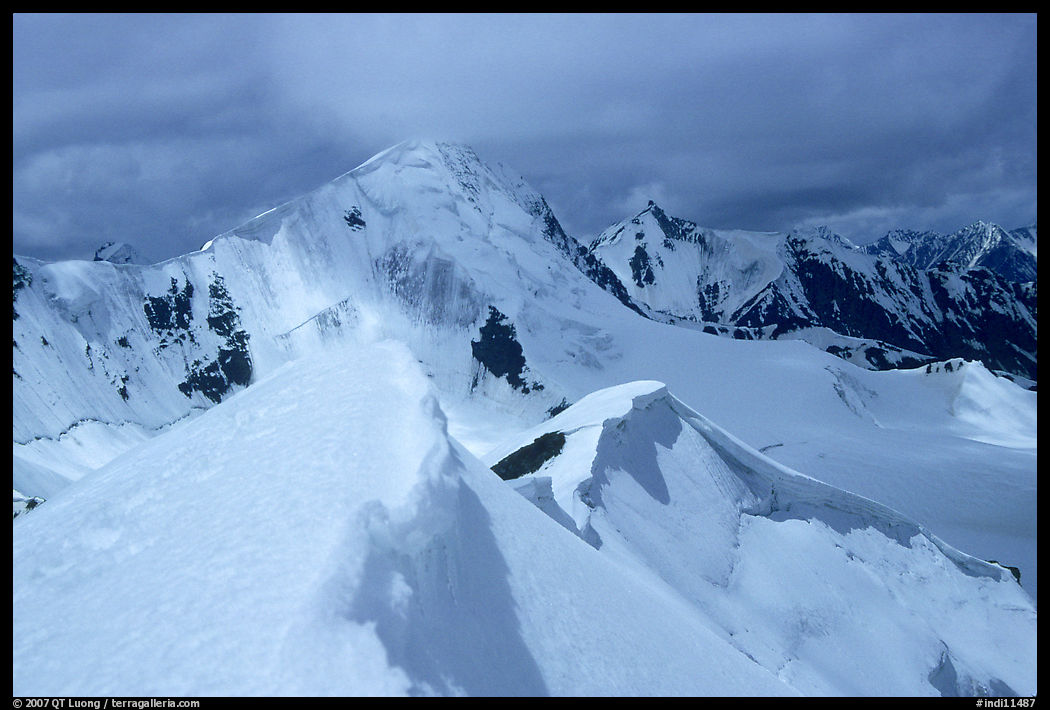
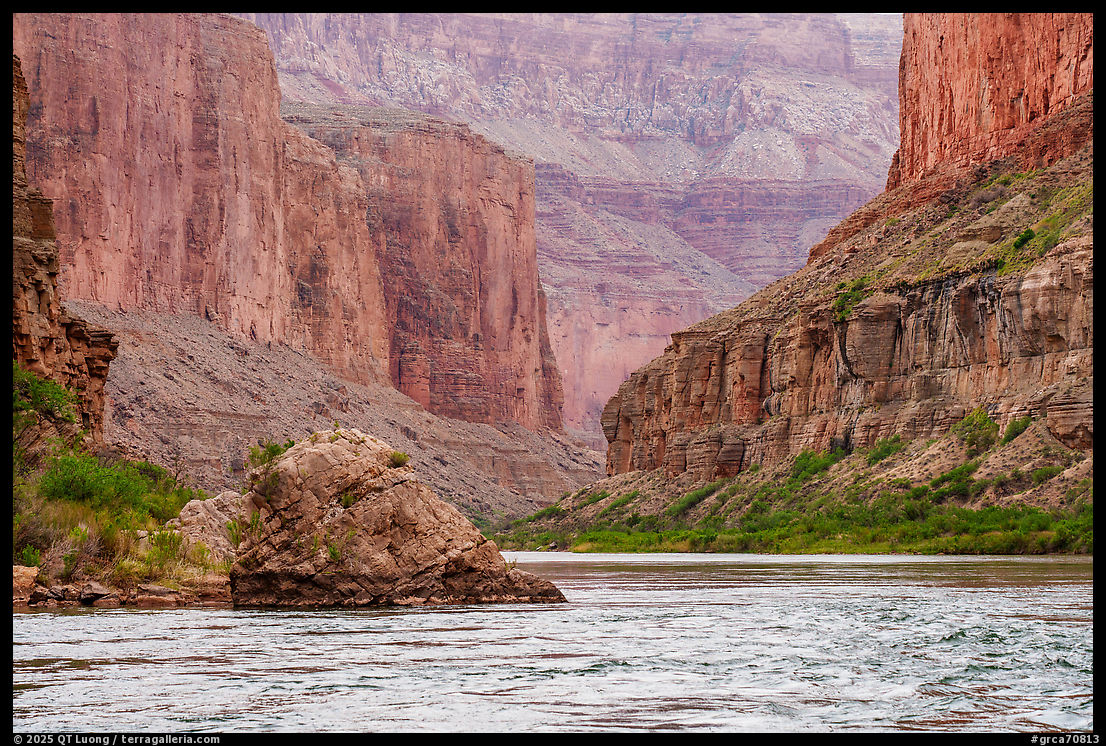
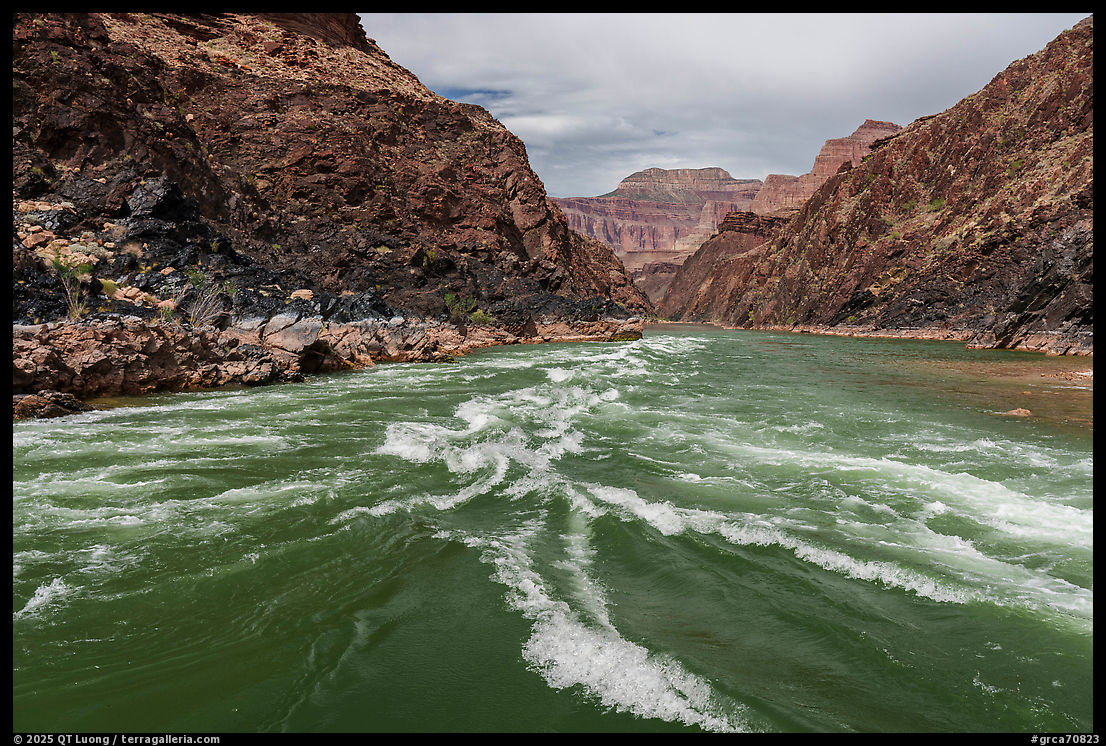
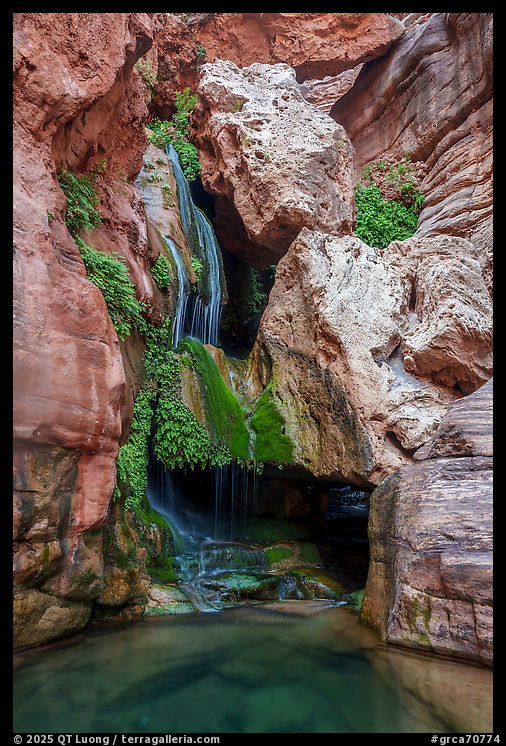
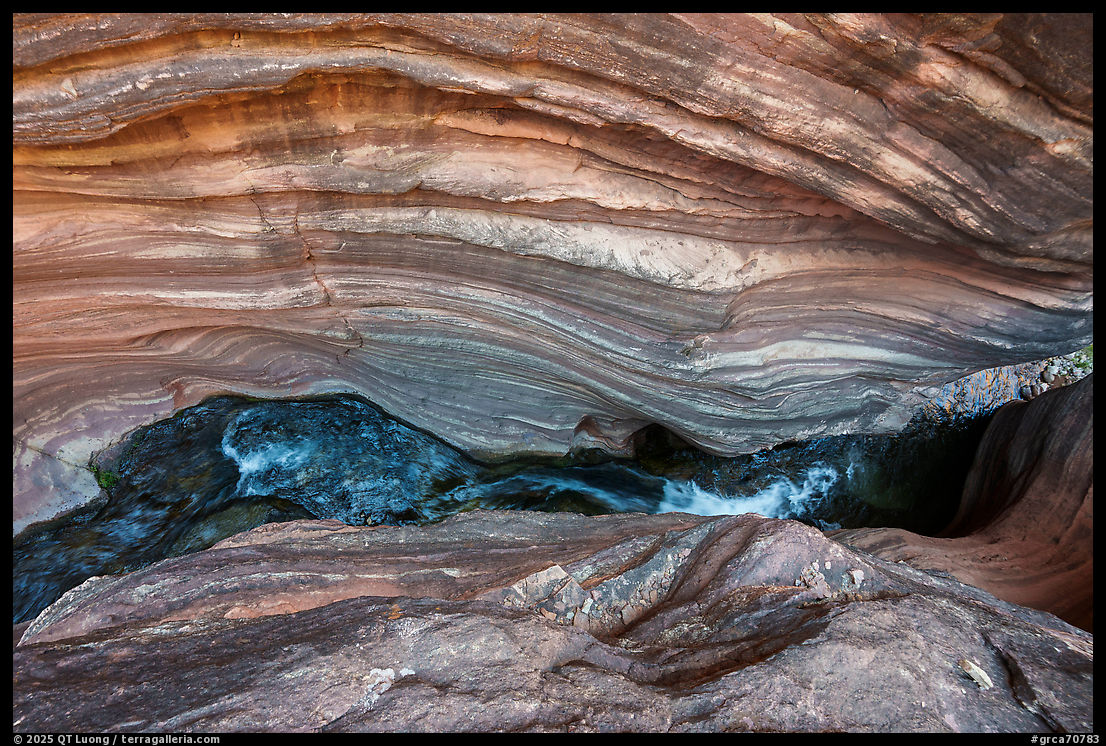
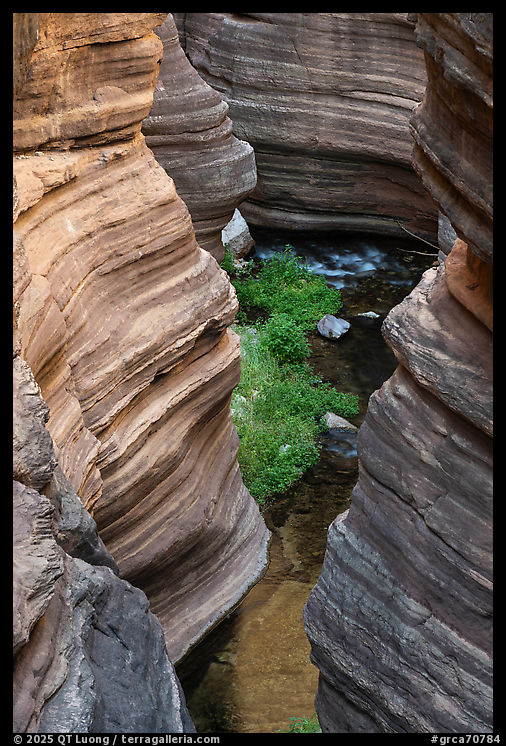
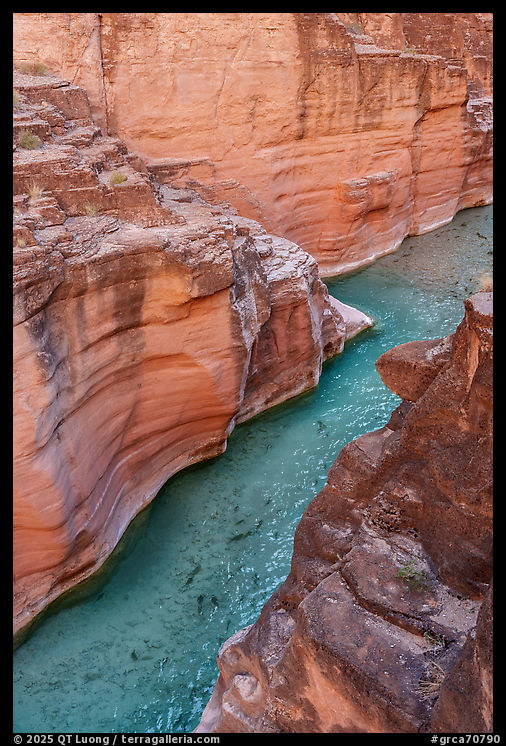
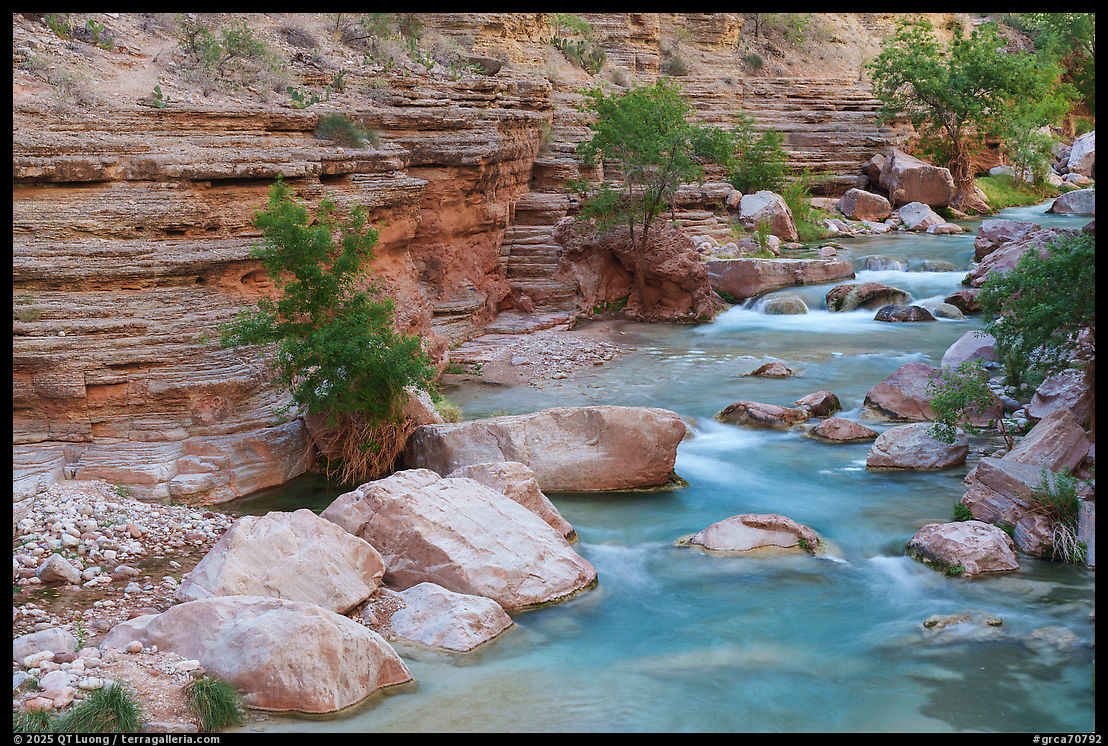
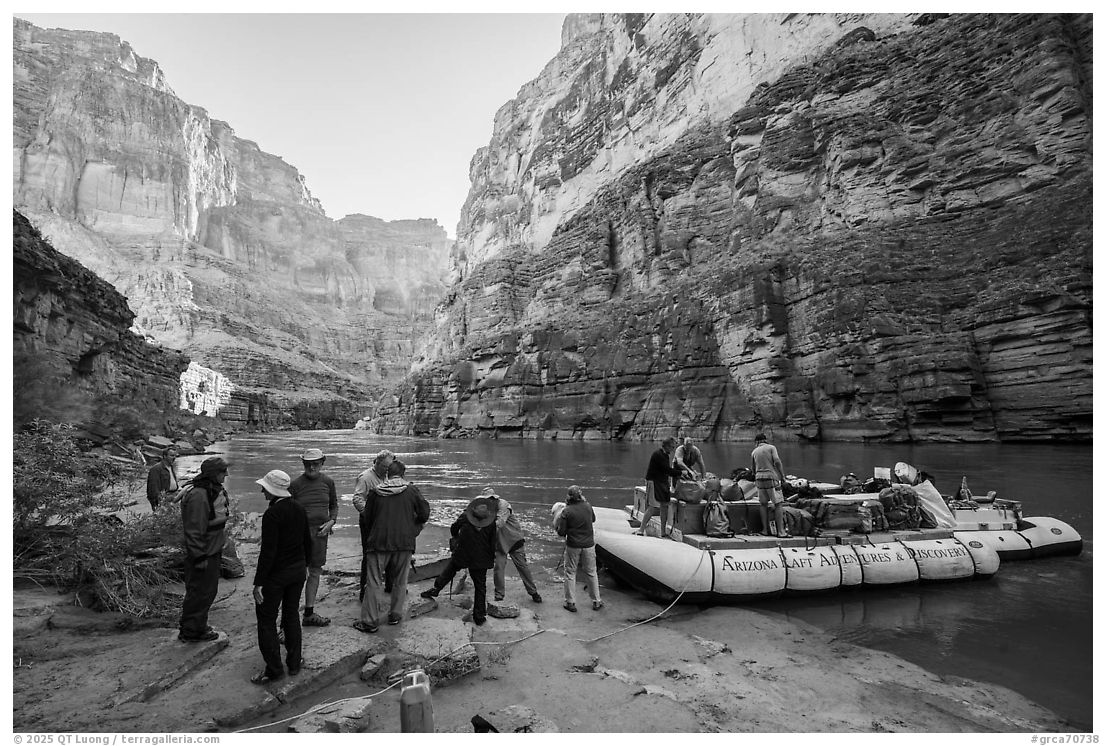
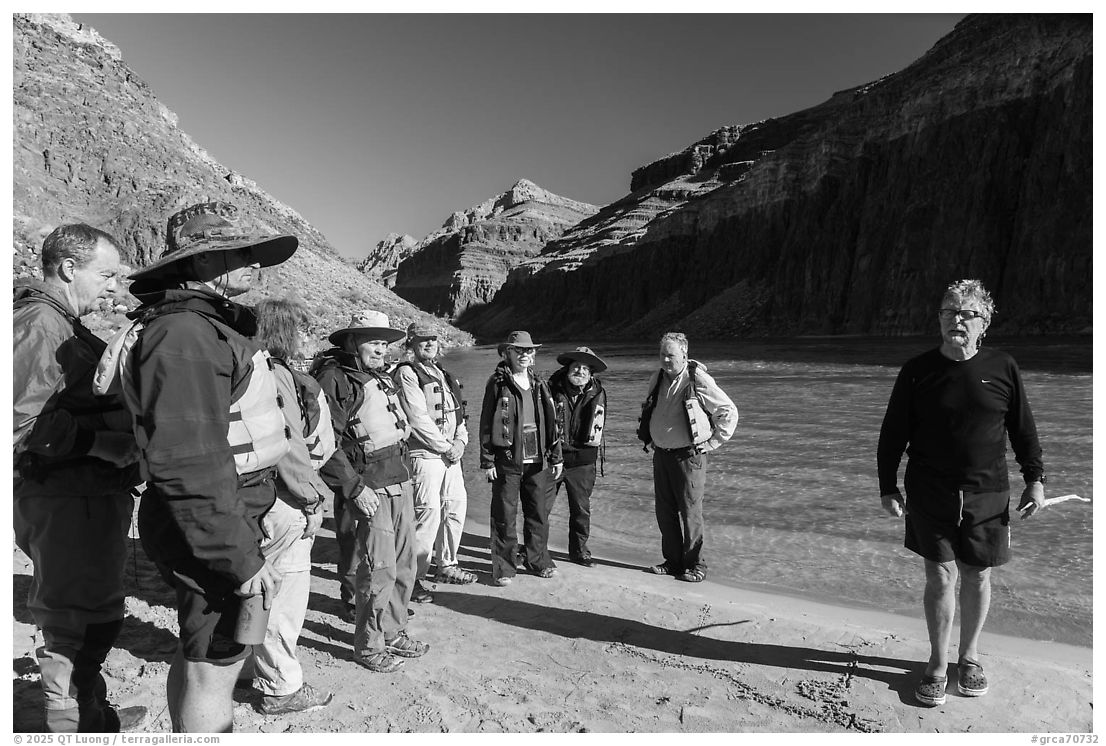
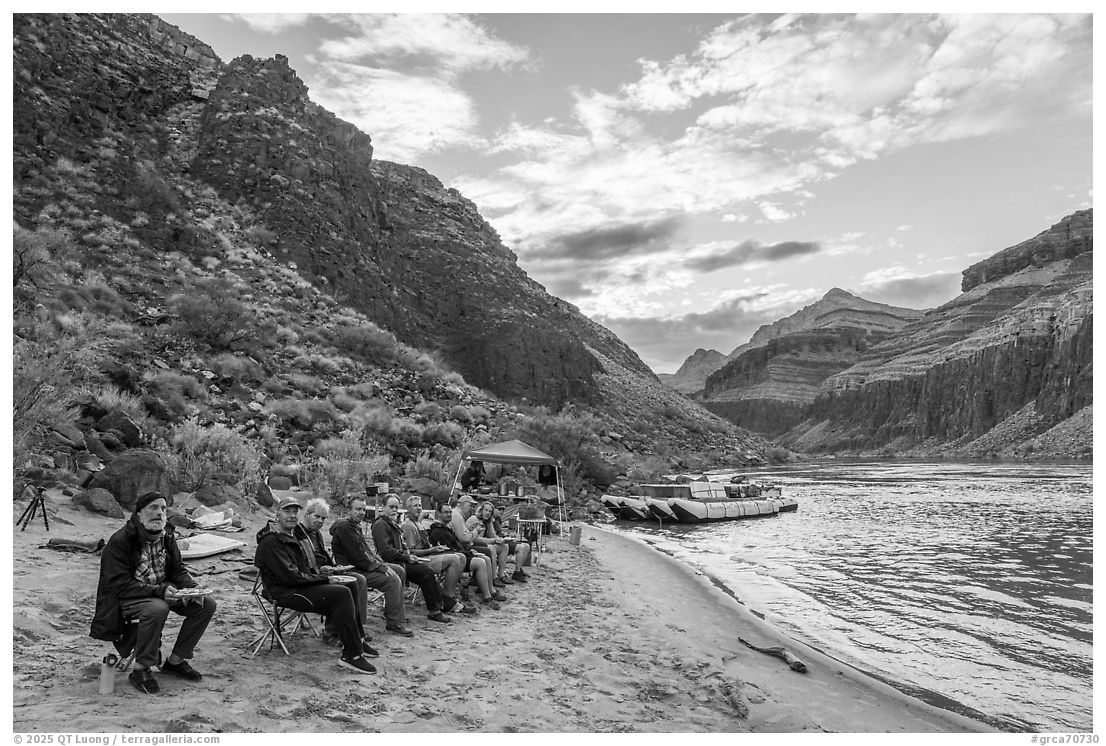
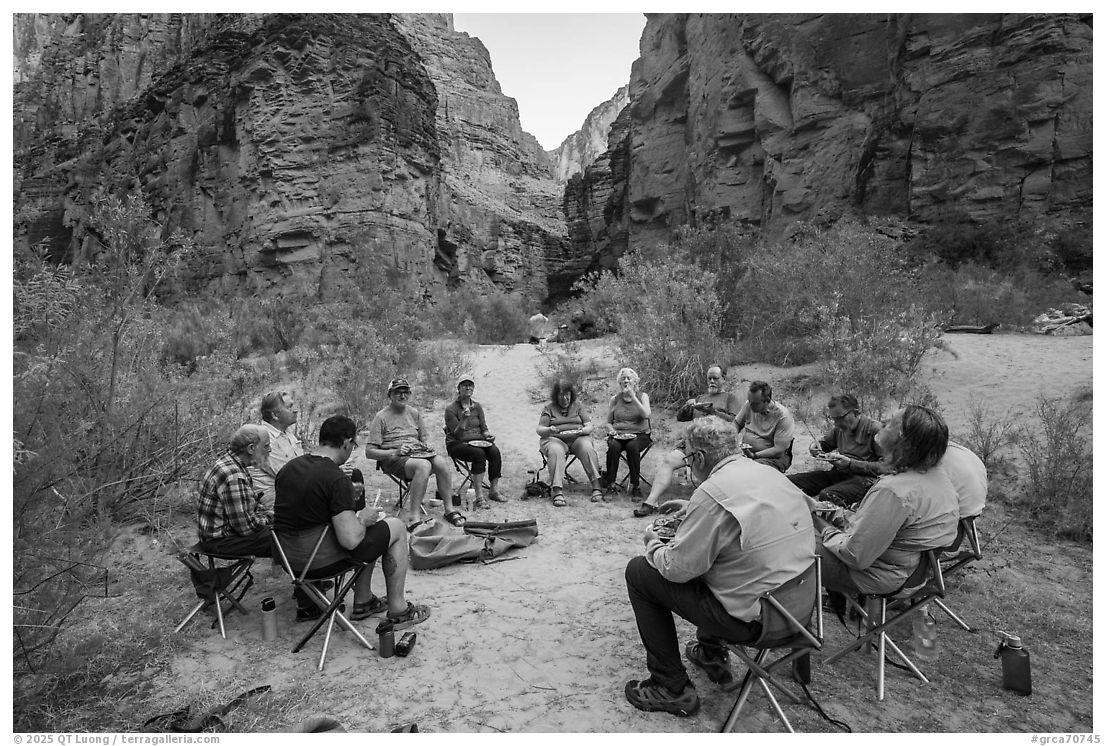
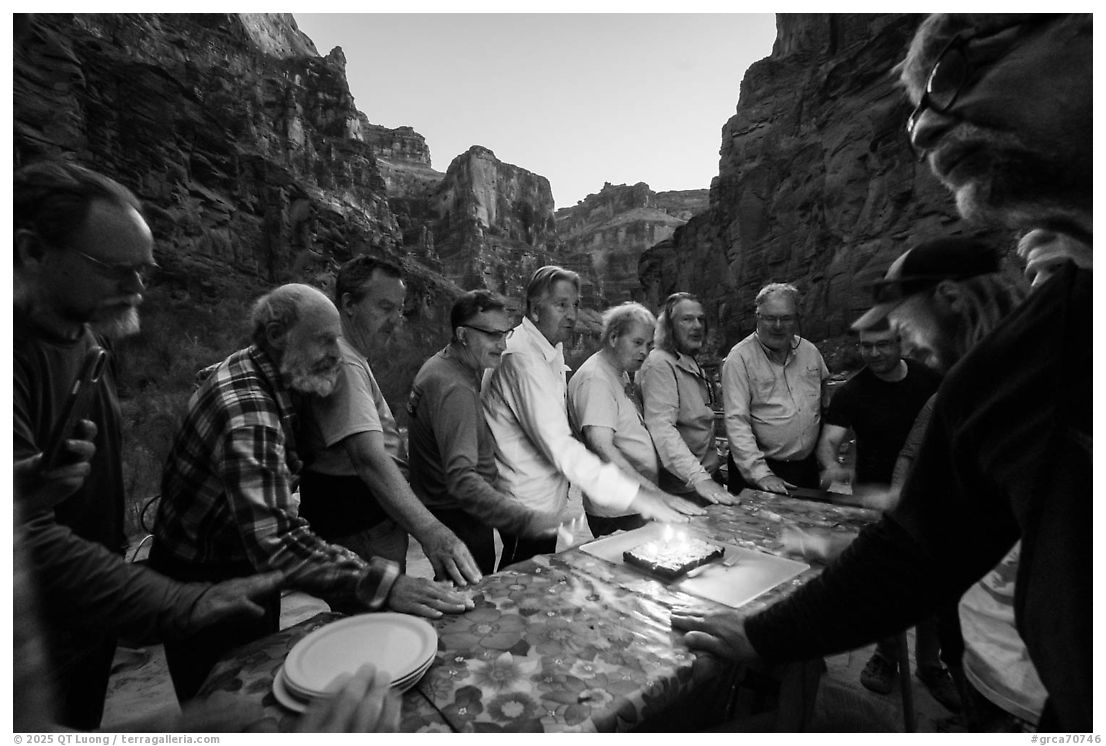
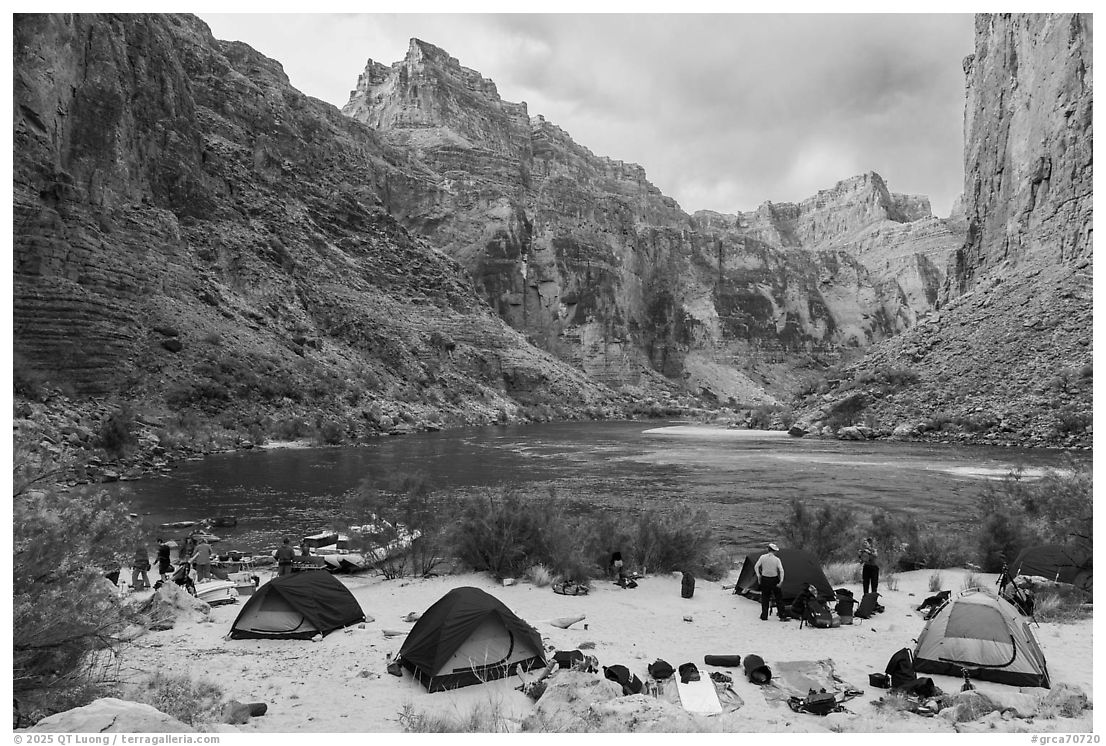
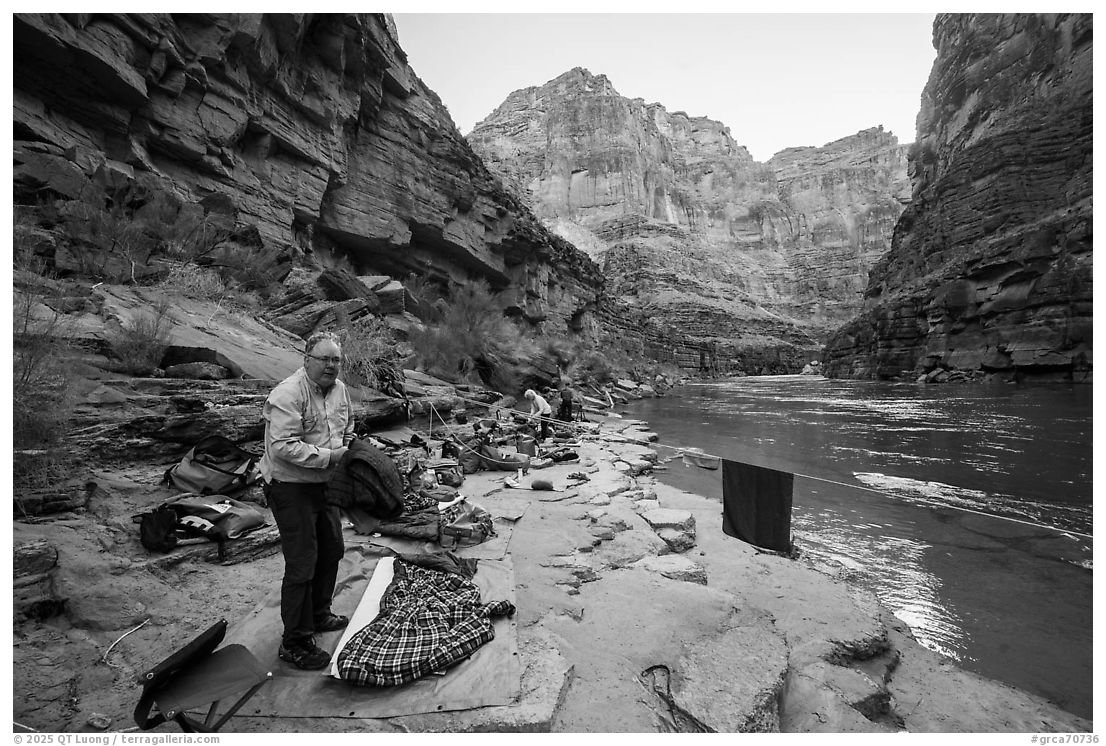
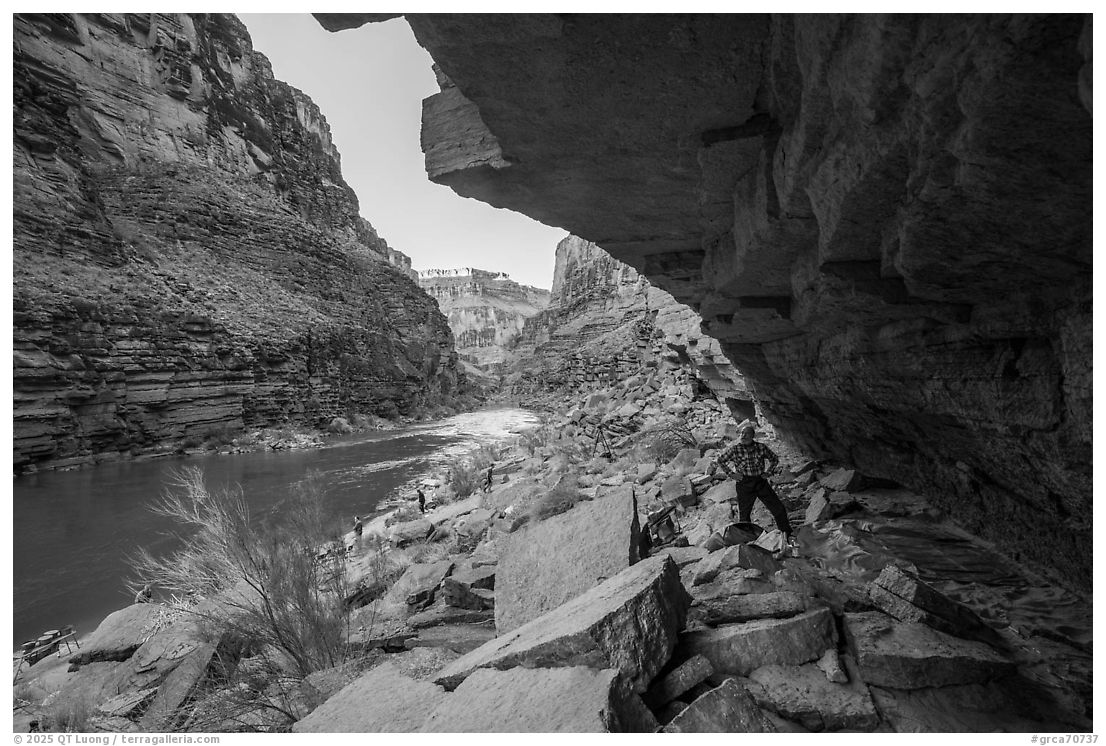
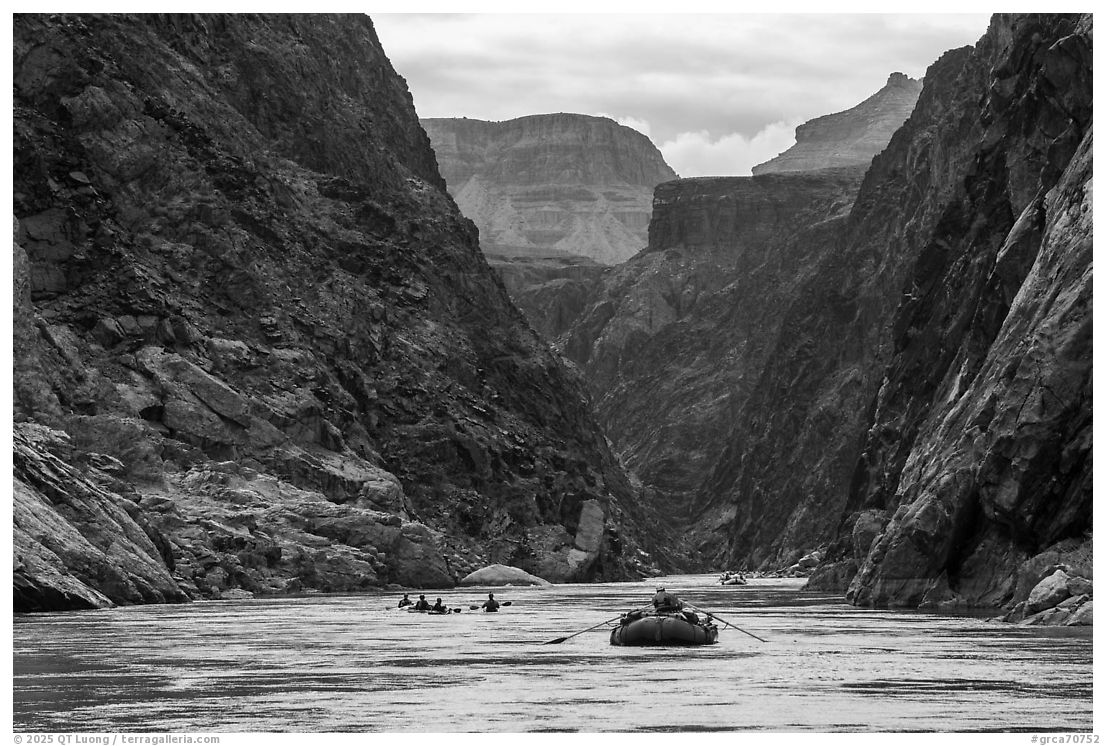
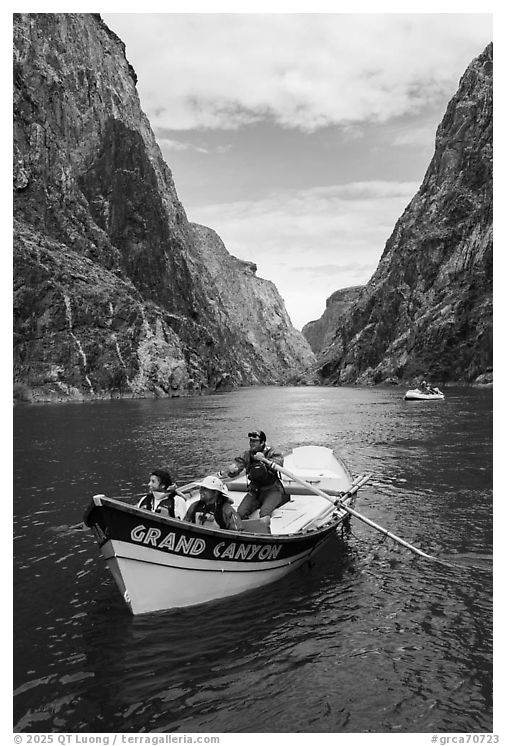
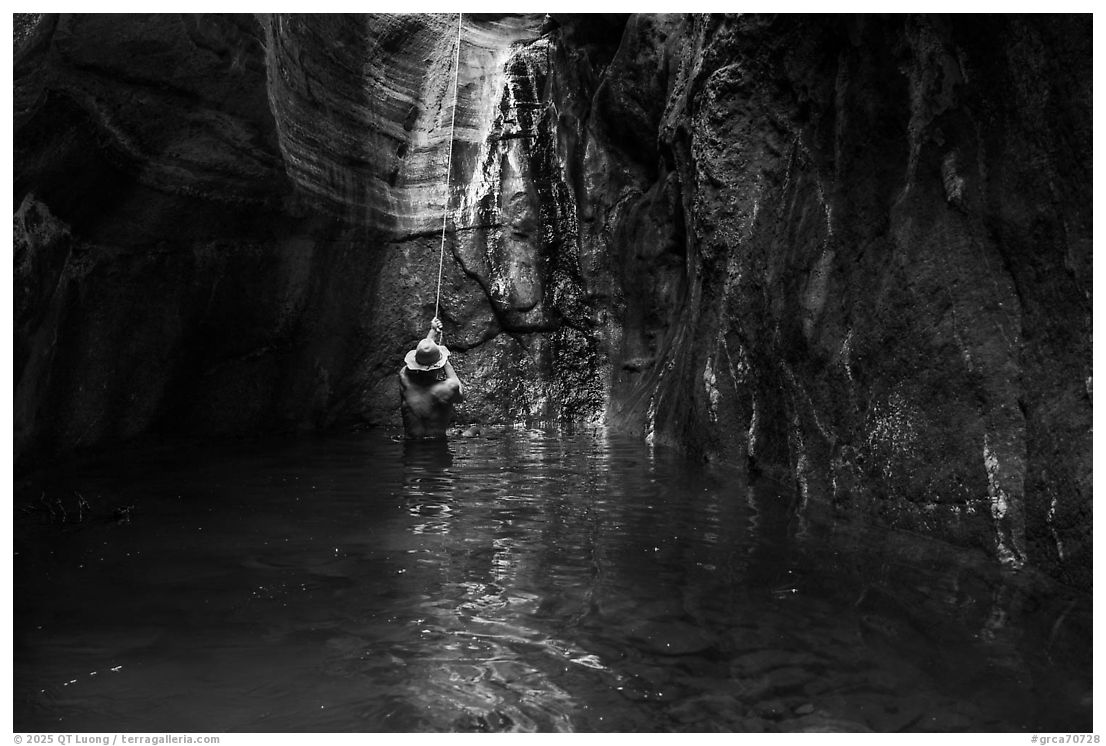
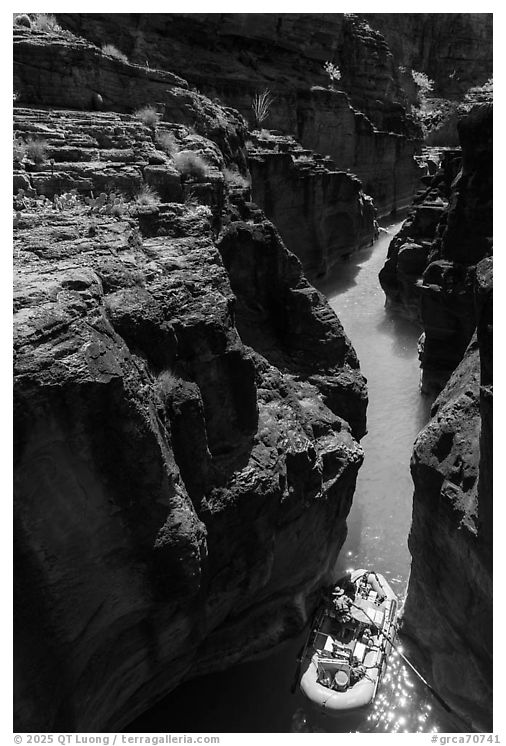
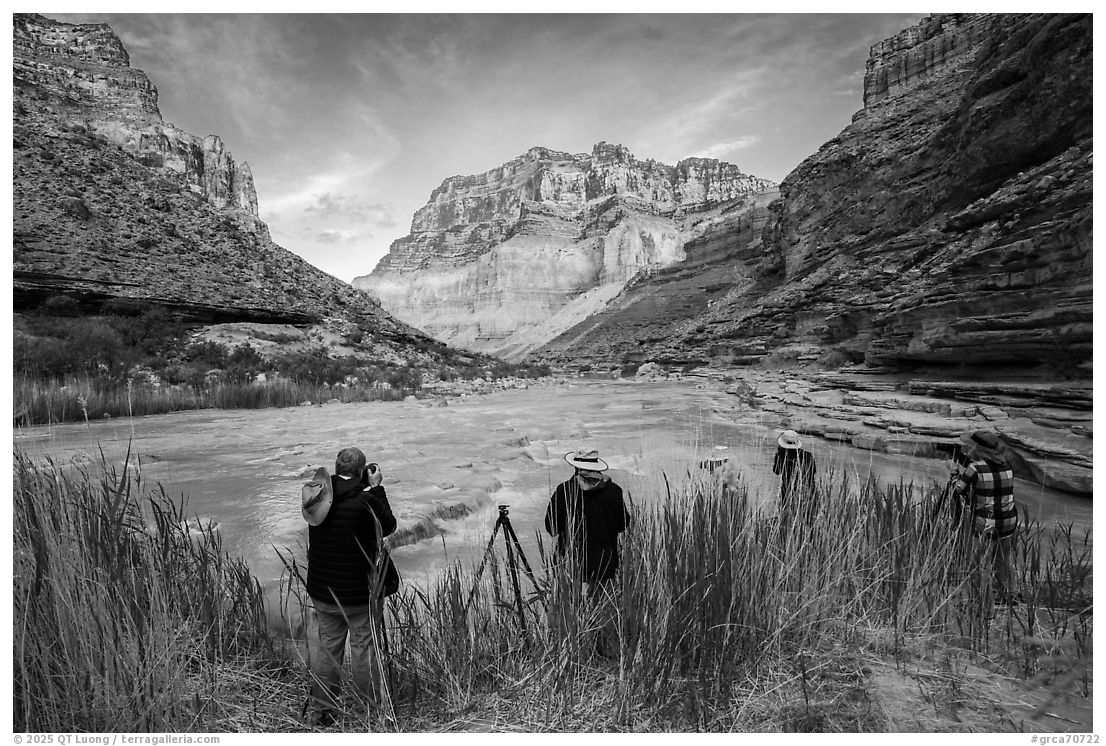
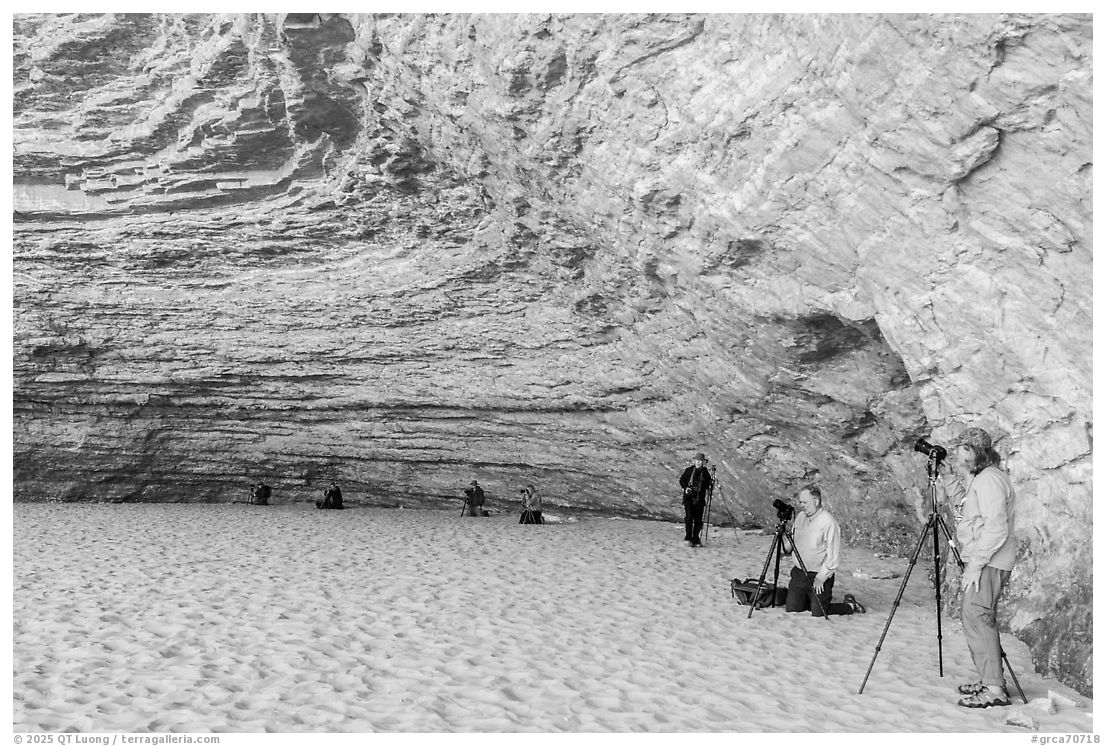
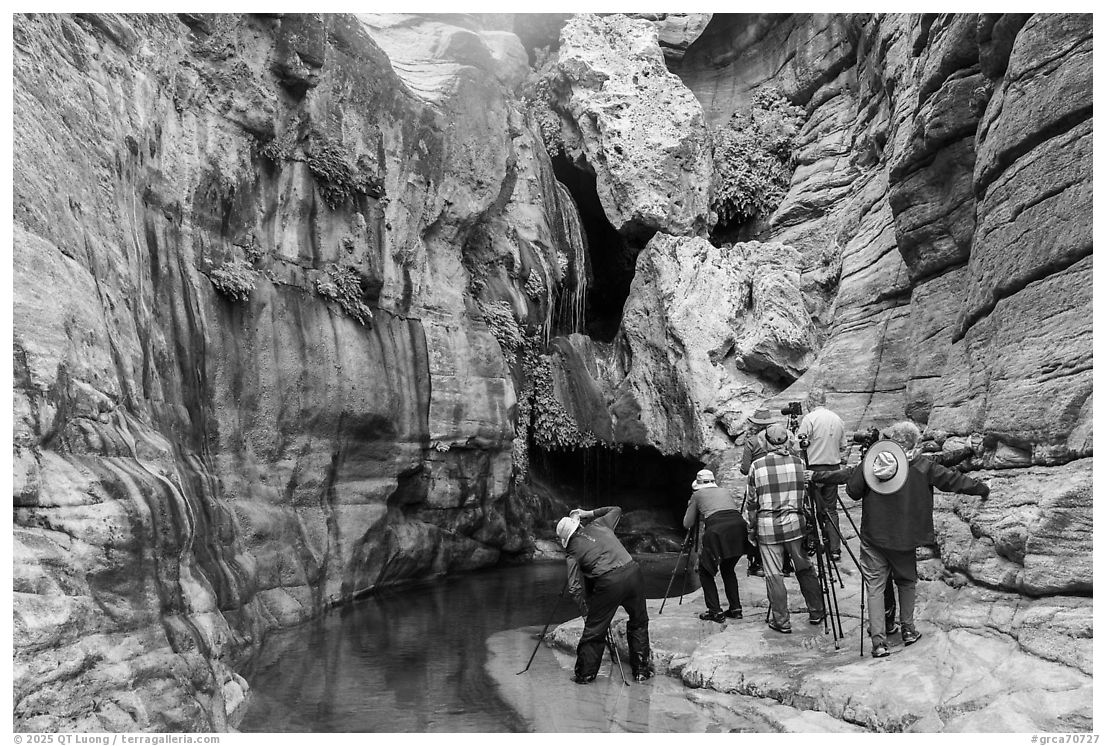
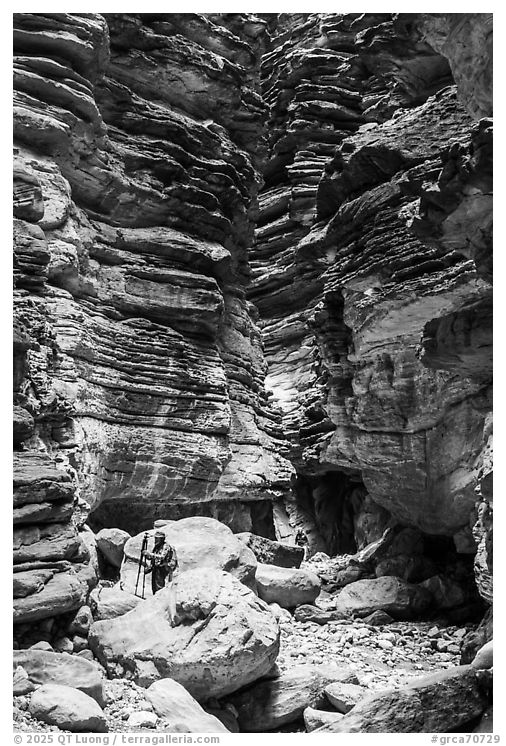
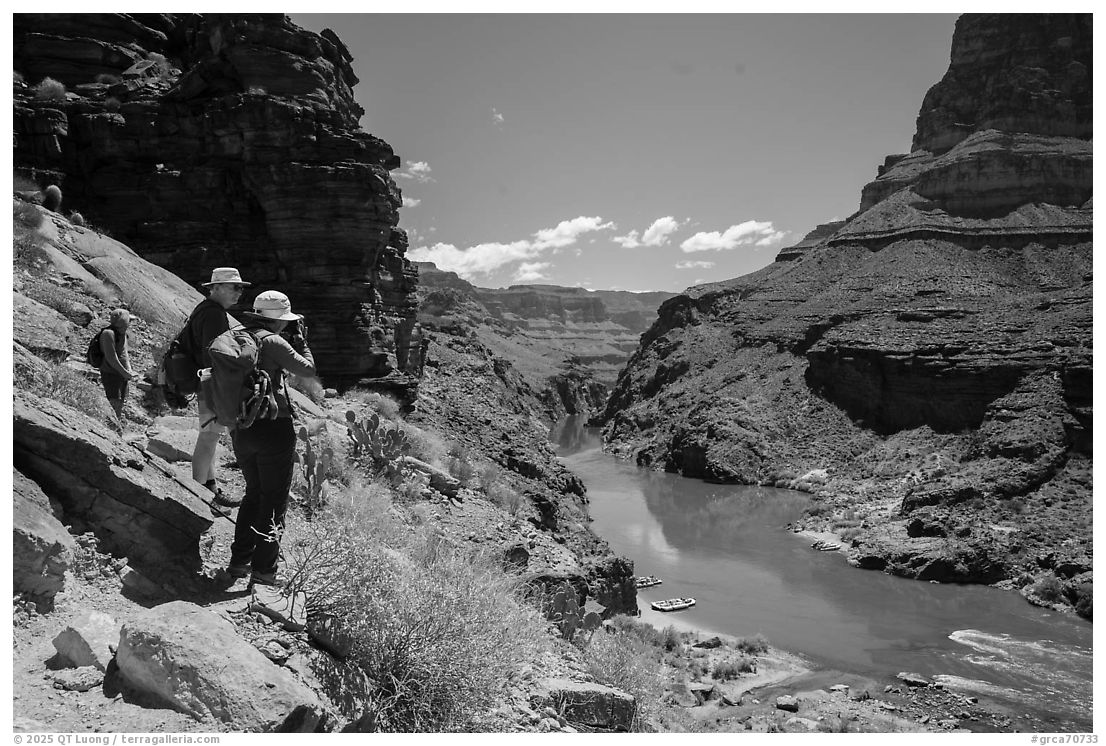
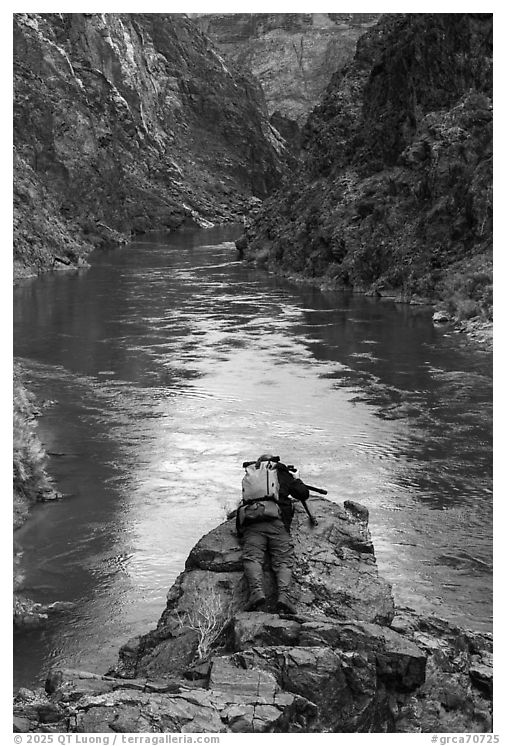
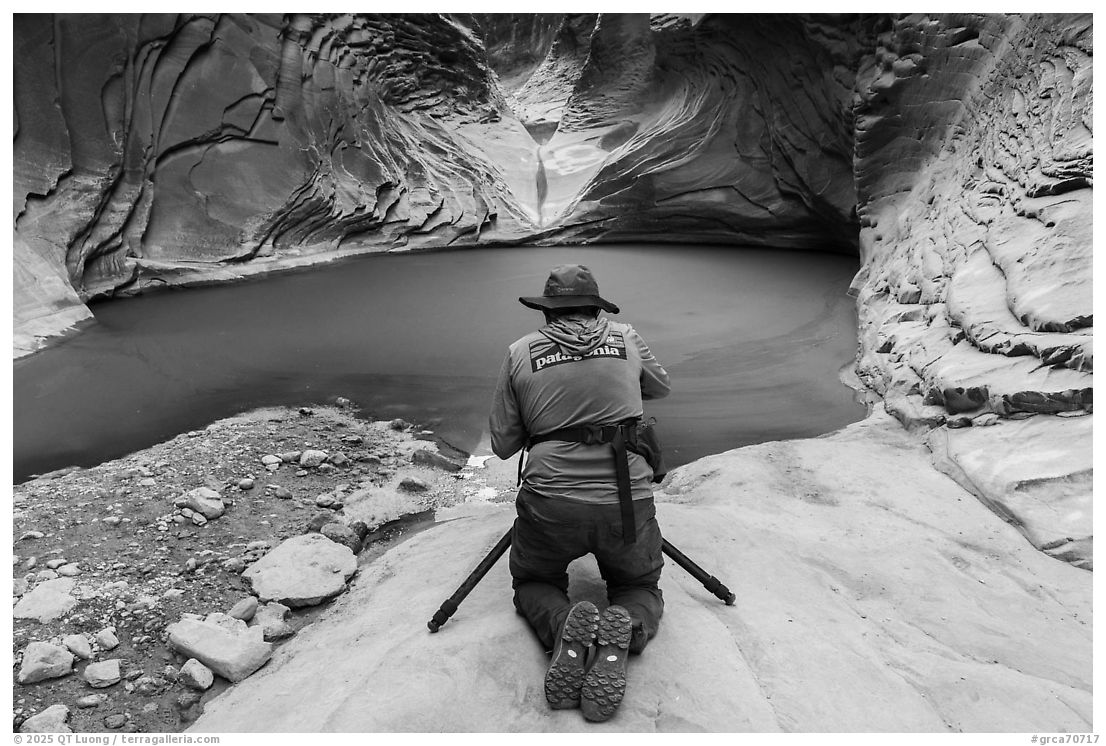
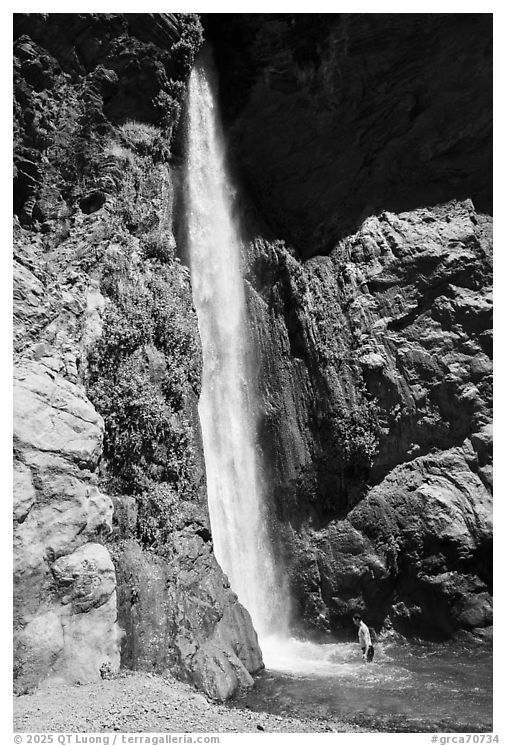
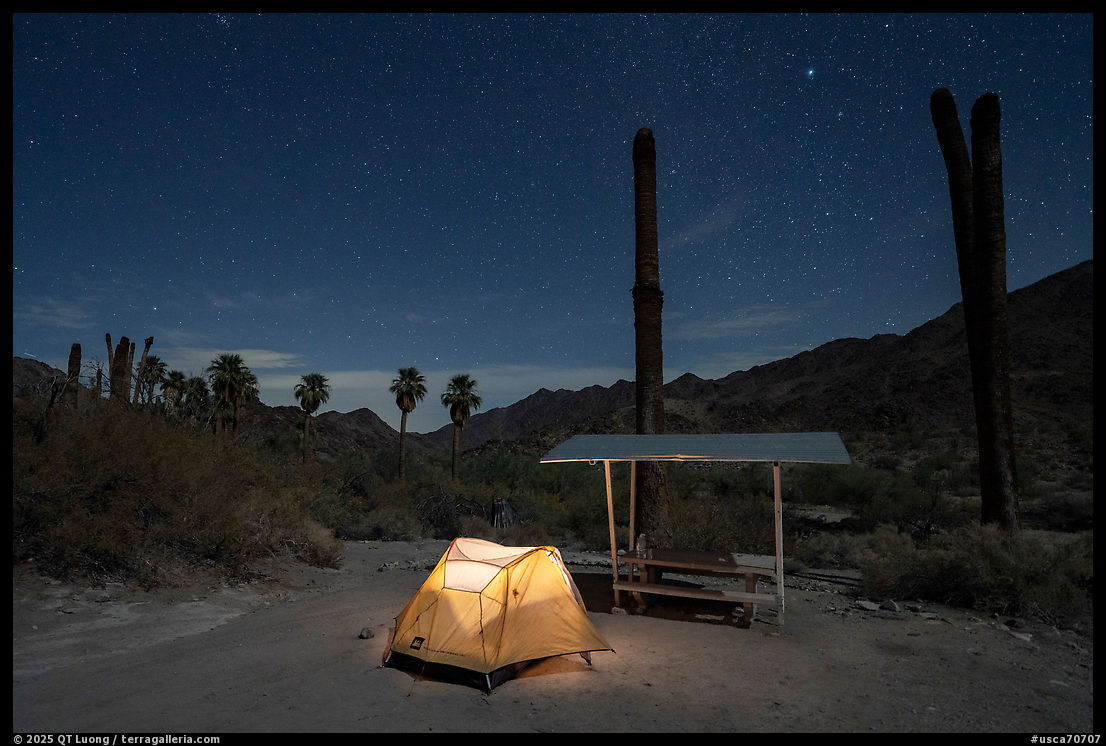
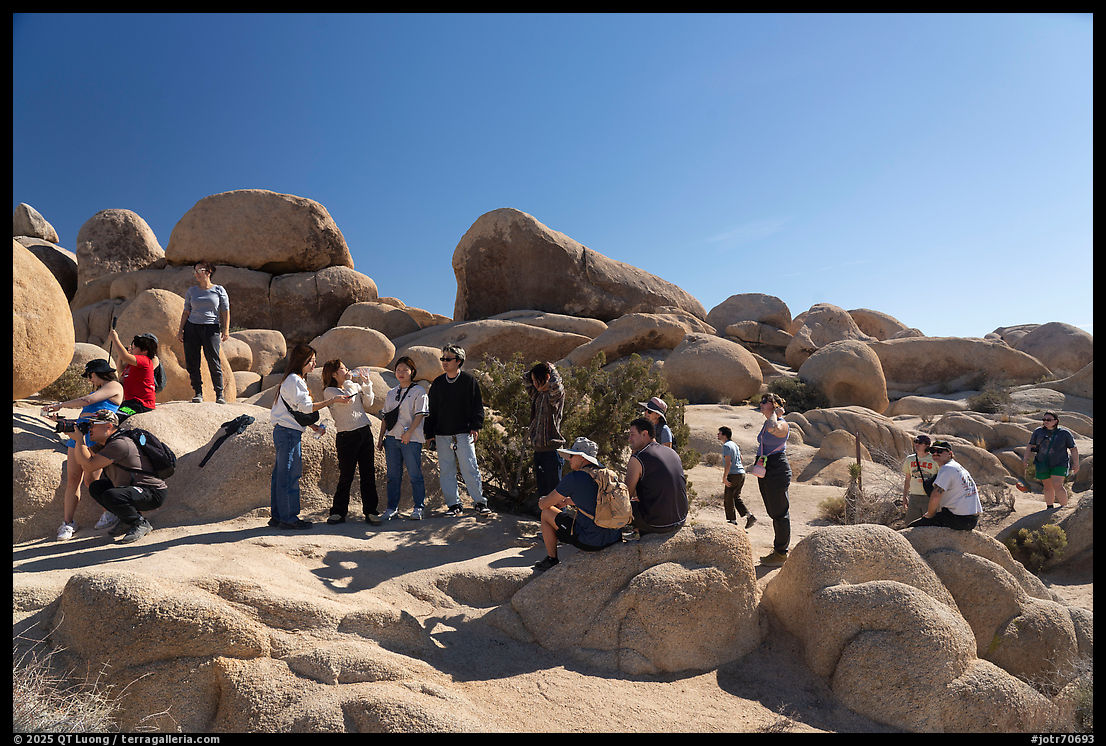
My encounters with Jasper National Park are split across time. In the early 1990s, I traveled there in winter multiple times to climb frozen waterfalls along the Icefields Parkway. As I retuned in the summer of 2005, my main tools were no longer ice axes, but rather a pair of cameras, with an early full-frame digital camera complementing my trusty 5×7 inch view camera. I set out to make the same kind of landscape photographs I had created in the U.S. national parks. It had been suggested that Canadian parks could serve as a natural extension of the Treasured Lands project, and Jasper’s immensity and diverse scenery certainly fit that mold. Lakes, dramatic peaks, glaciers, icebergs, waterfalls were places made for large-scale landscape photography. But one set of photos from the Athabasca Glacier stood apart: people scattered over ice, human scale incongruously set against geological scale. At the time I didn’t think of them as more than curiosities. Only later did I realize they pointed toward a different way of seeing national parks: one less about pure scenic wonder and more about how we represent, stage, and experience nature.
In the late 2000s, my exposure to William Cronon’s critique in The Trouble with Wilderness forced me to question foundational assumptions: that wilderness is a separate, pristine domain; that nature’s truest form is remote; that human presence is inevitably tainting. His work pushed me toward valuing wonder in places close to my home, to recognizing human histories in landscapes, and to respecting ecological realities rather than idealized myth. Still, there was more missing: how nature is made visible. It’s not enough to say that wilderness is a myth. We need to see how that myth is reinforced. That gap is what J. Keri Cronin’s Manufacturing National Park Nature (2011) helps fill. The book uses Jasper National Park as its primary case, providing specific archival illustrations, but its arguments resonate broadly. Cronin demonstrates that “national park nature” is not something passively encountered but actively produced. By this term, she means a system of visual organization—ways of seeing shaped by photography, tourism promotion, and cultural values—that determines what counts as “nature” in the parks. Within this system, certain images are elevated to canonical status: sweeping vistas emptied of people, charismatic wildlife portrayed as emblems of wilderness, recreational activities framed as solitary communion. At the same time, other realities are suppressed: roads, lodges, signage, human–animal conflict, Indigenous presence, and the infrastructures that make visitation possible. What emerges is not simply nature as it exists on the ground but a carefully curated construct—an aesthetic and cultural product manufactured through photographs, brochures, and promotional imagery that both reflect and prescribe how parks are understood. Wilderness, recreation, and wildlife are not timeless truths but constructs within “national park nature,” each an axis along which representation is organized. Seen this way, national parks are not only ecological spaces but aesthetic ones. Their look—the way vistas are framed, wildlife depicted, and recreation staged—is already curated, more like an exhibition than untouched wilderness.

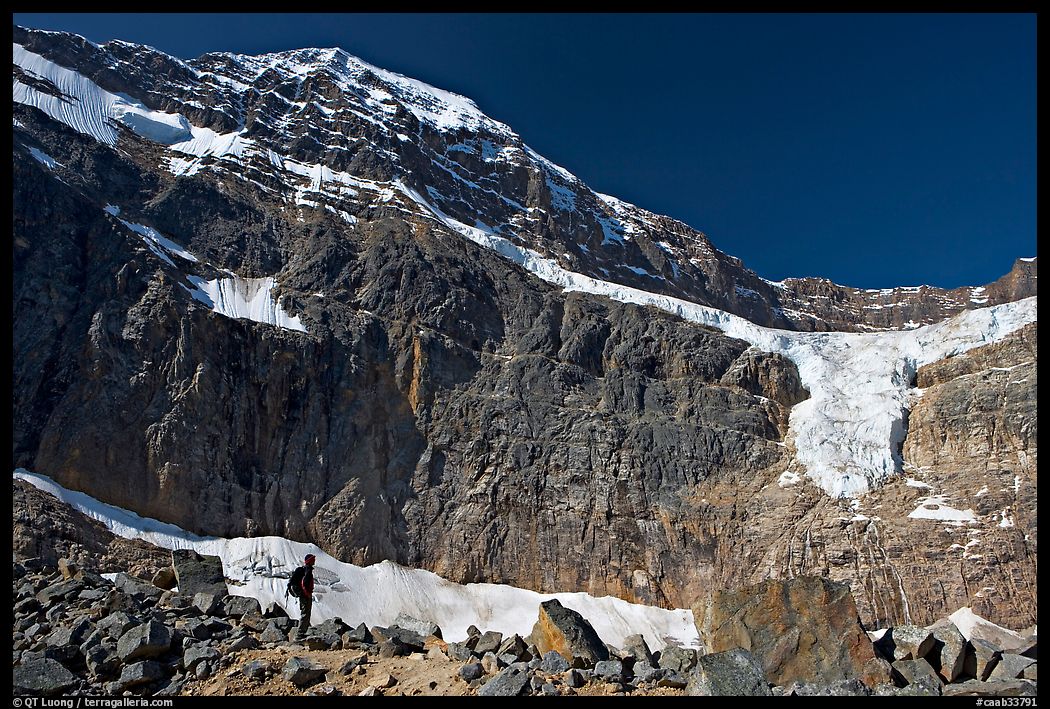
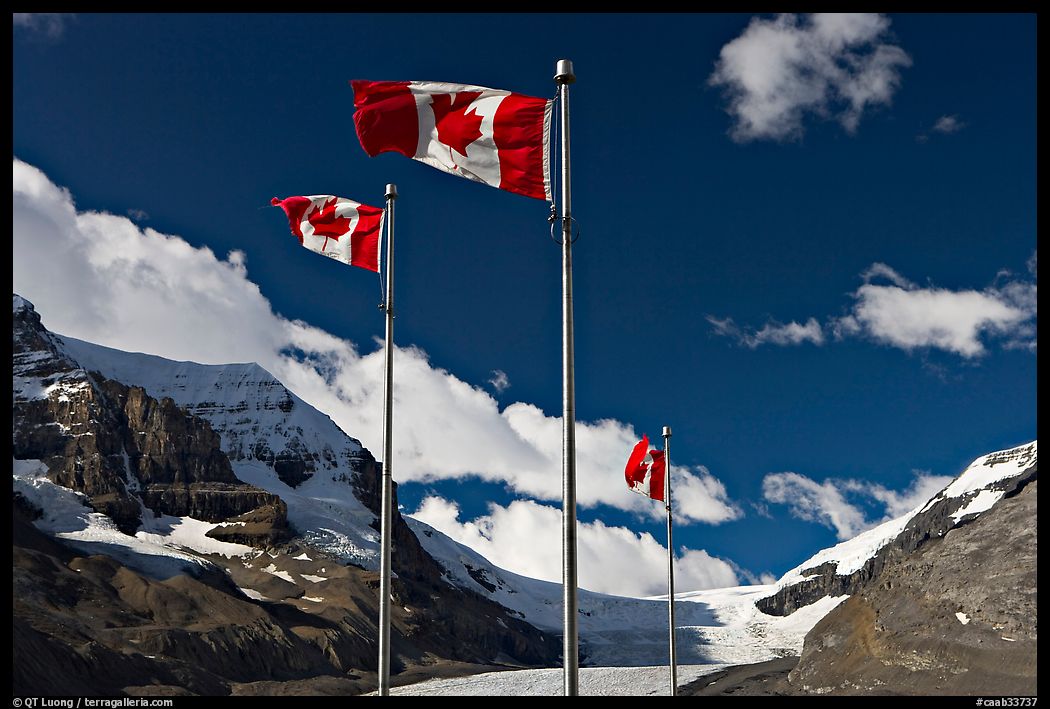
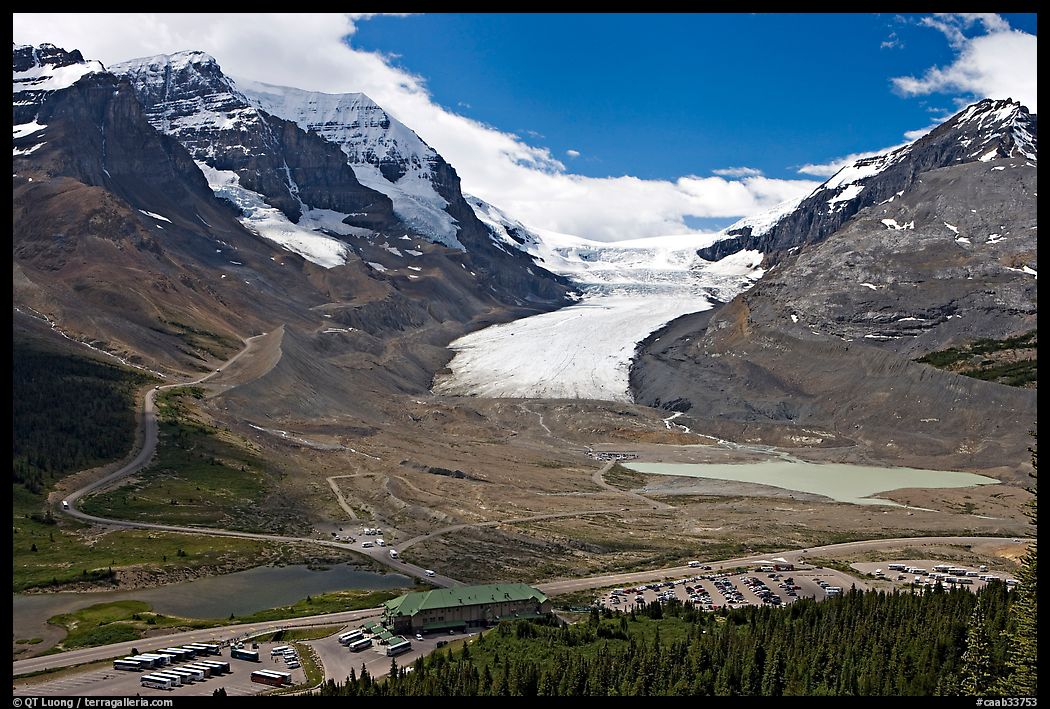
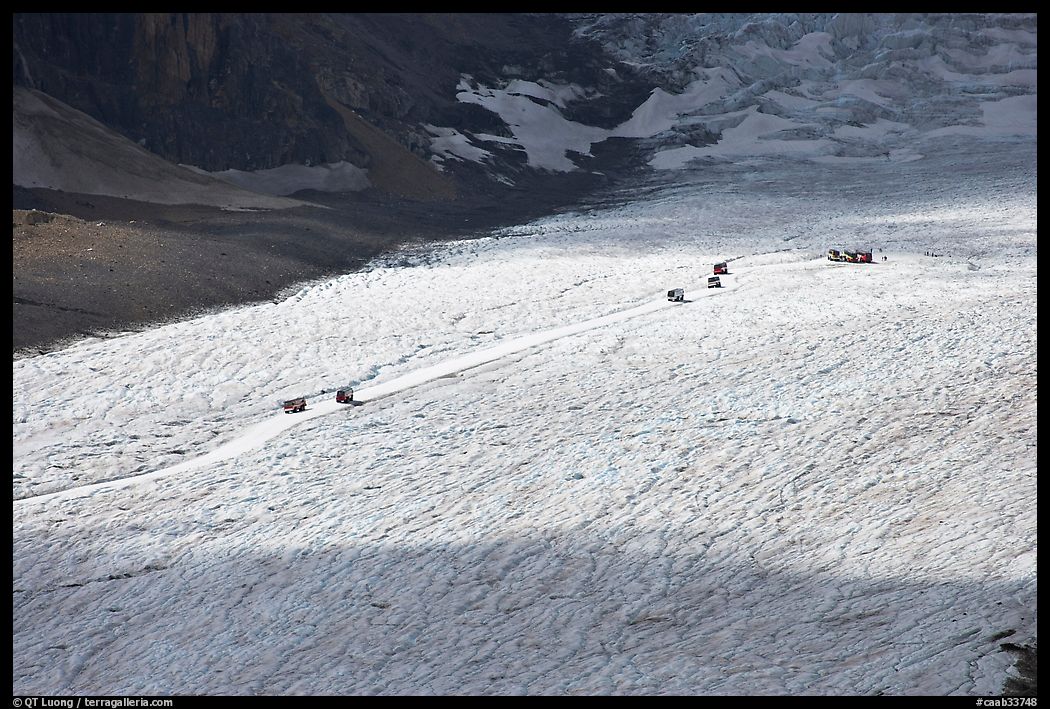
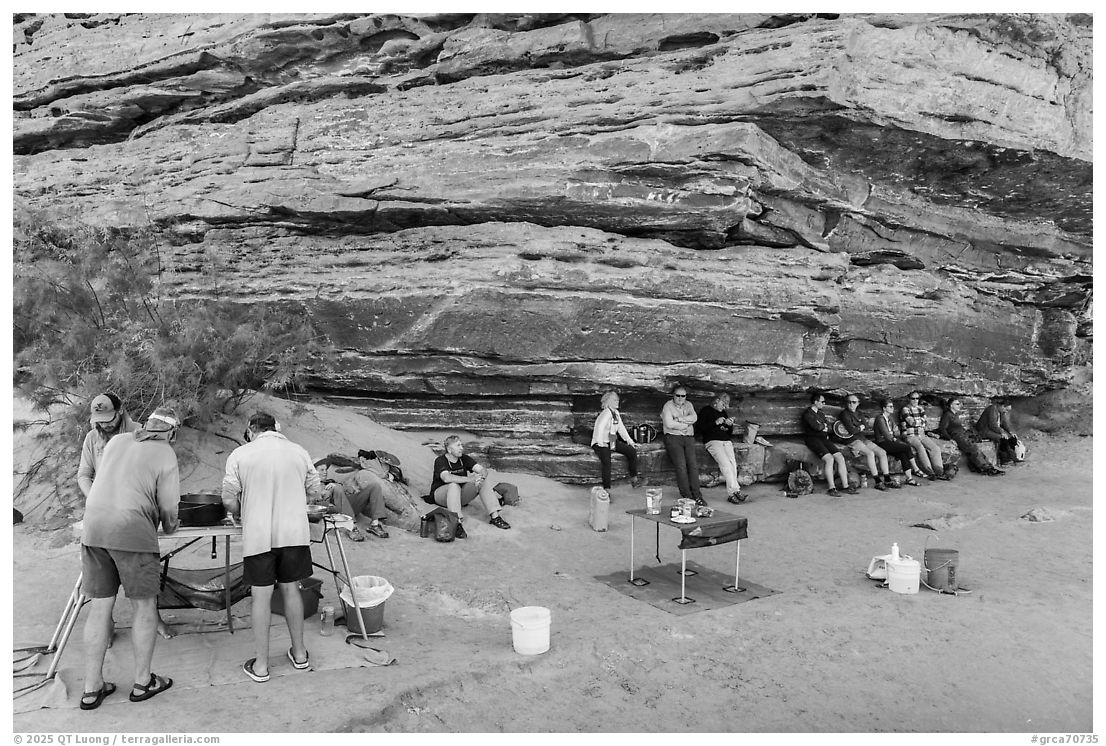
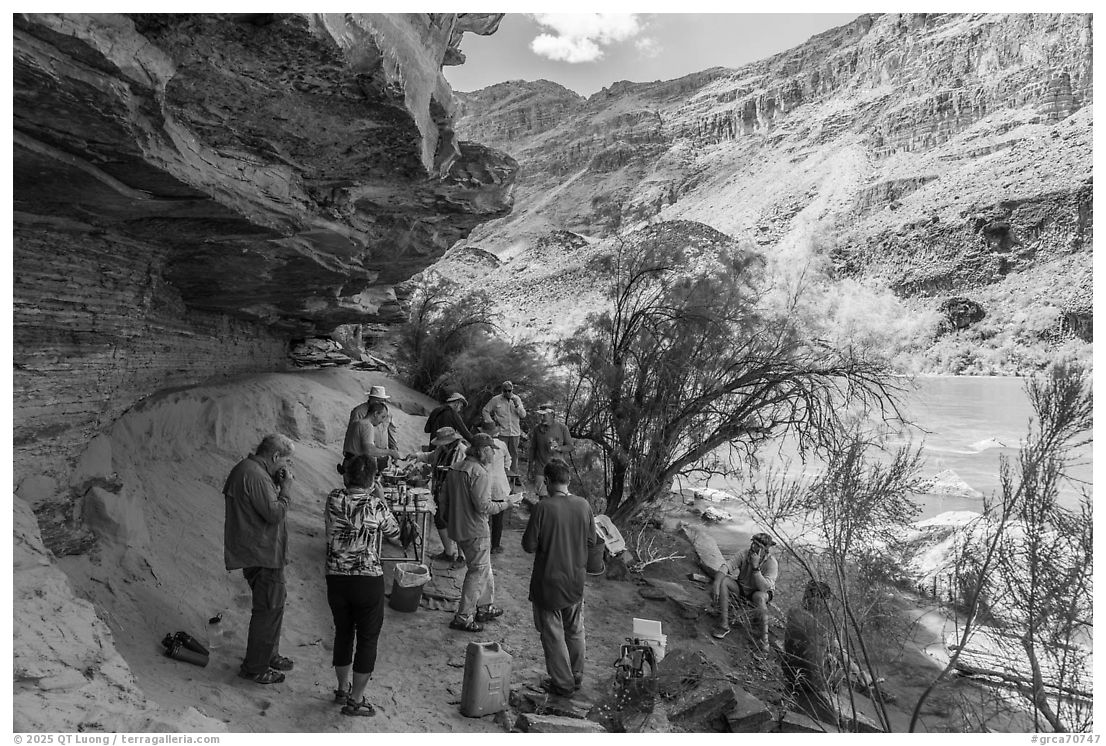
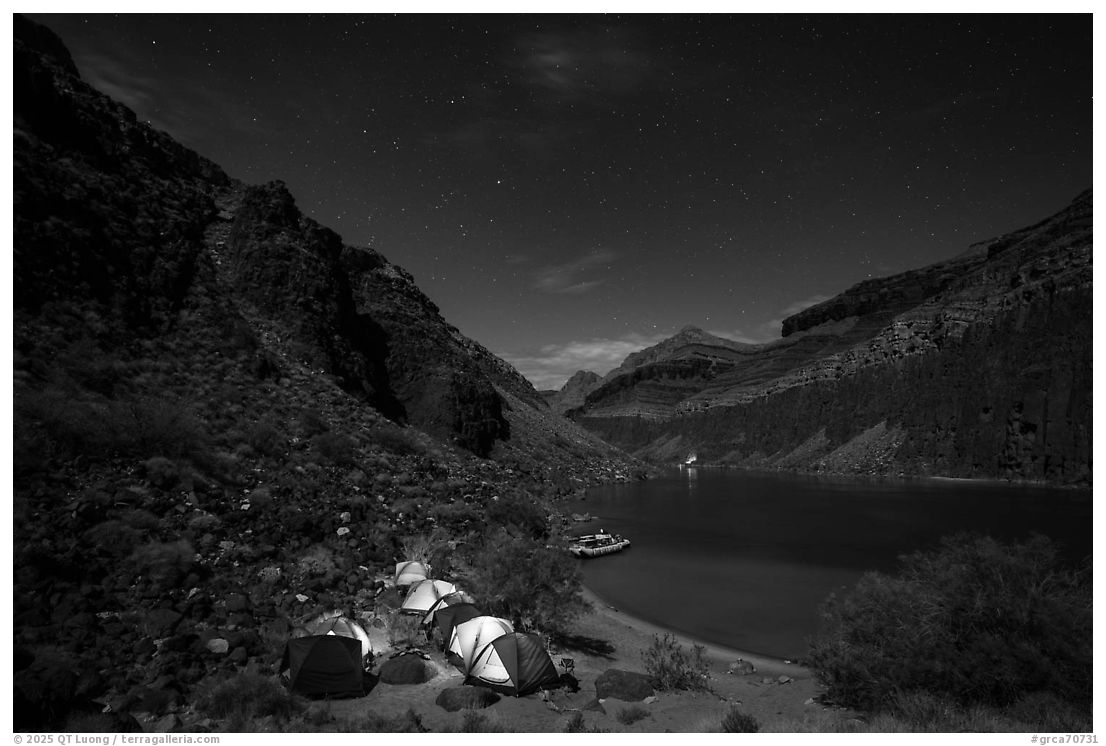
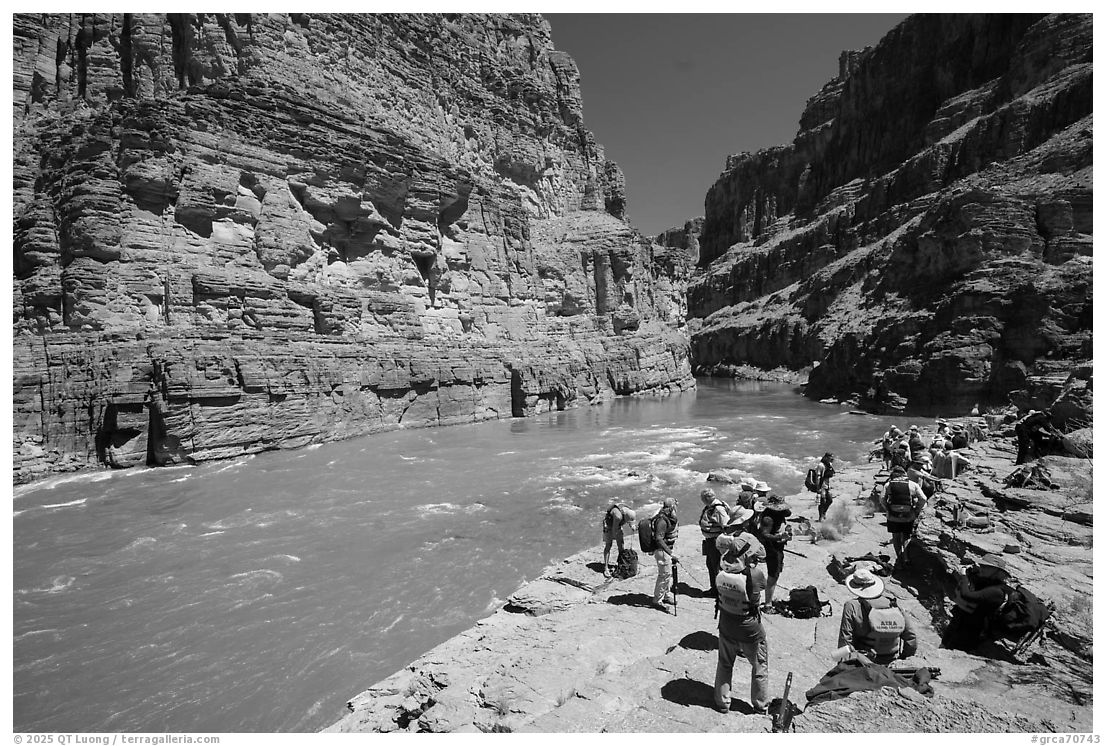
The book has affected my work profoundly. The photographs I made of the Athabasca Glacier now feel less like odd departures and more like early signals. Cronin shows how promotional images of the Columbia Icefield routinely emphasize its scale and purity while leaving out the very infrastructures that make it accessible. My own pictures inverted that convention: not only did they show crowds scattered across the ice, but also the distant lines of ice-coaches and parking lots, dwarfed by the glacier yet unmistakably present, and even the Canadian flag framing the scene. Together these elements expose what Cronin calls the gap between what is pictured and what is concealed. If official imagery manufactures a vision of pristine wilderness, my photographs insist on the lived reality—a landscape where national symbolism, mass tourism, and the spectacle of ice are inseparable. They still rely on the scenic tradition, depending on scale, light, and spectacle, but they also critique it by insisting on what official imagery leaves out. The tension between continuity and critique has become central to how I now think about photographing parks. My subsequent major long-term project America’s Best Idea, which I began in the same year that Cronin’s book was published, 2011, and is still in progress, owes much to her work—not because of the specifics of what gets included or excluded in images, but because she made clear that national parks are mediated spaces. Her analysis provided the conceptual tools to recognize that parks are never experienced directly or purely, but always through layers of representation, infrastructure, and cultural framing. The park infrastructure— visitor centers, signs, roads, amphitheaters—in America’s Best Idea is no longer treated as distraction to be minimized but as a central feature, making visible the apparatus by which “nature” is mediated.
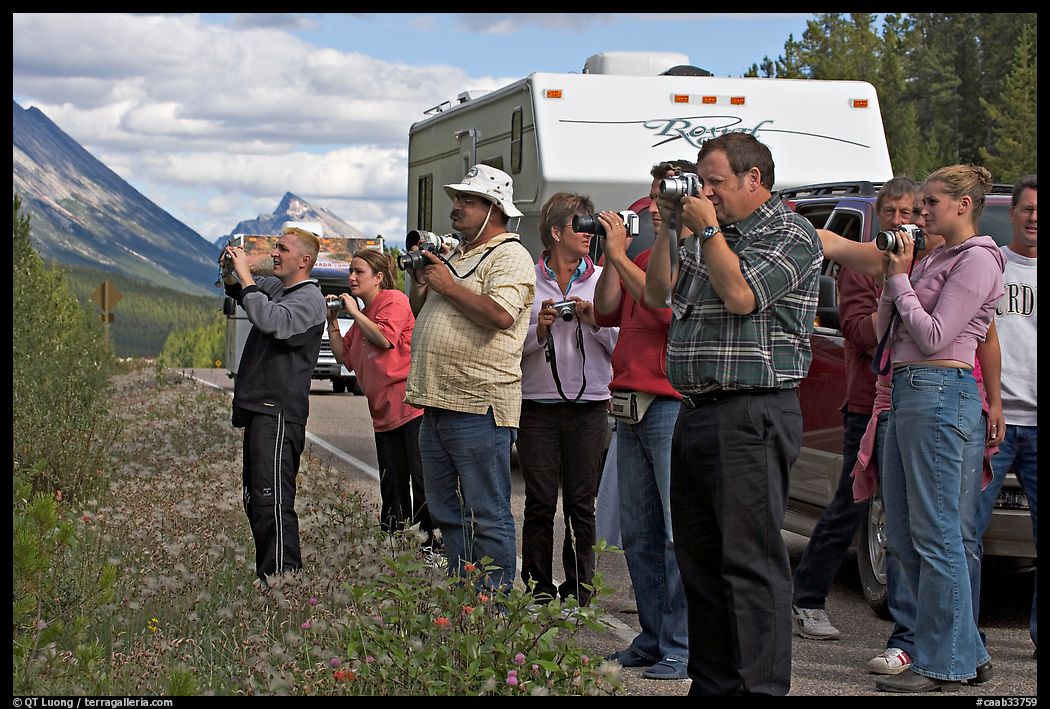
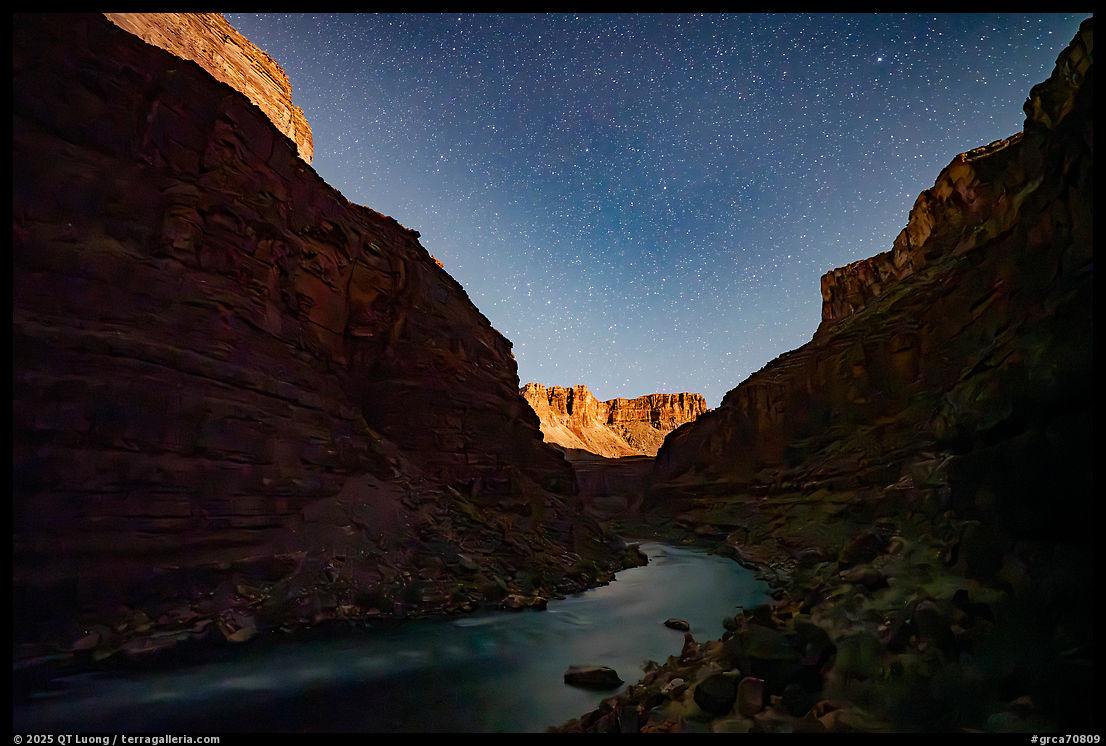
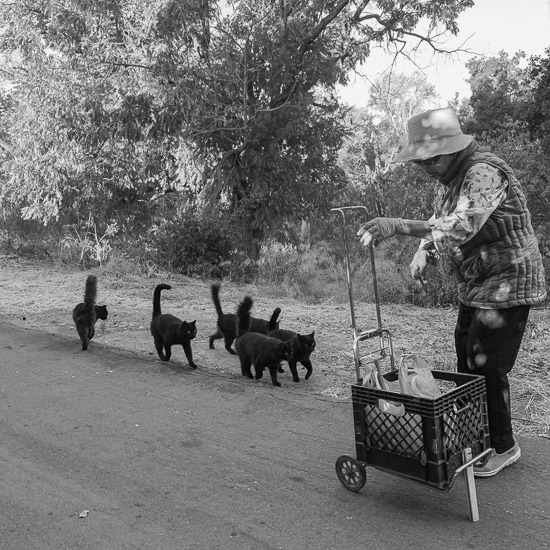
National parks are more than geography; they are cultural objects, aesthetic modes, and institutions with histories. Photography has always been central to that construction—not a neutral mirror, but a force that shapes what we believe these places are. As Cronin shows, camera images are especially powerful because they appear objective. In Jasper, illustrated guidebooks, postcards, and tourist snapshots created a specific way of seeing the Canadian Rockies: vast, untouched, and pristine. Pictorial conventions taught visitors to frame out other tourists and to privilege empty peaks over parking lots. Once developed, put into albums, and circulated among friends, these images further solidified the myth. What is left out—the crowds, the infrastructure, Indigenous histories, the management of wildlife—matters as much as what is shown, because these absences shape expectations, policy, and public imagination. To photograph parks is therefore to take part in their ongoing manufacture, a responsibility that calls for awareness of visual conventions and a willingness to reveal the complexity that lies behind them. Authenticity may not rest in the absence of human presence but in acknowledging the entanglements—natural, cultural, and constructed—that truly define “national park nature.” Seen in the larger history of photography, Cronin’s book makes clear that to photograph parks today is to take part not only in conserving their images but also in questioning how those images are made.
Read the foreword and introductory chapter
Key themes:
Grounding National Park Nature (Chapter 1).
- Definition of “National Park Nature” — what Cronin means by it: it is a way of seeing shaped by photography, tourism, and cultural values.
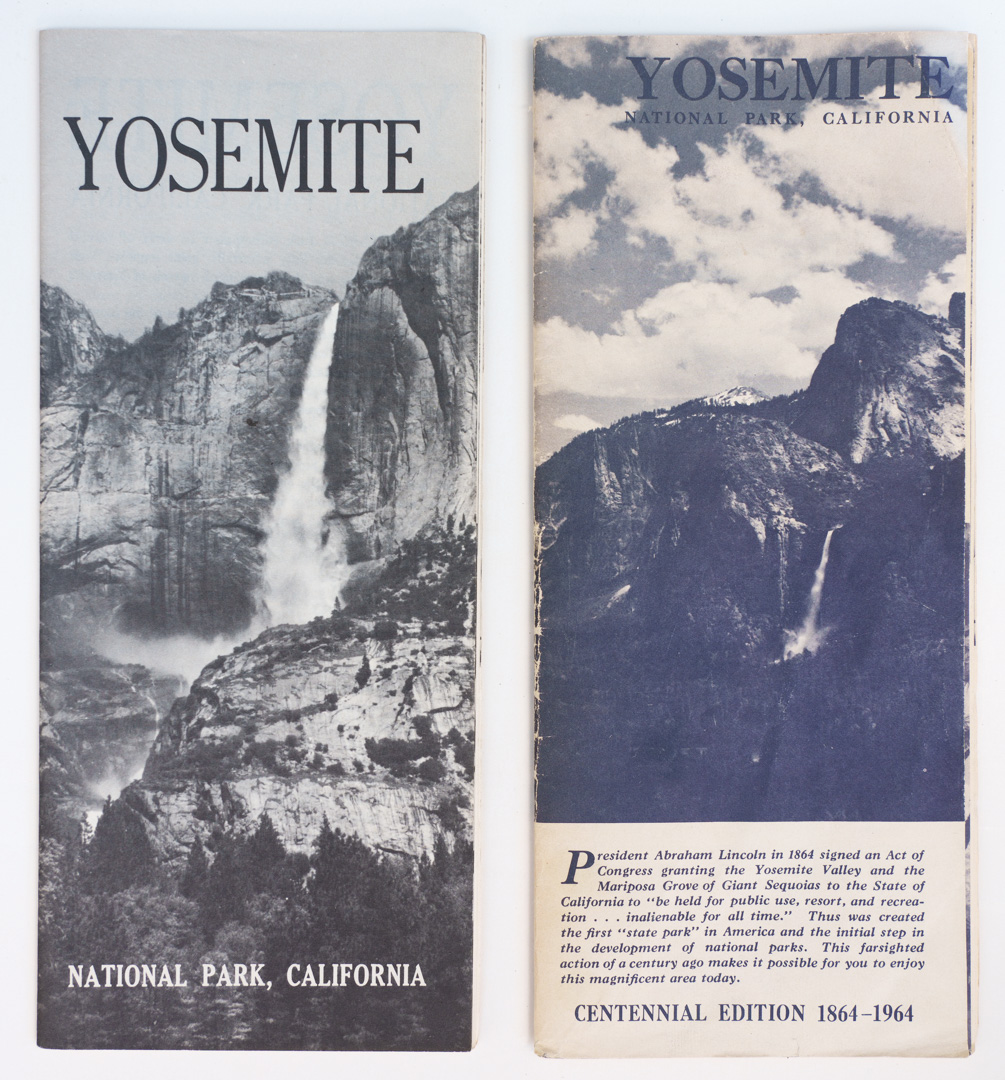
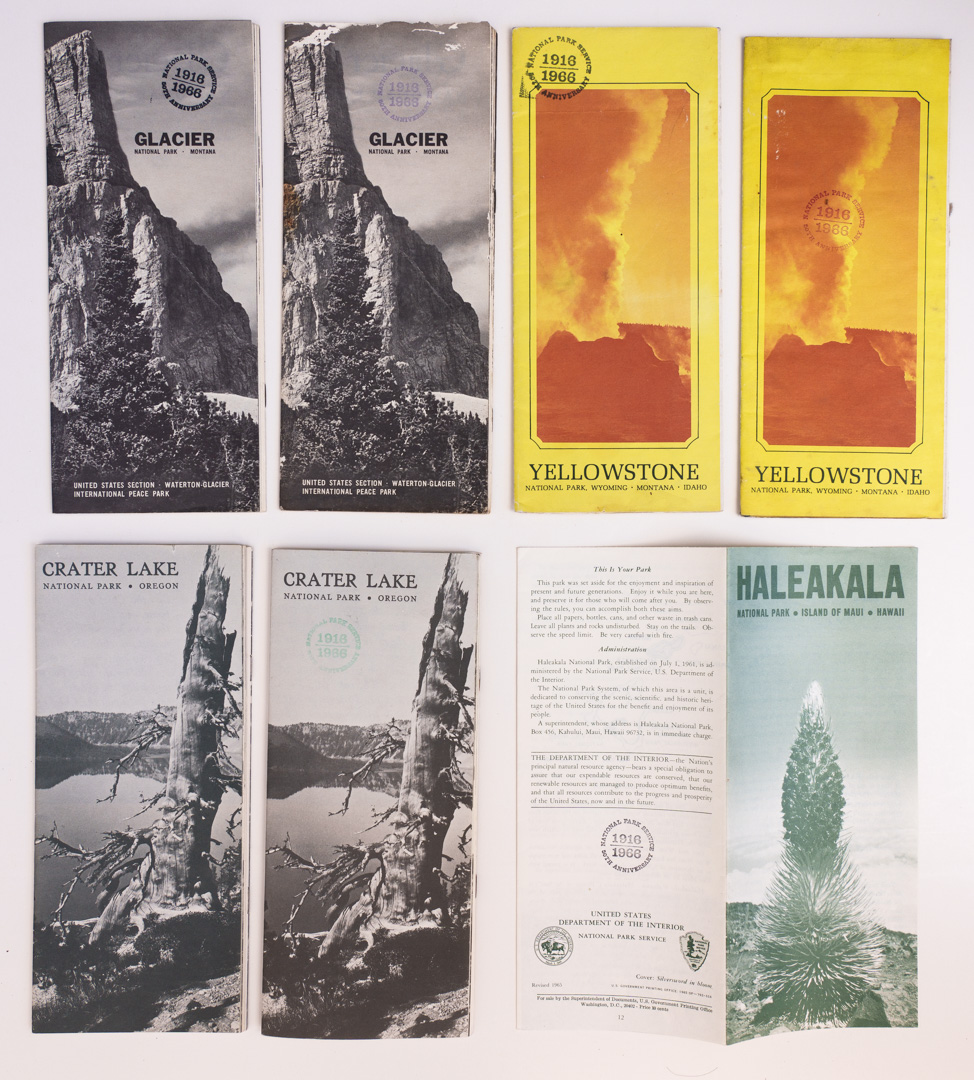
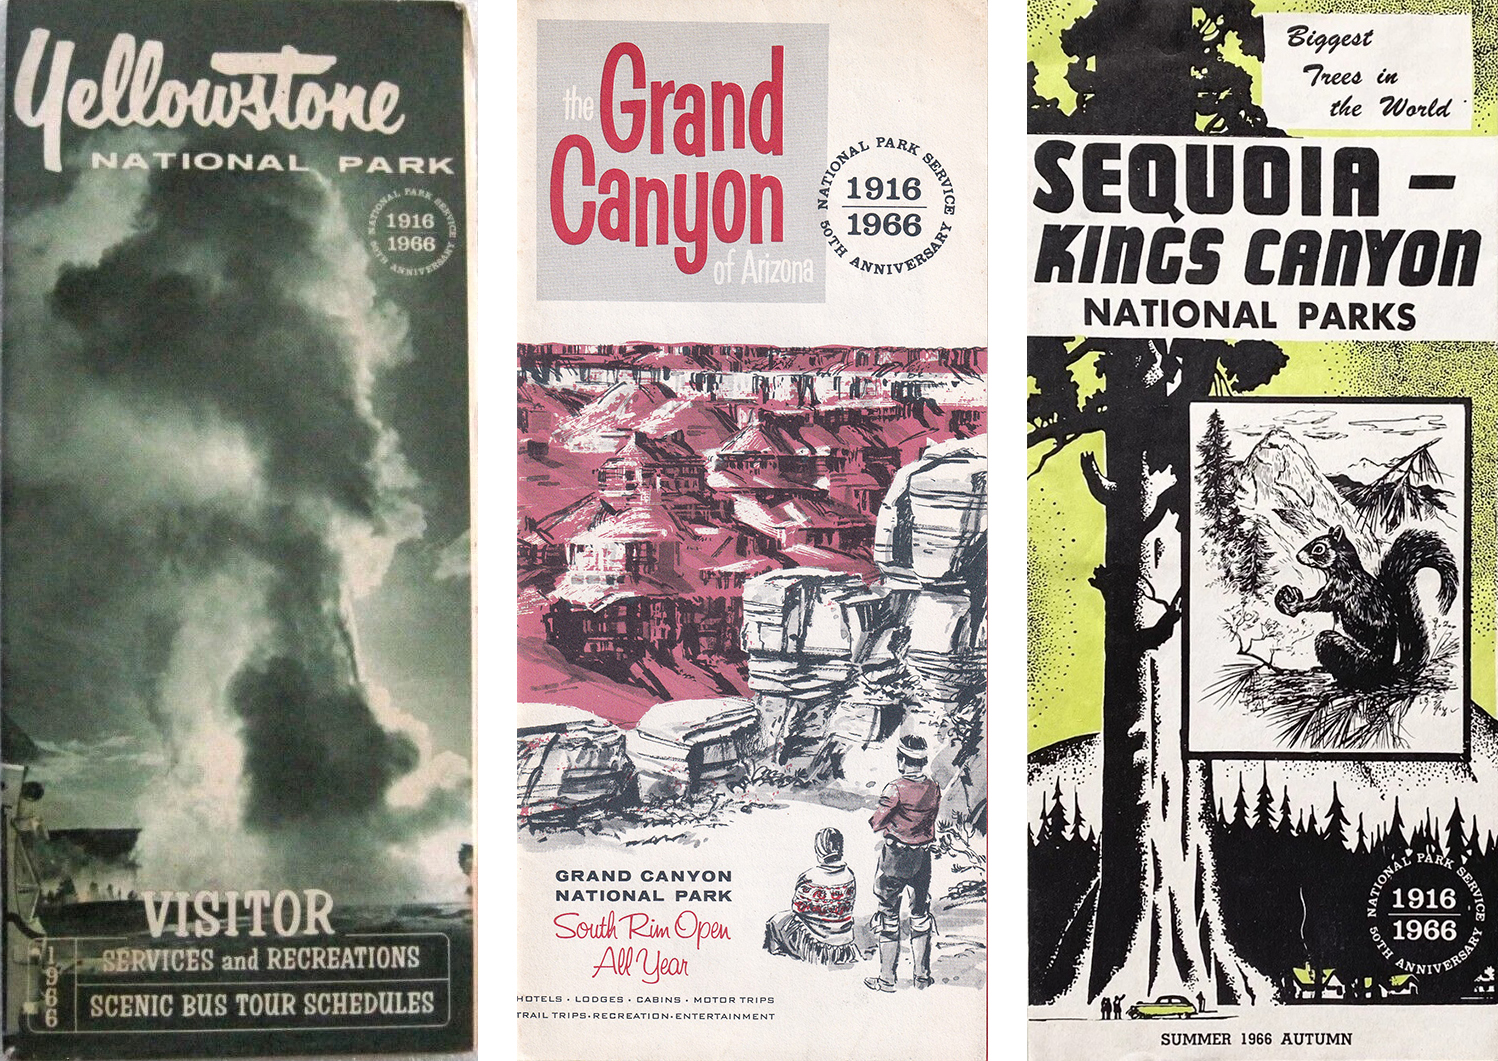
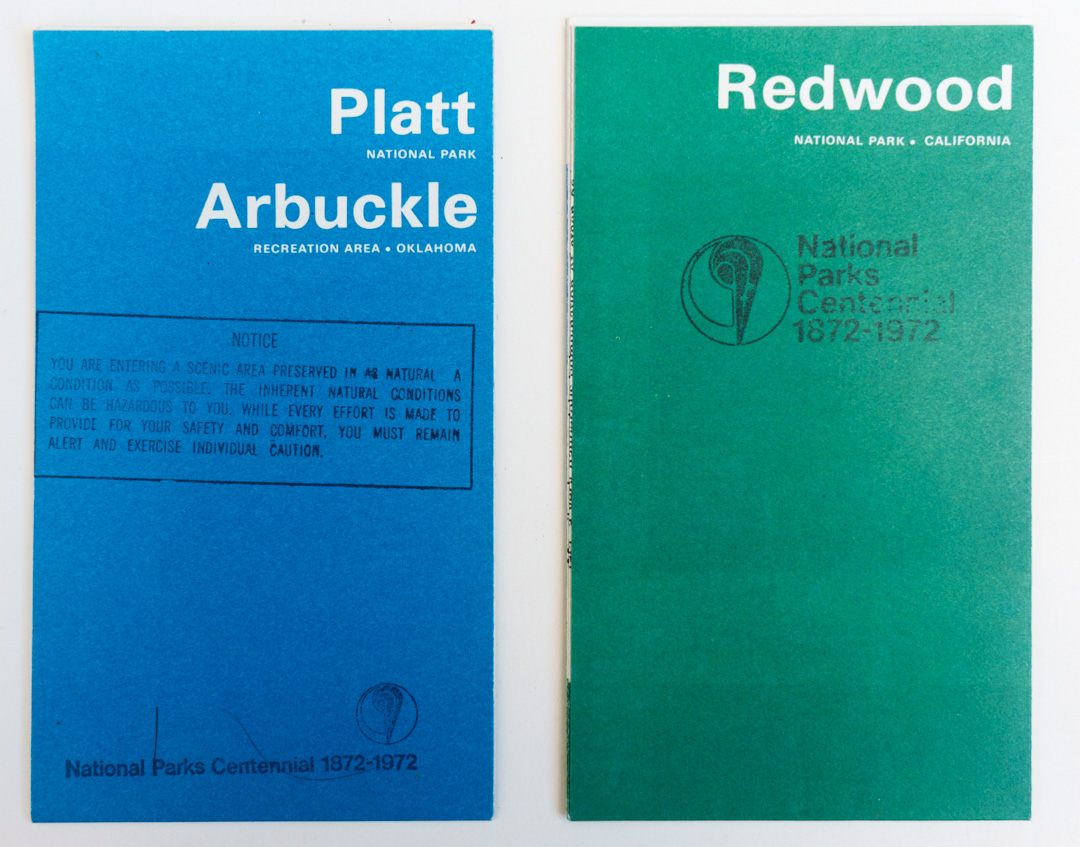
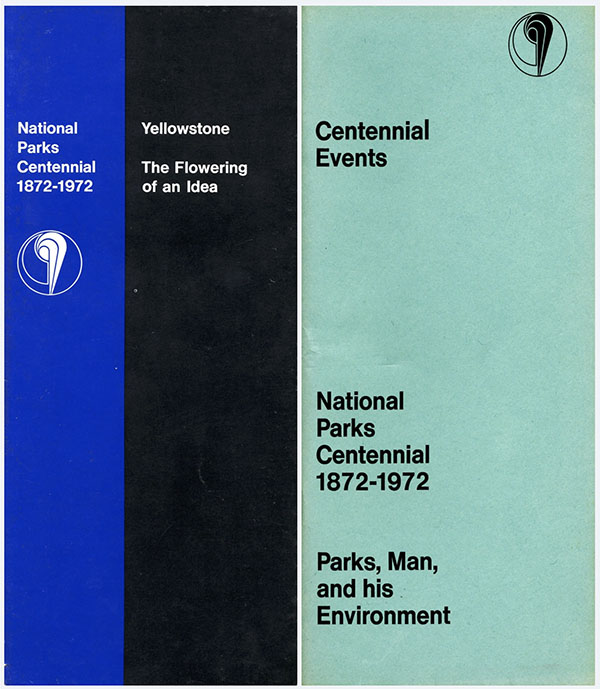
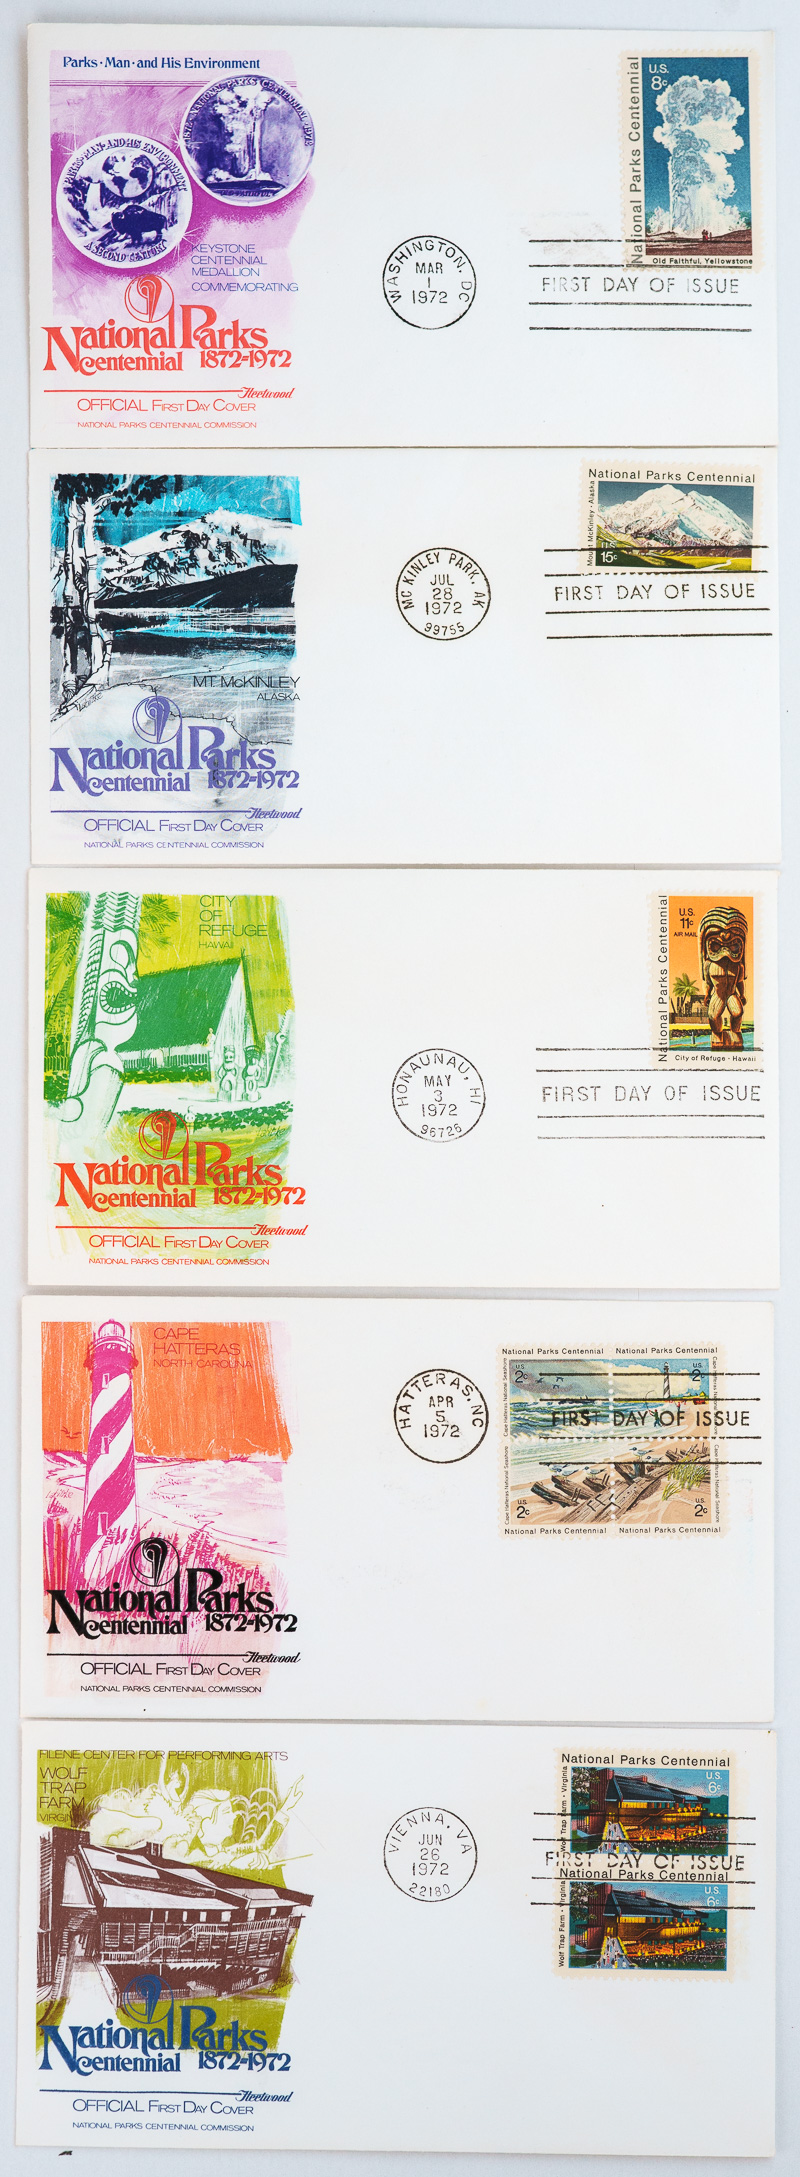
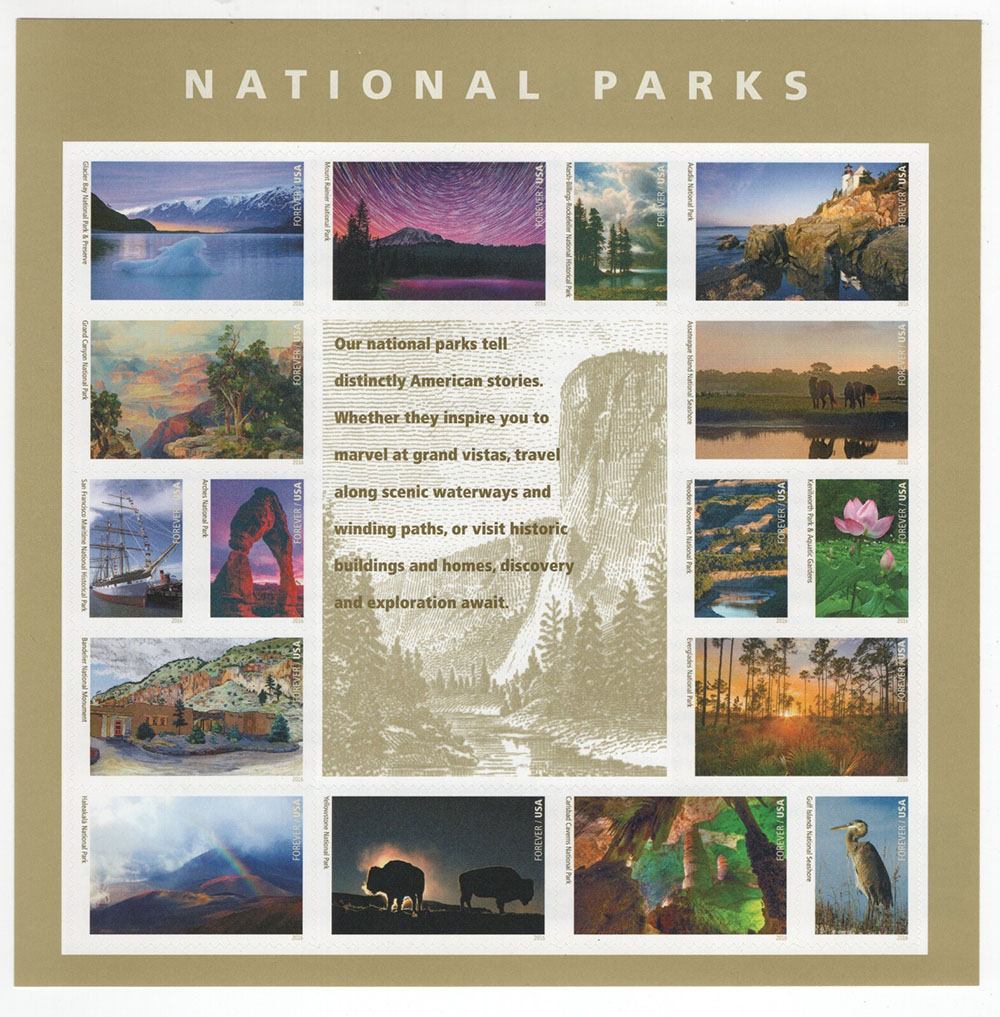
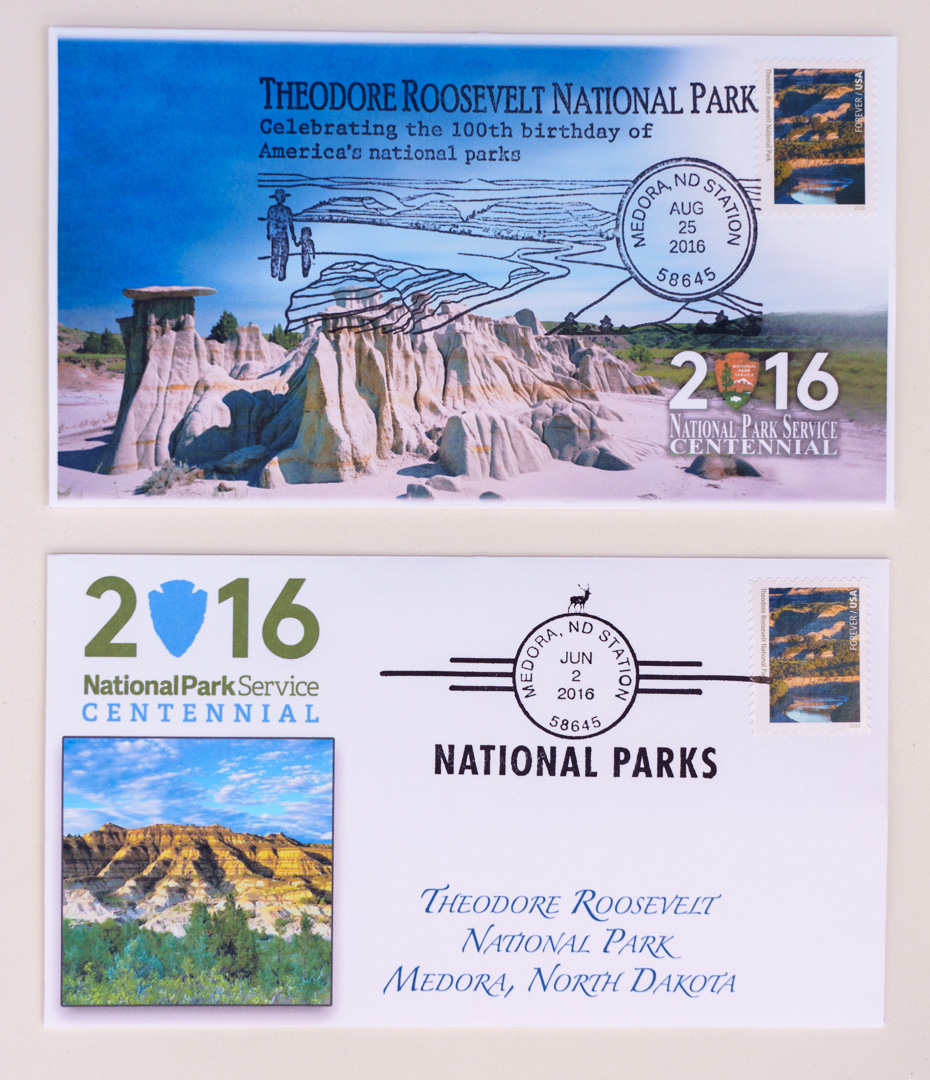
- Visual culture and national symbolism — how particular views of Jasper have been circulated via postcards, paintings, rail-tourist promotions, stamps, etc., and how this contributes to national identity.
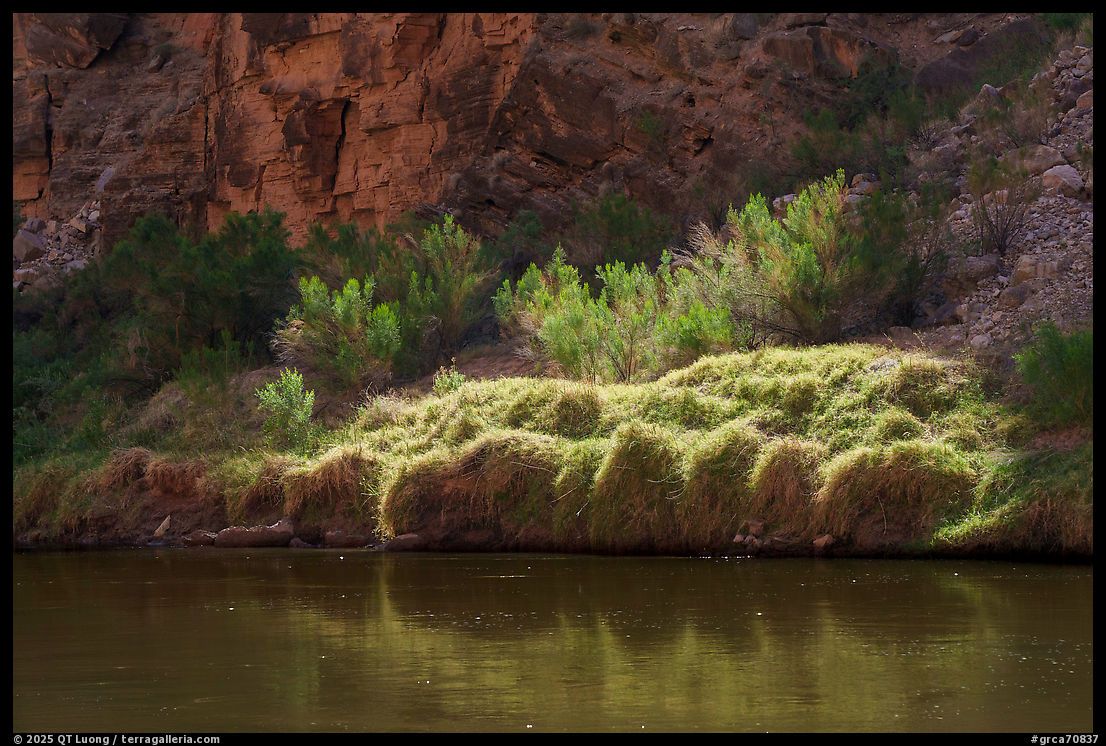
- The gap between the pictured and the real — what gets shown in images (flora, fauna, geology, visual aesthetics) vs what is often concealed: human infrastructure, tourism impacts, management, Indigenous histories.
- The role of photography specifically — how photographic images, as widely consumed objects, shape expectations, frame values, and help create conventions of what “wilderness” or “nature” should look like. It is not about objective truth but mediated seeing.
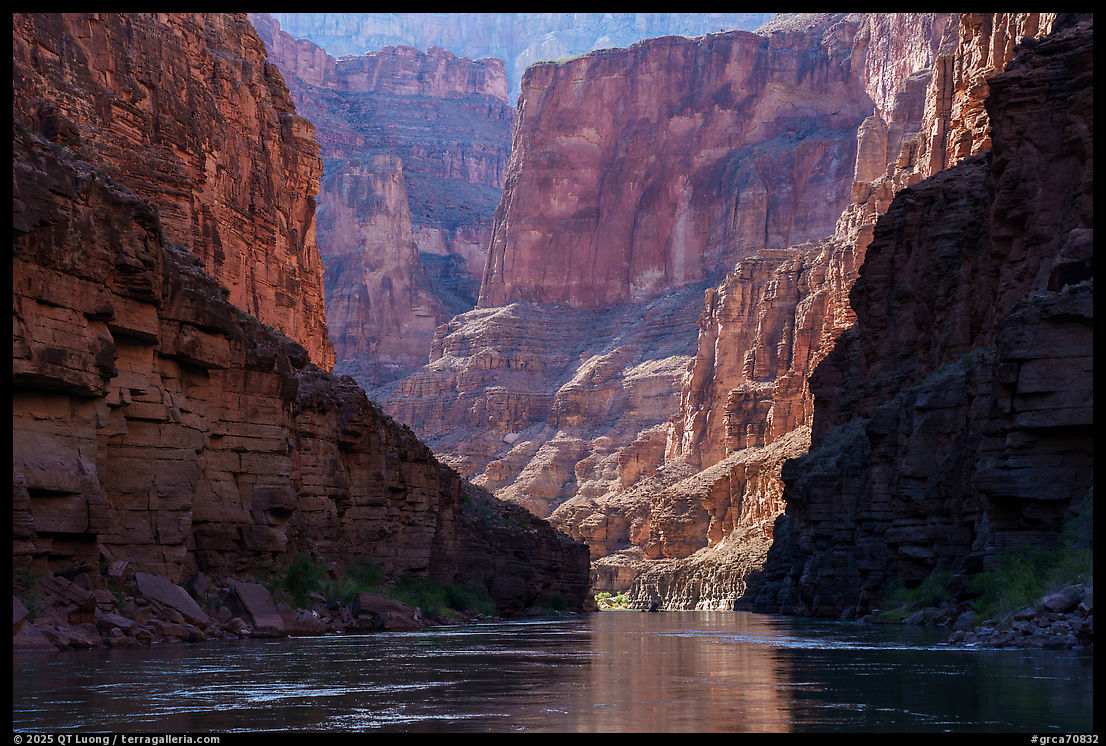
- How Jasper has been promoted as “wilderness,” including the co-construction of wilderness through marketing, railroads, rail tourism, early accommodations, lodge development.
- The narrowing of what kinds of wilderness are acceptable in imagery: large, dramatic, untouched views; what is excluded (roads, lodges, signs, civilization) to sustain the myth.
- Tension between “improvement” (infrastructure, tourism amenities, roads) vs preserving the “wild” or aesthetic symbols of wilderness.
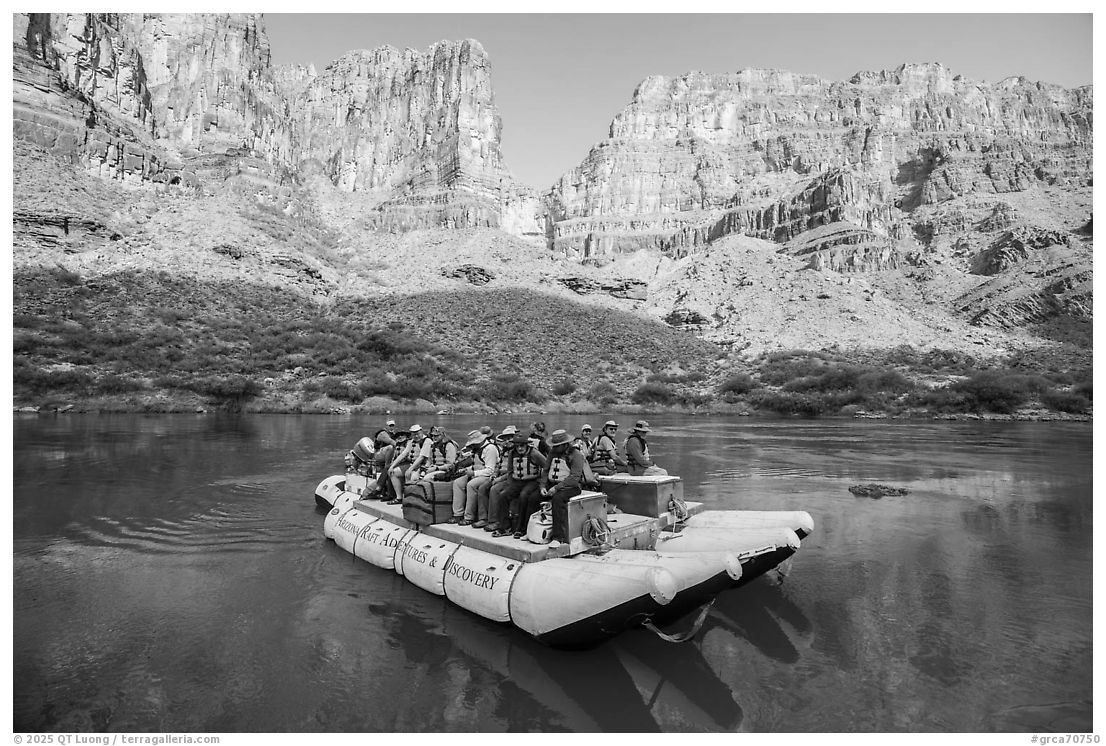
- Leisure and recreation as part of the “wilderness experience”: how images of canoeing, boating, lodges, trails, scenic drives are framed so as to appear harmonious with wilderness rather than disruptive.
- The aestheticization of leisure: infrastructure styled to feel “natural”; signs and built objects made unobtrusive; landscape made picturesque even when modified.
- The role of access: roads, trails, automobile tourism, lodging, etc., how they are shown (or hidden) in visual material to preserve a sense of “wildness” while enabling more visitors.
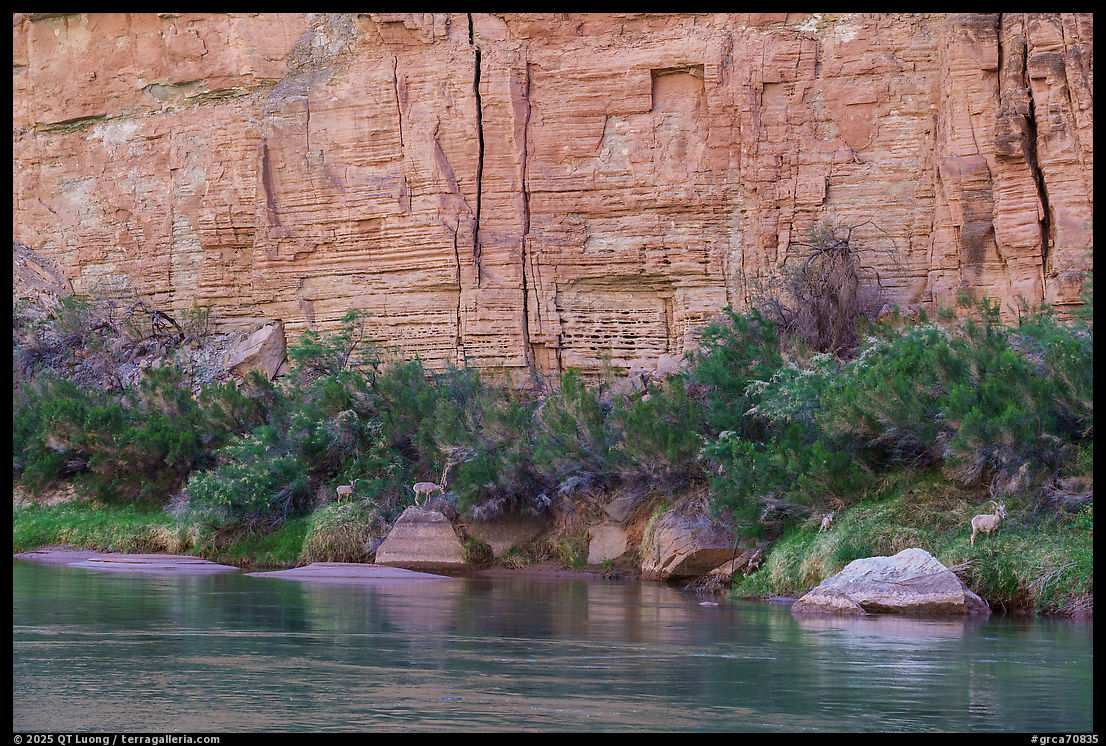
- Wildlife as image commodity: which animal species are chosen for photographs (bears, elk, mountain goats), how they are staged.
- Omissions: conflict, management, human–animal interactions, animal behavior influenced by tourists, feeding, danger — these are largely absent or downplayed.
- Wildlife in relation to expectations: how visitors expect to see wildlife, what images reinforce, what is implied about wildness, and what these expectations do to park management and experience.
- Curated or constructed nature: demonstration gardens, interpretive sites, exhibits, dioramas, and other “fake nature” forms that are publicized as close enough to wild nature.
- Authenticity and performance: how images and built displays perform what naturalness is expected to look like; how “fake nature” is sometimes indistinguishable in promotional materials from “wild nature.”
- The implications: implications for visitor expectations, environmental understanding, and conservation policy — the role of these constructed forms in shaping public ideas of what nature is, what needs protecting, and what counts as real.


