A fun afternoon in San Francisco
On Saturday, I took a break from my work on Yosemite (more on it latter).
I first headed to 49 Geary, a building near Union Square, where several floors are occupied by world class art galleries, giving you the opportunity to see a variety of art in a single location.
The main draw of the day was a book signing with Michael Kenna at the Stephen Wirtz Gallery, which had also a great exhibition of his work, presenting classic images, as well as new work from Venezia. Book signings are a strange exercise, on both ends of which I’ve been before (although more often on the receiving end), where you are given the opportunity to a conversation of just a few minutes. As some of them have been crowded and rushed affairs, I appreciated the relaxed atmosphere, which let me enjoy an interesting exchange with the legend. By the way, Michael’s Kenna handwriting turned out to be as artistic as his imagery.
Browsing the building, I was pleasantly surprised to see that the Modernbook Gallery had just moved there, after ten years on University Ave in Palo Alto. Their owners, Mark and Bryan, are the most friendly, approachable, enthusiastic, generous, and helpful people in the gallery business. Their unexpected move was a great coincidence, as their current exhibition was of Fred Lyon work, who has been photographing the city for 7 decades.
Mark pointed to some other galleries not to be missed. Amongst them was an exhibition of Miroslav Tichy at Robert Koch Gallery. I had been intrigued by his story for a while. Using cameras he made himself from recycled garbage, with lenses of plexiglas, for decades, the eccentric and mysterious Tichy wandered every day the streets of his hometown of Kyjov photographing women surreptitiously. While I could appreciate the uniqueness of the story, as well as the “contemporaneity” of the blurred and off-kilter one-of-the kind tiny prints, I must admit that after looking at the work in person, I came away slightly perplexed by his meteoric rise in the art world, as an 80 year-old reclusive. That is, until I found, the next day, this article (in French, although with an English abstract) L’ Invention de Miroslav Tichy.
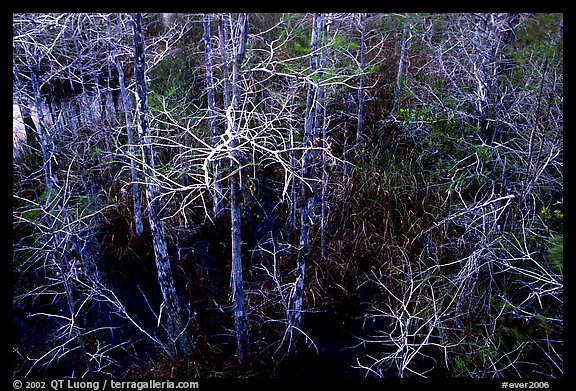
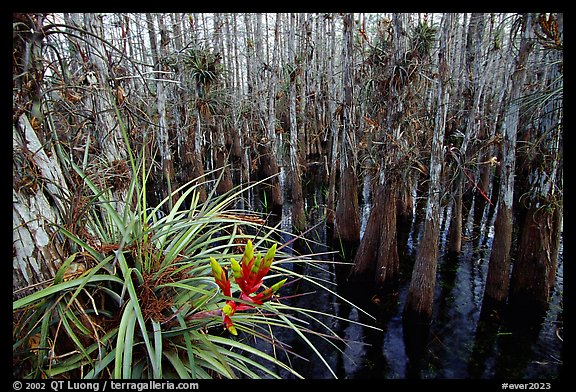
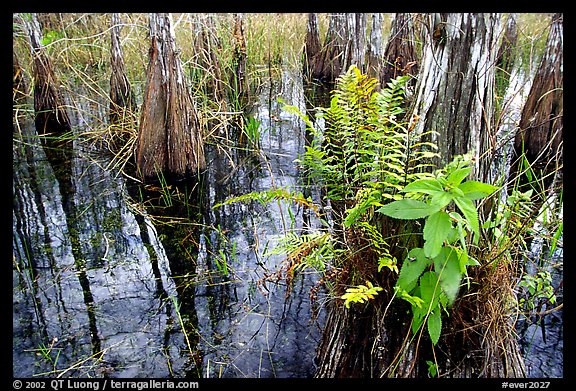
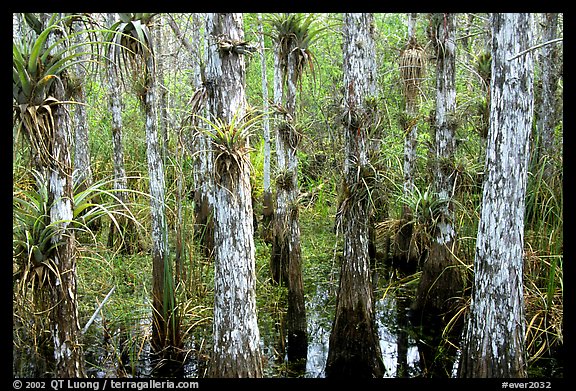
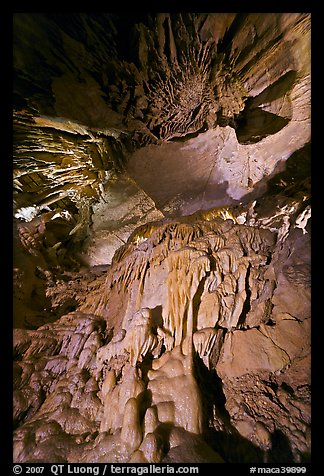
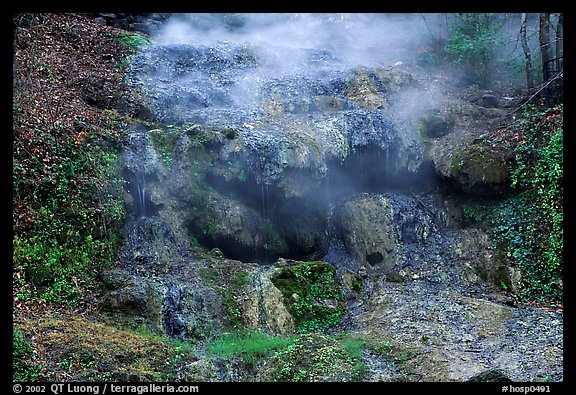
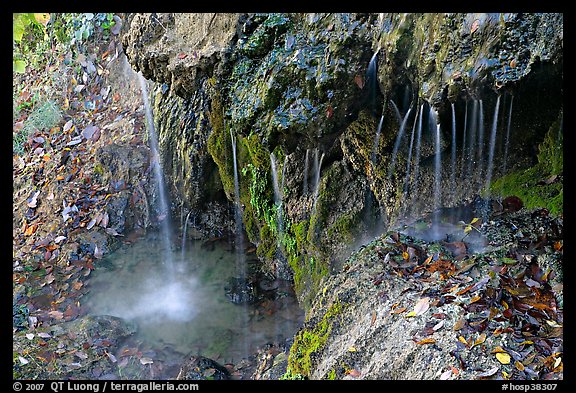
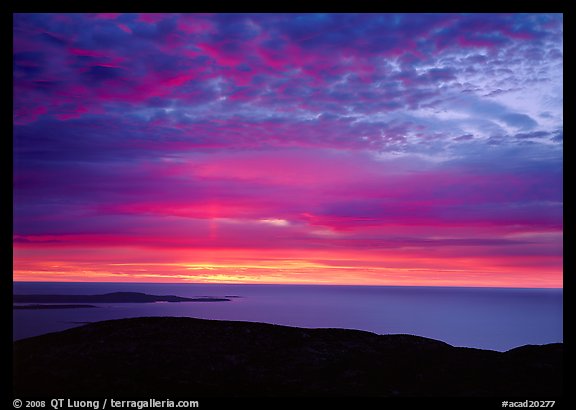
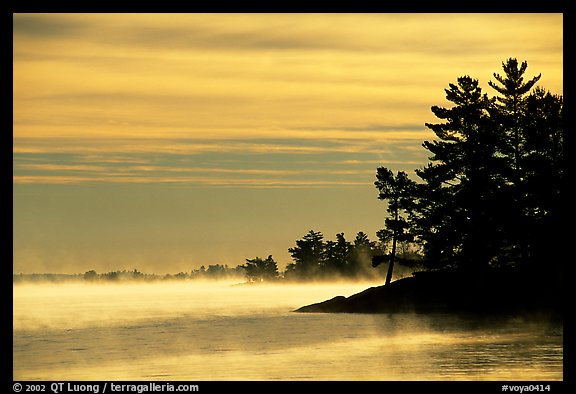
I then headed towards the Cliff House, site of a “Photo Walk” lead by Jim Goldstein ( see his photos). It took place at the Sutro Baths, a remarkable meeting of man-made and natural environments at the edge of the Pacific Ocean. Although it was one of those foggy evenings that must have inspired Mark Twain’s saying “The coldest winter of my life was a summer in San Francisco”, there was quite a bit to photograph. While normally I prefer to work alone, I was pleased to see several friends there, and had mostly a good time catching up with them. I actually liked to see photographers crawling all over the place. I even made … a few photographs ! To stay with that day’s mood, I am presenting two of them as a modest homage to Michael Kenna. I’ll let you guess about the third one.