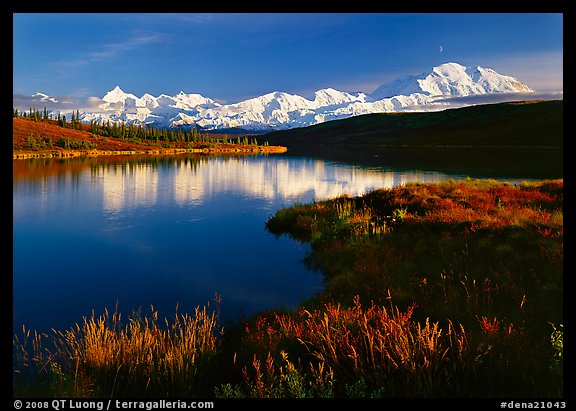
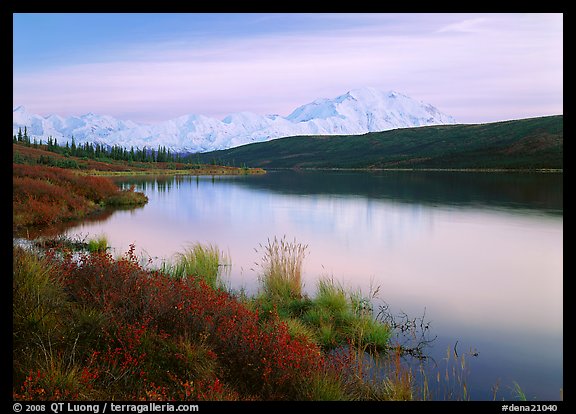
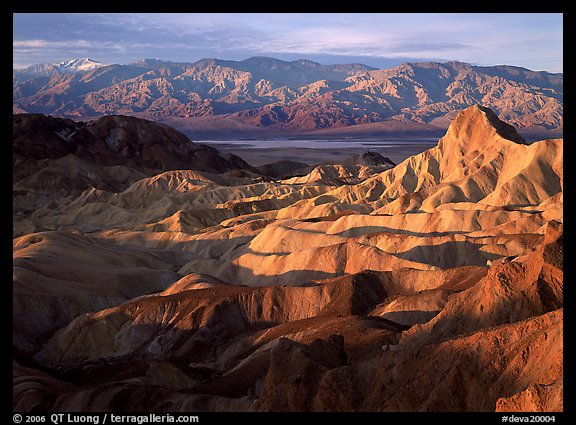
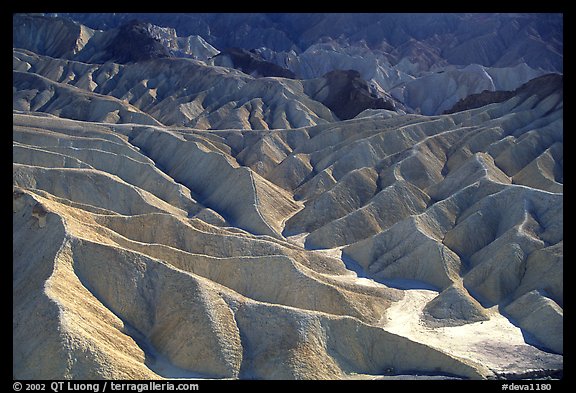
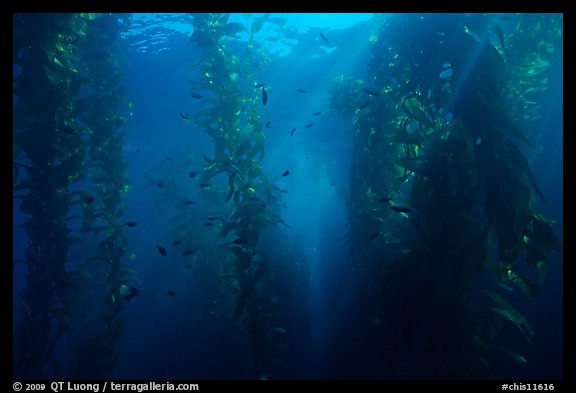
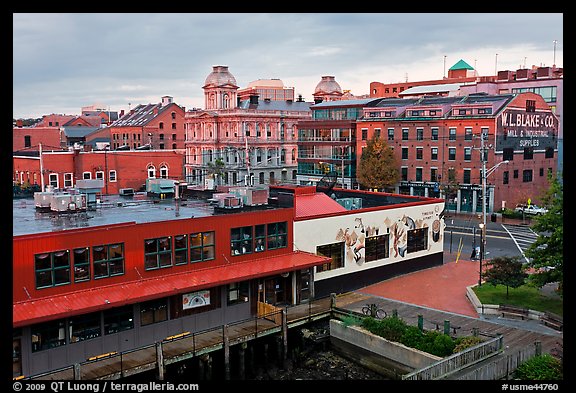
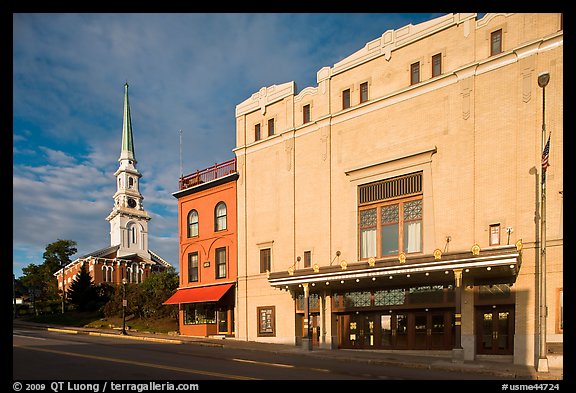
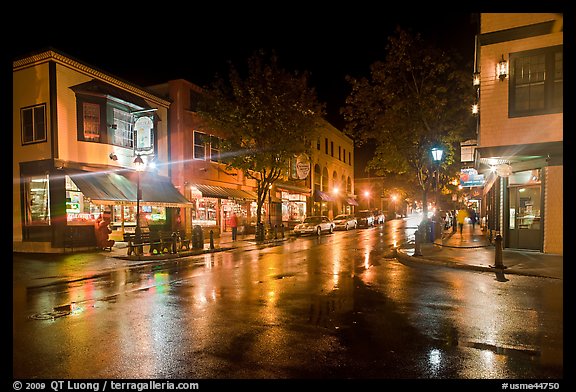
QT Luong’s images featured in US Dept of State 2010 Calendar
|
|
The Terra Galleria Blog – QT LuongQT Luong's updates and thoughts on photography, travel and nature
|
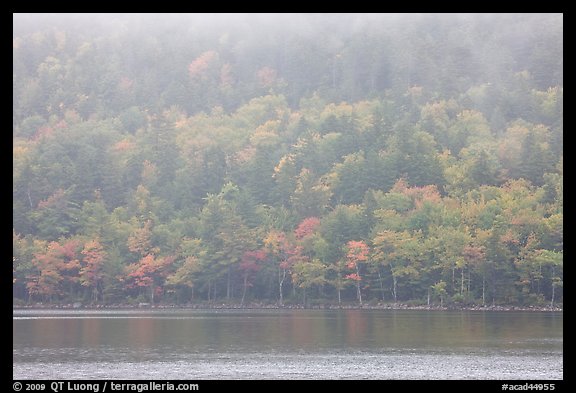
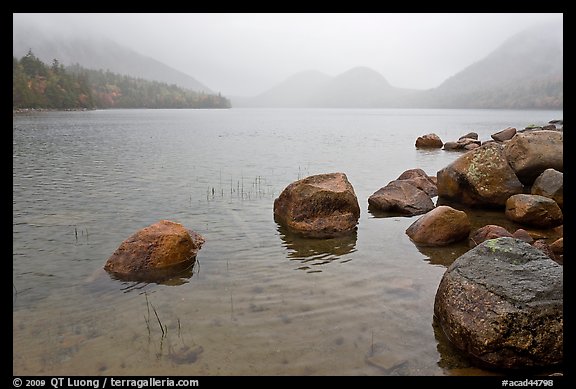
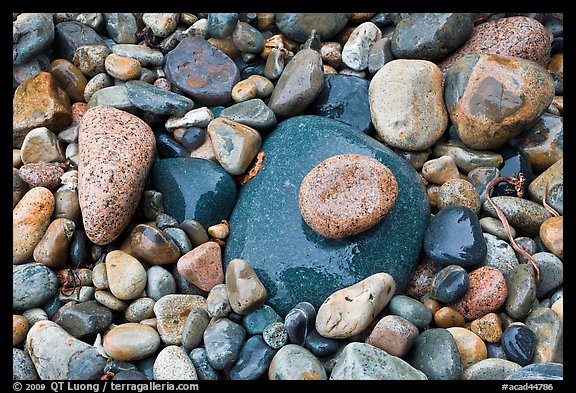
I have posted new images of Acadia National Park. As always, new images are mixed with old images. Use the button “List most recent images” on the home page to see which images are new.
It had been a decade since my previous visit of Acadia in Oct 1997. Although that 1997 visit was short, lasting three days, I felt satisfied by it, and since then Acadia had ranked high in my list of favorites, for the variety of scenery it packs in such a small area. This, and the distance (furthest from the San Francisco Bay area), explain why Acadia was the only National Park in the continental US that I hadn’t visited at least twice.
In general, I try to return at different seasons, but this time I happened to be in Maine, working on the Maine Woods in September, so I was back again in Acadia during the fall season. The weather made this visit different. The interesting thing with landscape photography is that with changes in light, seasons, and weather, you are never seeing the same scene twice. Some would not have been pleased that it rained most of the time during their two-day visit, but I welcomed the change. The rain made the pebbles on a beach glisten. Leaves look more saturated with colors. The fog created mood in landscape images of Jordan Pond. I could hear tourists stepping out of their car on Cadillac Mountain expressing their disappointment over the limited visibility. I would have been disappointed myself if this had been my first visit. Although trying to keep the lens dry was a challenge, since I had already seen the expensive views, I was excited to photograph in different conditions, and try to make the most of what nature had handed me.
>
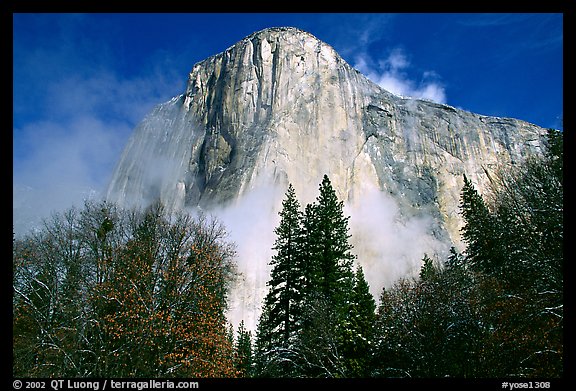
Outstanding locations are plenty in Yosemite National Park, but if I’d have to name a favorite, this would be El Capitan Meadows. El Capitan Meadows is located next to the park loop road in the Valley, just at the base of El Capitan (2.5 miles west from Yosemite Lodge) but if you are not craning your neck, you might miss it from the road.
I often came there to catch the early sun rays and cook breakfast in the morning before starting a day of climbing. From there, you can look directly at the face of El Capitan, which is the tallest cliff in America. If you come during the climbing season, there are always a couple of parties scaling the cliff that you can follow with binoculars, and photograph with a super-tele lens. In the evening, the cliff is punctuated like a starry sky by the headlamps of climbers setting a bivy. The meadows is where you start an El Capitan climb. Some meadows may be more central, but to me El Capitan meadows is the heart of Yosemite Valley.
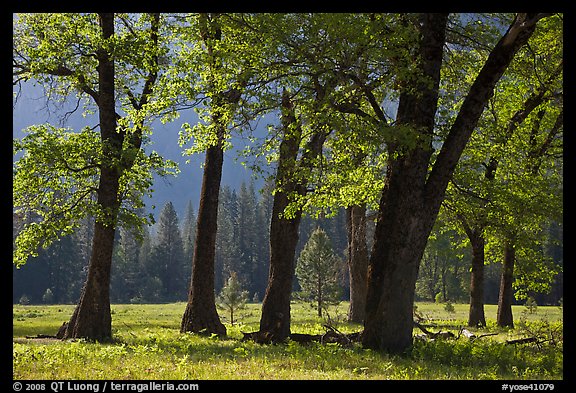
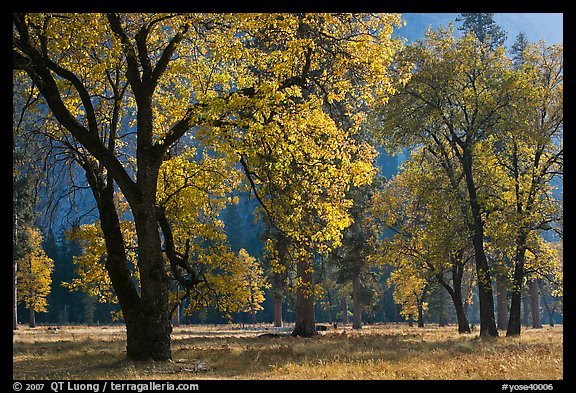
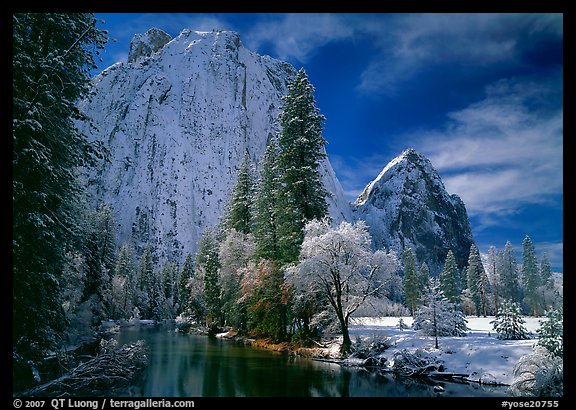
Besides El Capitan, the Meadows are bordered by the distinctive-looking Cathedral Rocks and the Merced River. From the bridge at the end of the meadows, reflexions can be photographed in both directions. Graceful black oak trees grace the meadow. They appear both on the cover of Ray McSavaney’s Explorations and John Sexton’s Recollections. Because the meadow is surrounded by all those high cliffs, the light there is often special, even in the middle of the day at some times of the year. The sun doesn’t reach the meadow until around one hour after sunrise and until one hour before sunset. The trees go from fluorescent green in the spring to bright yellow in the fall. Ferns and wildflowers adorn the meadow. This is there that I took the first series of Yosemite images with which I was really pleased (several years and dozens of trips after my first visit to the Valley) after a snowstorm in the middle of winter.
More images taken from El Cap Meadows. All images of Yosemite National Park.
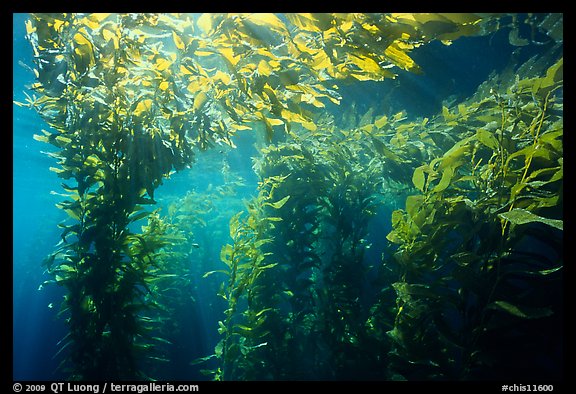
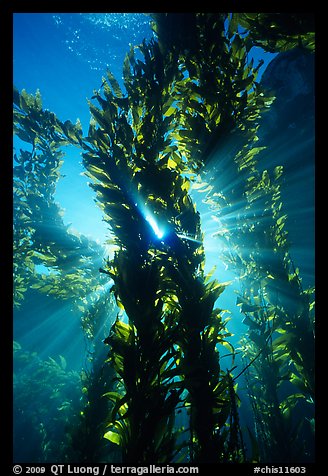
This might sound awfully wide to those not familiar with underwater photography, so here are some explanations. Because the refraction index of water is 1.33, when used in the water, the lens is the equivalent of a 20mm lens (all lenses become 1.33 times longer). Then, in underwater photography, you need to get very close to your subject, because even a small amount of water between the lens and the subject would degrade images significantly, and in particular absorb the all the reds (resulting in blue hues).
While I am pleased with the images, considering for how long I hadn’t been diving and the equipment that I had, I will be most likely returning next year with a housed dslr and my strobe repaired, since I saw so much more than what I managed to photograph.
Phillip Colla feels that it is crazy to have only 36 exposures available. On the first dive, I was so tired (insufficient weights might have contributed) that I had to force myself to finish the roll. But after I got more comfortable in the water, that did became a limitation. However, what I missed most was the ability to shoot at high ISOs. This would have made it possible to try to photograph sea lions (do they move fast in the water !) and scenes in the shade.
Of course, image quality is a minor aspect of photography, compared to all the other factors that go into making great photographs. However, to quote Norman Koren, “the technique you develop in testing cameras and lenses will spill over to your daily photography. Alfred Stieglitz tested film and developers extensively when he discovered photography as a student in Berlin. Ansel Adams performed extensive tests in the development of his zone system. Although nobody would claim that testing is responsible for their unique vision, it certainly contributed to the skill that transformed their vision into prints of transcendent beauty.”
Back in the early 1990s, I was doing quite a bit of lens testing in order to understand which lenses were sharper, and how the choice of focal lengths and f-stops affected image quality. One photographed targets (that had to be carefully labeled to identify the parameters at a later stage), had the film processed, and then squinted with a microscope, struggling to determine which groups of bars were “resolved”. This approach can yield very reliable measurements, including resolution in lpm (the best example of them today is found on William Castleman’s EOS lens reviews) but it was tedious, and I eventually lost interest.
This changed in 2004, when Norman Koren released his first version of Imatest, a software to automate digital image quality measurement. You still need to set up the target shots carefully, but now you just input sets of digital images into the software, and then read measurements. Compared to other solutions, Imatest distinguishes itself by the simplicity of the test targets it uses, consisting of two uniform regions separated by a straight border. Those targets are easy and inexpensive to make.
In late 2005, Canon released the 24-105/4, which was anything I wished for in an all-purpose lens. The only question mark was image quality. To find out for myself, in early 2006, I tested this lens against my 24-70/2.8 and other EOS lenses on a Canon 1Ds mark II. I have previously written a comparative review of the 24-105/4 and 24-70/2.8 lenses. This post summarizes my findings with respect to sharpness.
I won’t detail my experimental procedure here (this may be the subject of a future post) but let me say that tests were done very, very carefully and the results were repeatable. Imatest can provide a lot of information, including, in the current version, 3D graphs and a MTF graph similar to the ones published by Canon in EF Lens Work. This test was conducted with an older version of Imatest. For the sake of simplicity, I am using here a single number to represent image quality. This number is the MTF 50 calculated by Imatest, integrating several measurements over the image area. The larger the number, the higher the resolution/contrast.
Lenses tested:
24-70: Canon EF 24-70mm f/2.8L USM
24-105: three copies of Canon EF 24-105mm f/4L IS USM
12-24: Sigma 12-24mm f/4.5-5.6 EX DG IF HSM
17-40: Canon EF 17-40mm f/4L USM
70-300: Canon EF 70-300mm f/4-5.6 IS USM
70-200: Canon EF 70-200mm f/2.8 IS USM
24TSE: Canon TS-E 24mm f/3.5L
45TSE: Canon TS-E 45mm f/2.8
50: Canon EF 50mm f1.4 USM
85: Canon EF 85mm f/1.8 USM
90TSE: Canon TS-E 90mm f/2.8
100: Canon EF 100mm f/2.8 Macro USM
@24 24-70 24-105 17-40 12-24 24TSE
2.8 26.2 na/na/na na na na
4 29.8 28.2/34.8/35.0 28.3 na 27
5.6 31.6 33.6/38.4/35.8 33.3 23.6 29.8
8 31.7 35.7/37.4/34.6 36.1 29 31.1
11 30.2 33.2/33.4/32.3 34.6 29 30.3
16 27.2 29.0/29.1/28.9 30.3 26.7 26.9
@35 24-70 24-105 17-40
2.8 28.2 na/na/na na
4 32.3 32.6/36.0/34.0 21.8
5.6 33.7 37.4/38.6/37.5 23.2
8 33.4 36.8/37.1/36.6 29.7
11 31.6 34.3/34.6/34.1 34.3
16 28 29.6/30.0/30.3 30
@50 24-70 24-105 50 45TSE
1.4 na na 13.7 na
2 na na 21.4 na
2.8 24 na 32.87 33
4 29.2 24.4/32.7/32.5 40.11 35.6
5.6 31.5 35.8/33.9/37.1 40.7 35.4
8 32 37.2/33.3/35.1 39.7 34.6
11 31.2 35.3/34.2/34.5 36.2 33.2
16 28.3 19.7/31.2/31.4 31.9 30
@70 24-70 24-105 70-300 70-200 85 90TSE
2 na na na na 25.2 na
2.8 20.3 na na 29.9 28.8 29
4 23.66 25.2/25.1/26.5 27.9 32.2 32.6 34.2
5.6 26.98 32.3/37.6/35.5 32.8 31.7 36 38.2
8 28.77 28.8/36.9/34.6 37.1 31.2 37.2 38.6
11 28.4 34.0/35.4/33.6 35.3 29.8 35.1 36
16 26.52 30.3/31.0/30.1 31.2 28 30.8 31.4
@105 24-105 70-300 70-200 100-400 100
2.8 na na 32.6 na 29.8
4 20.1/23.1/26.0 na 34.2 na 34.1
5.6 26.0/33.3/34.9 34.3 34.1 28 34.6
8 23.5/35.8/35.3 37.2 33 30.6 36
11 18.8/34.4/33.3 36.4 31.2 31 35.4
16 29.4/30.7/30.1 32.2 28.7 28.6 30.5
A wealth of information can be found in the table above, but here are a few general observations. Some will be well-known to some readers, but are worth repeating for others.
I’ll be the first to admit that I spent only a couple hours in each of those places. In general I do not spend extended time in cities, but rather travel through them en route to or from National Parks. For instance, I left Acadia National Park at dark on a Sunday, drove to Portland. On Monday morning, I got up at 5.30 and photographed until 8.00 before driving to JFK airport in NYC to catch a flight home in the afternoon.
In the past, I would just pass through cities without any attempt at photography. However, as of late, I have felt more compelled to create images there, and not only for the challenge of working fast in unknown and new places. Those places are part of the experience of many people who live there. As I went through them, they also became part of my experience. Even through a cursory glance, they didn’t look like the cities closer to home, and the difference intrigued me. So I tried to make connections with something that I saw only briefly, without pretending to understand well what I encountered nor making a faithful portrayal. I see that a bit like an equivalent of travel writing: even if travel writers are often not able to spend the time necessary to become intimately familiar with a place, by weaving words together, they would create something interesting out of disparate chance moments and fleeting encounters. My hope is to create a portrait of America, fragmented but nevertheless true to the diversity of the country.
I am often asked for lens recommendations (although I have already wrote a page of technical comments). For those wishing to make photographs similar to mine, and using a Canon full frame camera, I always suggest the Canon 25-105/4 L IS as an all-purpose lens. I consider this lens to be the best zoom ever made by Canon, when used with the appropriate software.
In 2006, after much testing (which will be the subject of a separate post), I replaced my 24-70/2.8, a highly regarded lens which had been my main all-purpose lens, with the 24-105/4. However, as a recent mishap has ruined my 24-105, I’ve been using again the 24-70/2.8 for a few weeks, which reminded me of how much I prefer the 24-105. I am again trying to find a good sample of the 24-105. I thought that would be a good time to share my observations, based on years of use of both lenses.
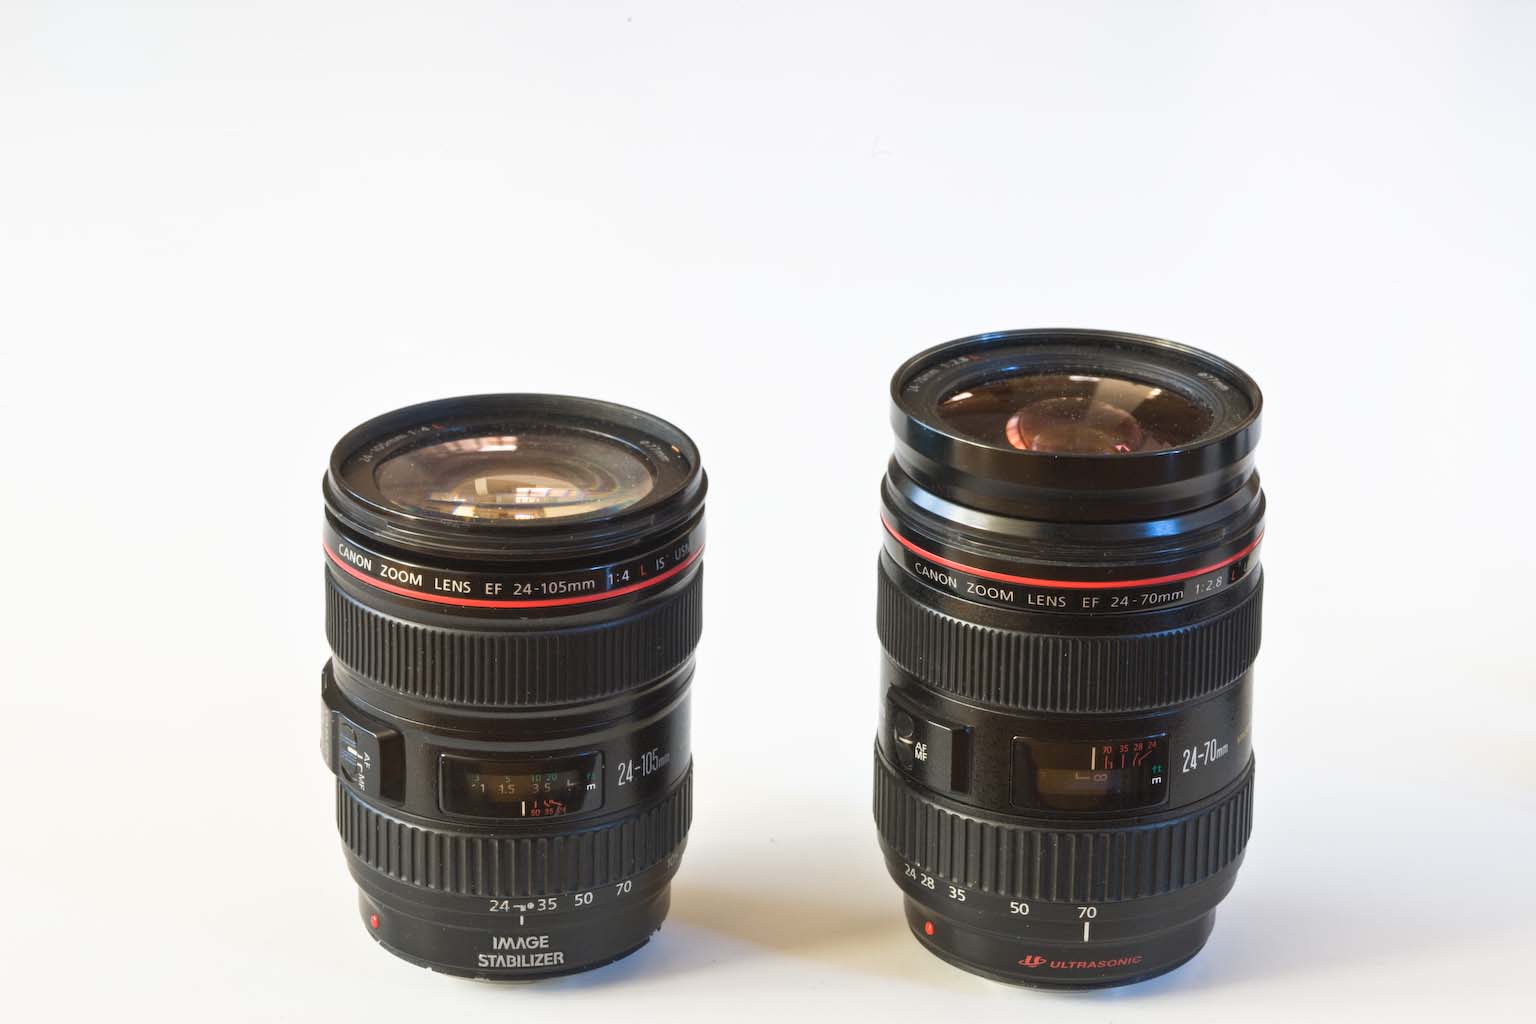
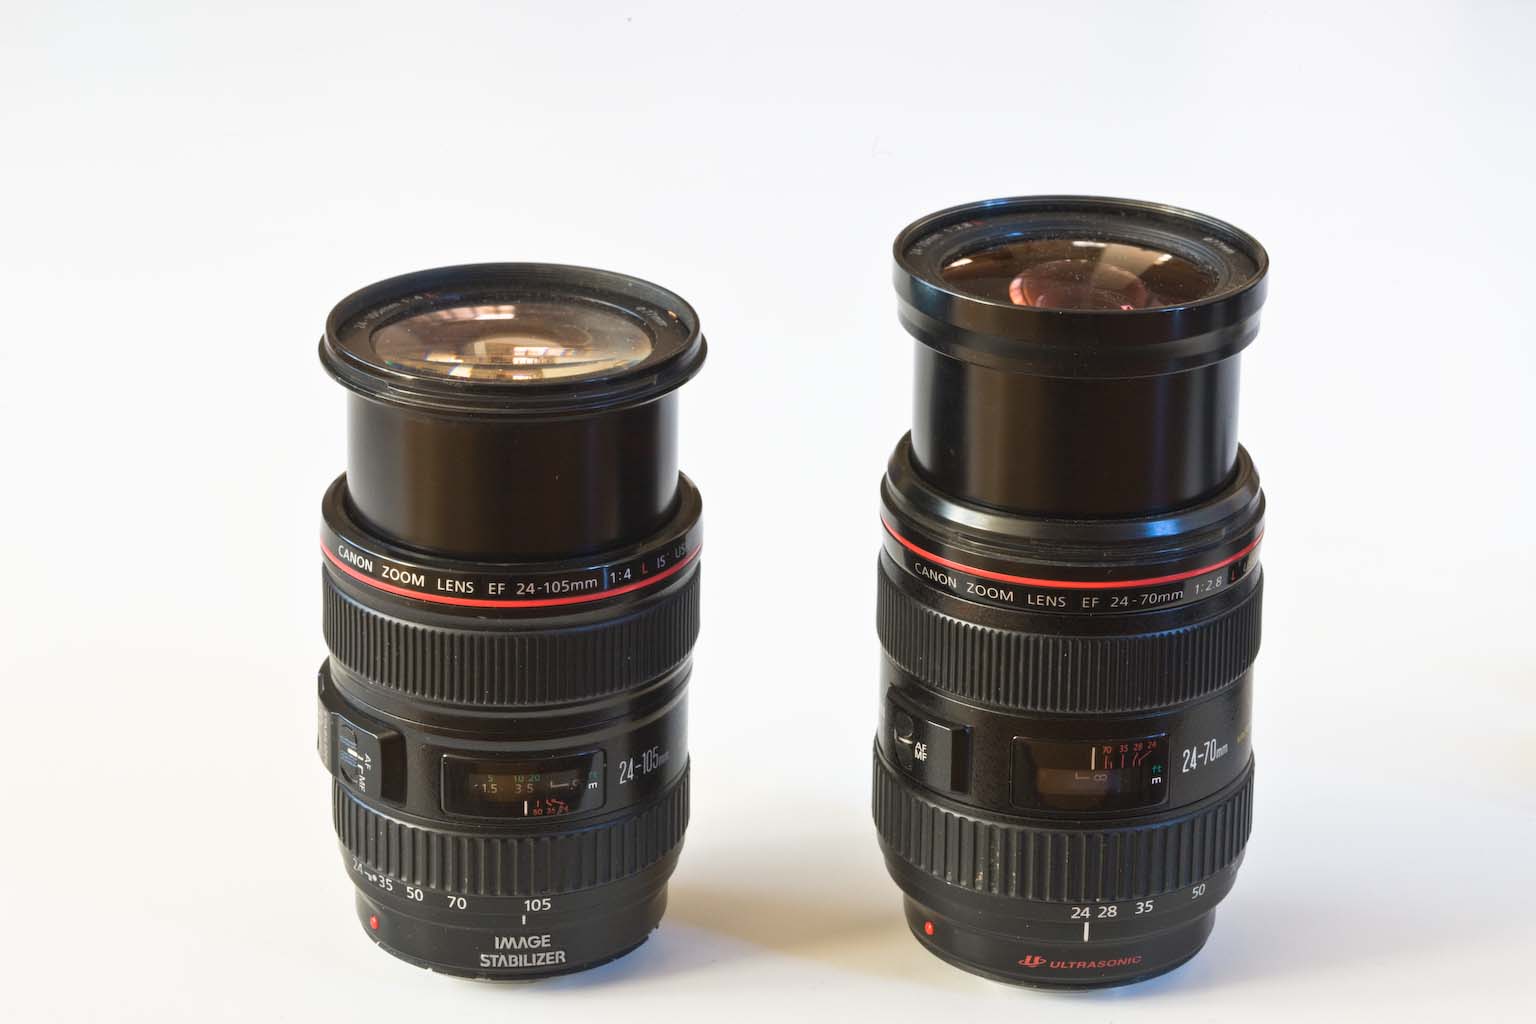
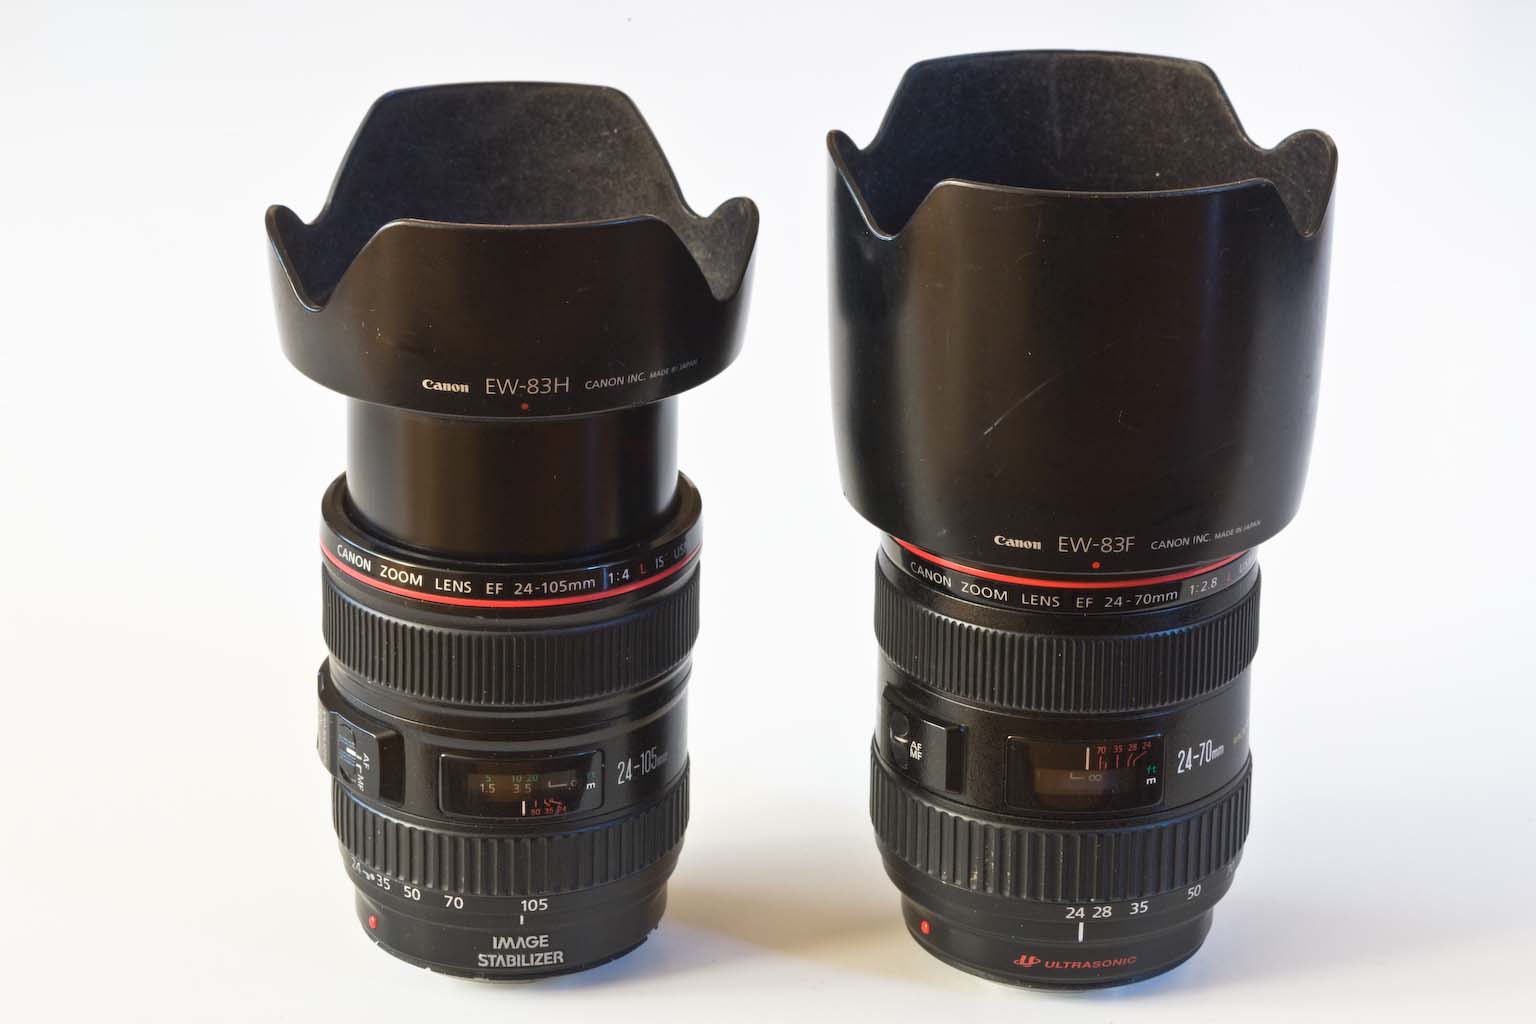
The 24-105 (left) is collapsed @24mm and extended @105mm. The 24-70 (right) is collapsed @70mm and extended @24mm.
| 24-105/f4 IS | 24-70/f2.8 | |
|---|---|---|
| focal lengths | Extra range of 70-105 very useful (for ex. portrait work), or if lens is coupled with 100-400. | |
| max aperture | Extra f-stop of 2.8 useful for moving subjects and blurring backgrounds, brighter viewfinder | |
| close focus | 0.45 / 1.48ft, 0.23x magnification | 0.38m / 1.3ft, 0.29x magnification |
| IS | Image stabilization provides 3 f-stops of stability, more than makes up for max aperture with static subjects, useful for getting more DOF or low light shooting | |
| AF | USM. | USM. Faster and more accurate in low light thanks to f2.8 aperture (many AF cross-sensors are disabled at f4) |
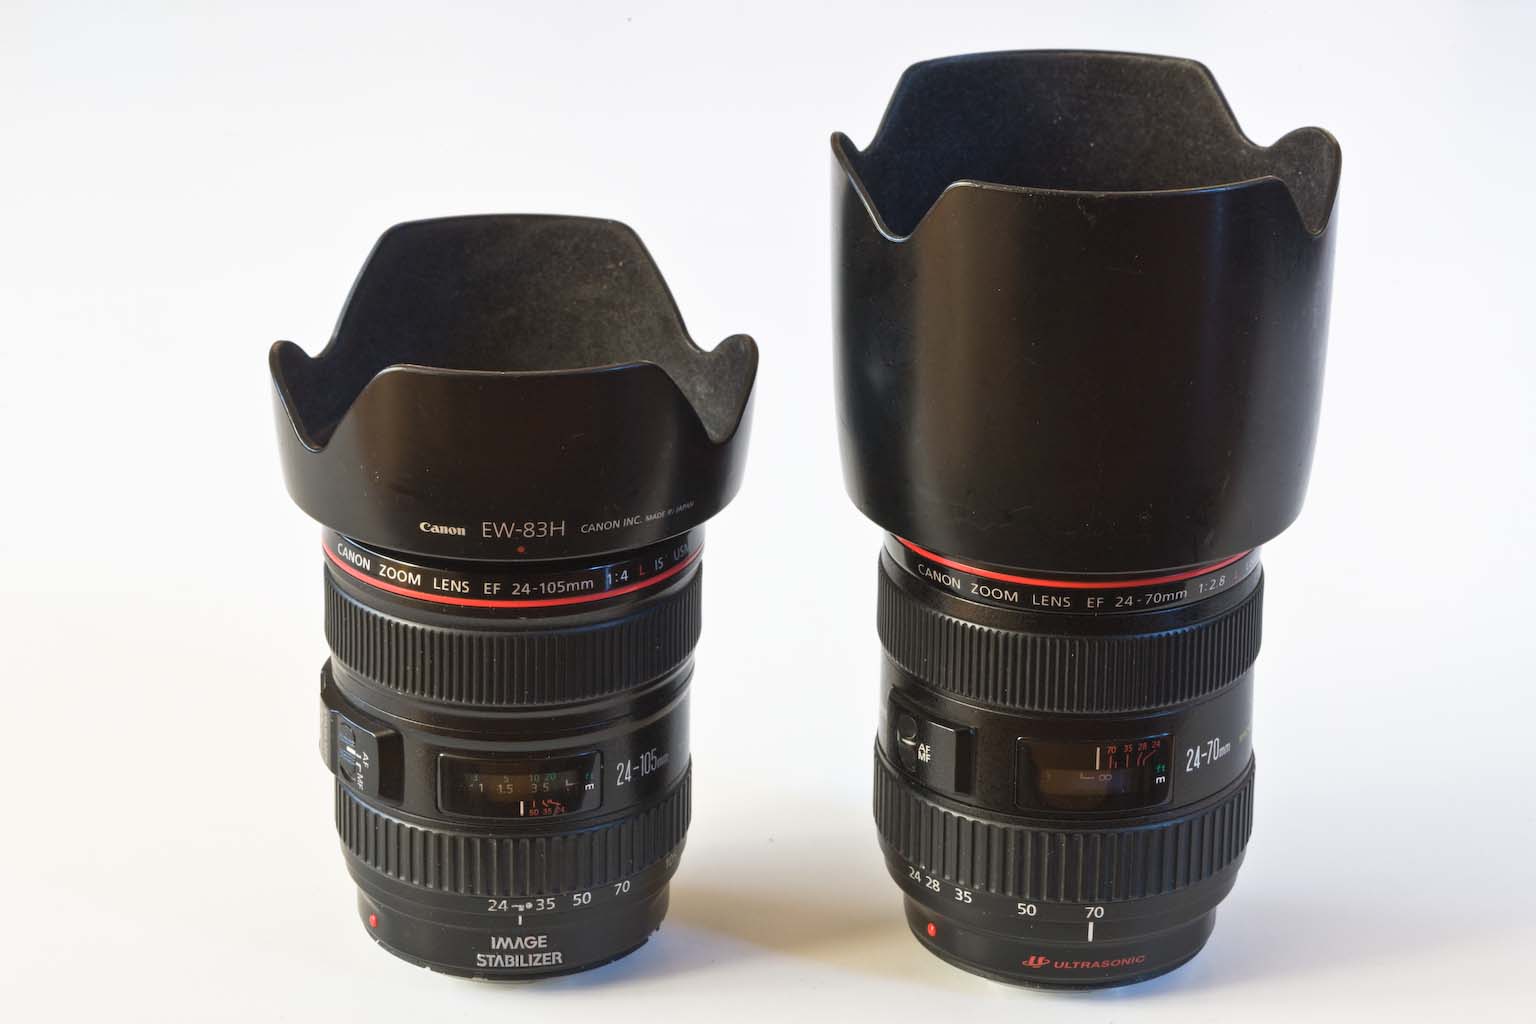
| Size DxL | 83.5 x 107 mm only slightly smaller when used without hood | 83.2 x 123 mm doesn’t include hood, which adds significant bulk |
| Weight | 23.6 oz (670g) significantly lighter | 33.6 oz (950g) | Construction | Sealed. Plastic barrel. | Sealed. Metal barrel. |
| Lens hood | Shallow lens hood attached to extending barrel of lens, optimal only at 24mm. Easily knocked. | Uniquely deep lens hood attached to fixed body of lens, takes advantage of the fact that lens is extended @ 24mm and retracted @ 70mm. Optimal at both 24mm and 70mm. Very efficient and solid, but requires removal to rotate polariser. |
| Zoom creep | long focals, in particular pointed down (annoying for close-ups) | 24-28 range when pointed straight up (rarely used that way) |
| Sharpness | Sharper at all focal lengths and apertures. Excellent wide open at short focal lengths | |
| Vignetting | @24mm: strong (1.5) wide open, mild (0.75) by f8 @50mm: mild wide open, very slight by f8 @105mm: slight wide open, very slight by f8 | @ all focals: slight (0.5 f-stops) wide open, none by f5.6 |
| Distortion | strong barrel @24, slight pincushion @50, moderate pincushion @105 | moderate barrel @24mm, none @50, slight pincushion @70 |
| Flare | Lots of ghosting when bright light source in frame | Little ghosting |
| Price (11/2009) | $1200 @ BH $1260 @ amazon | $1300 @ BH $1300 @ amazon |
Both lenses include features found in L lenses and often missing in lesser lenses such as constant aperture, weather sealing, internal focus, non-rotating filter ring.
For my style of photography, where I often seek a large depth of field, the extra f-stop of the 24-70 is much less interesting than the IS and extra range of the 24-105. In addition, the sharpness of the 24-105 is exceptional for an optic with such a wide range and (relatively) small size and weight. If a wider aperture is desired, it is probably more effective to switch to fixed-focal lenses, which will offer a maximal aperture of f1.4 or f2.
The main drawbacks of the 24-105 are the strong vignetting and distortion at 24mm. Canon would probably have been able to produce a lens exempt from those shortcomings, but this would have come as a cost in size and weight. The lens was released in 2005, when the switch to digital photography was well underway. In digital photography, those shortcomings can be automatically fixed in post-processing by several softwares, including DPP, Canon’s (free) raw digital conversion software, and DxO Optics Pro, which I use. On the other hand, no amount of post-processing can make up for lesser sharpness. This is one case where a newer technology has changed the way one needs to look at an old problem (optical performance).
My main gripe with this lens is that if a bright light source (such as the sun or a street lamp by night) is included in the frame, flare is prominent, under the form of ghost hexagons of the shape of the aperture blades. I cope by switching to my 17-40/4 (much less affected by that problem) in those situations. This applies only to a limited number of situations, so the compromise is worth it.
f/4.0 1/4s ISO 1600 24mm
f/4.0 1/10s ISO 1600 24mm
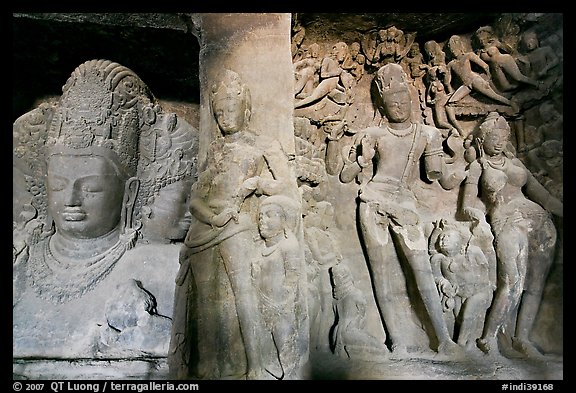
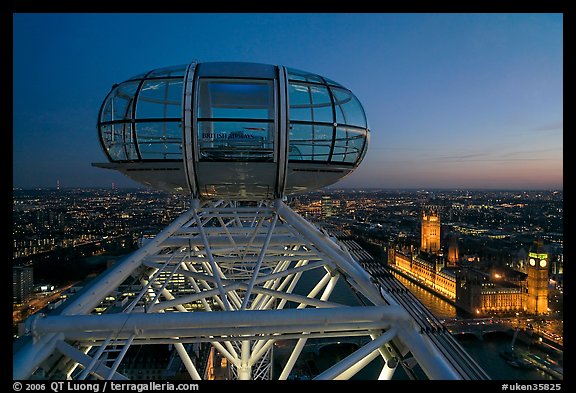
The combination of IS and high sharpness wide open at 24mm has provided me with new opportunities. In the Elephanta Caves near Mumbai, tripods are strictly prohibited. Yet I was able to produce sharp images by hand-holding at shutters speeds of 1/4-1/8 s, shooting at 24mm wide open. A similar situation occured at dusk inside the capsule of the London Eye.
Although there are a number of foliage images, those two series are more about the relationship of people with the land, both recreational (hunting) and commercial (logging).
In a place that is overwhelmingly (94%) privately owned, and therefore unrestricted by environmental concerns, the landscape has been deeply impacted by more than 30,000 miles of logging roads. More than 500,000 acres are logged each year, and the cut is accelerating – with stakes raising with each massive acquisition – although the economic benefits seem to be shrinking at the same time.
Is an alternative possible ?
If you’d like to read the article, here is a larger version in PDF.
Thank you for taking the time to write, and for your nice words about my images. Above all, I hope that the article got you interested enough that you will be inspired to go and see those places for yourself. Ask your parents to take you to a National Park ! If you thought the image of the waterfall was cool, think how much cooler it would be to experience the mist on your face, and see the water flow vary with the wind, maybe producing a rainbow.
It’s great that you sent an actual letter, however I thought that instead of just mailing to you the replies, I would publish them here, so this would give you the chance to be exposed to another medium, the internet blog, which I think will be growing in importance. On the blog, you can follow up with more questions and comments.
I have named this post “Open thread”. This means that any student is welcome to ask me questions here by leaving a reply. I will try to answer here so that everyone can benefit from the exchange.
Note also that prior to starting this blog, I have replied to a few frequently asked questions here.
Gabriela,
The first time I climbed a snowy mountain, I was indeed a little scared. That was a terrain I was not familiar with, and I was afraid that if I would slip and fall I would die, or at the least get hurt. Fortunately I was with good, experienced friends, and nothing bad happened. Subsequently, as I became more experienced, I would be scared only if the situation was really dangerous, which is sometimes the case. One doesn’t need to be afraid to be scared. Experiencing fear is an opportunity to surmount it.
Jennifer,
The light you see in the Mammoth Cave image is under water, in a small pool of water, shinning up. Because the water in the cave is greenish, the light looks green. Brown bears come to the waterfall in Katmai National Park because at that time of the year, the salmon swim up the river in order to lay down their eggs. The bears need to eat a lot before they hibernate. They know that they can catch a lot of salmon there. I have not visited Loriella Park in Virginia yet. I’ve been focusing my travels mostly on National Parks for many years. I did not find sleeping on the cliff scary, because I was attached to the rope while I was sleeping. Besides, do you often fell out of your bed, no matter how high it is ? I use a lot of different cameras. You can read about them in this article, and here are pictures of me with my cameras.
Karen,
How I took the pictures could be the subject of a whole book, so I am afraid I cannot give a brief answer, but I’d encourage you to take a photography class, and you’ll get a better idea of the process. It’s not that difficult, but there is a lot to learn. The bird with the red head was very tame. It walked around on the grass for a while. This was taken in a urban park. You can tell that because the grass is a lawn. In those places, animals often get used to humans, so they are not afraid. You are right, my shoulders sometimes get tired from carrying a lot of heavy equipment, but there is a price to pay for everything, and nothing great has been accomplished without a dose of pain or effort. Don’t you think the pictures make it worth it ?
Rafael,
To take pictures up close of animals, you use special lenses called telephotos. They magnify distant subjects just like binoculars. To take pictures up close of small things, you use special lenses called macro lenses. They work a bit like a magnifying glass. Many mountains are easy to climb, since there will be a trail to the top, so it’s just a matter of walking. Others are covered in snow or ice, in which case you need to wear crampons on your feet and use ice axes in your hands. Some are made of very steep rock, so you climb them using both your hands and feet, like you climb a tree. With so many different mountains, the time it can take them can vary from a few hours to a few weeks. On some mountains, the risk of falling is quite high, as is the risk of being trapped by bad weather. I have been scared in those conditions, but the point is to control your fear so that it doesn’t control you (and make you panic). There was a time when a bear came towards me as I was taking pictures. He did not attack me, but I had to abandon my equipment to hide behind a tree to be safe. It is fairly rare for bears to attack humans. Although they are powerful animals, they are actually afraid of us. The 100,000 miles mentioned in the article that you read were driven in a car. It would take a very long time to walk.
Yareliana,
The lava is flowing down from the volcano crater as it is driven by gravity, just like water. It is entering the beach because the beach is lower than the cliff which is above it. The reason you don’t see a continuous flow (which makes you wonder where it comes from) is that sometimes, it flows beneath older lava. The older lava has hardened and become rock. It then forms a tunnel for the new lava to flow underneath. At Katmai, the distance between the observation platform and the falls where the bears fish is about fifty feet, which is quite close. Normally, you wouldn’t want to get that close to a bear, however there you are standing on a platform. That’s in fact one of the only spots in the world that I know where you can get reliably and safely that close to wild bears. El Capitan is very easy to find. It dominates Yosemite Valley, and you can see it from most places in the Valley.