Myanmar Photo Tour 2014 with QT Luong
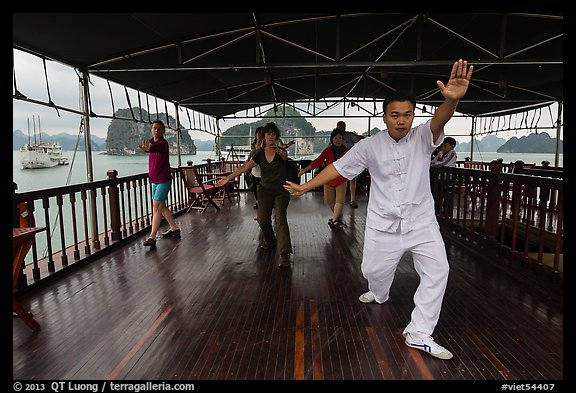
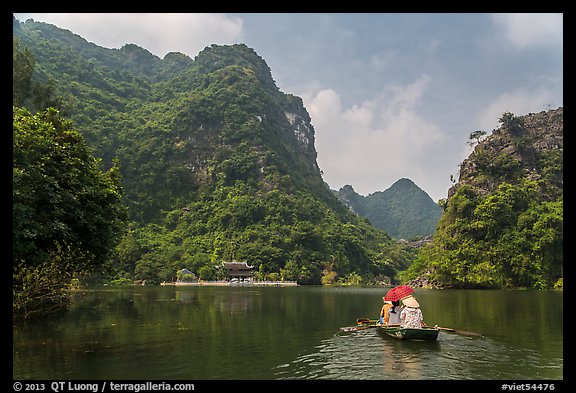
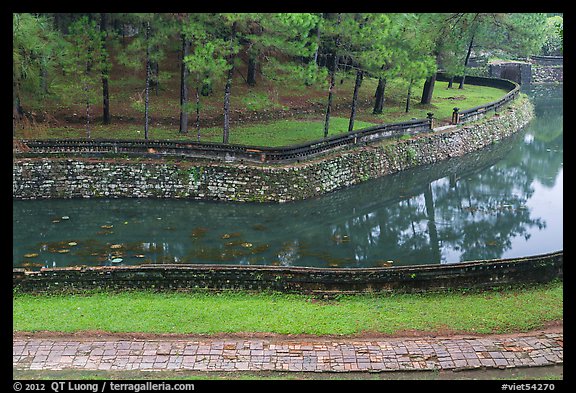
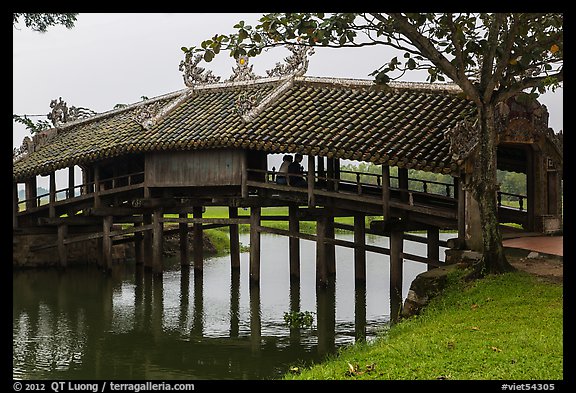
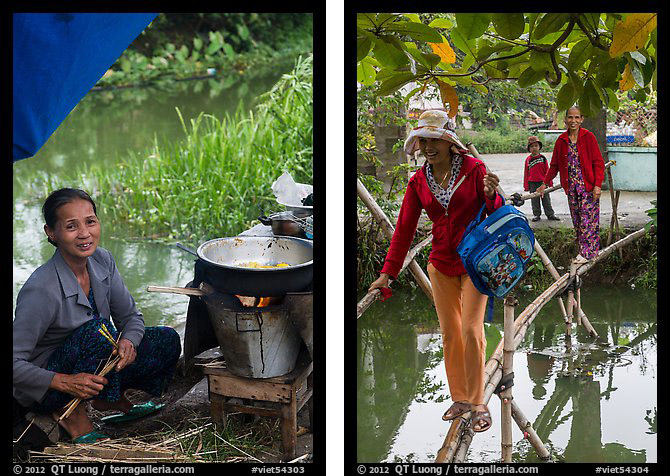
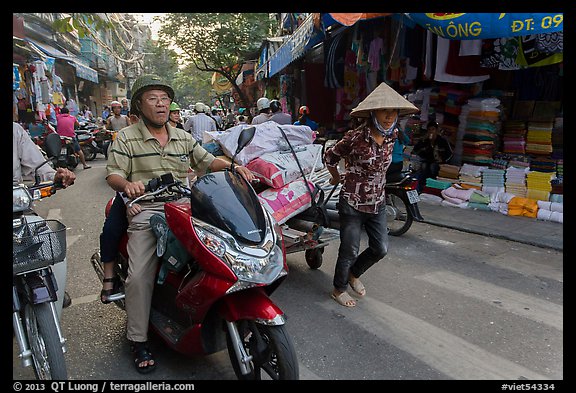
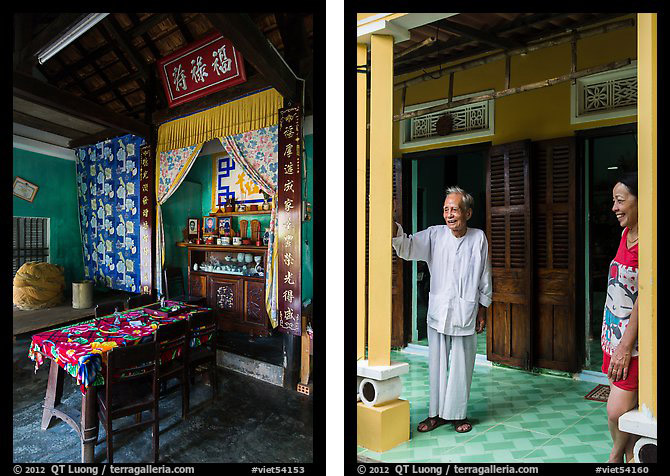
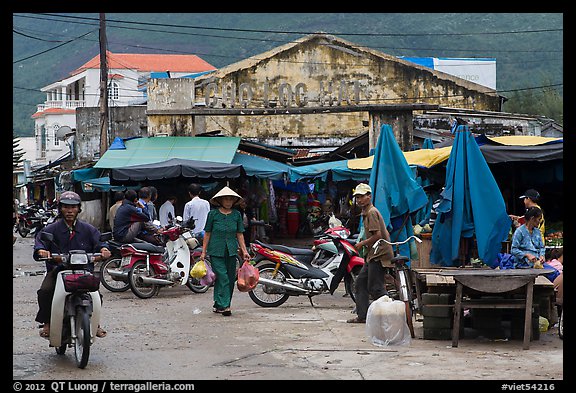
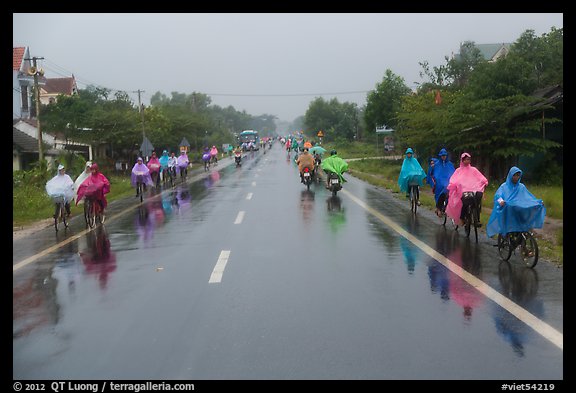
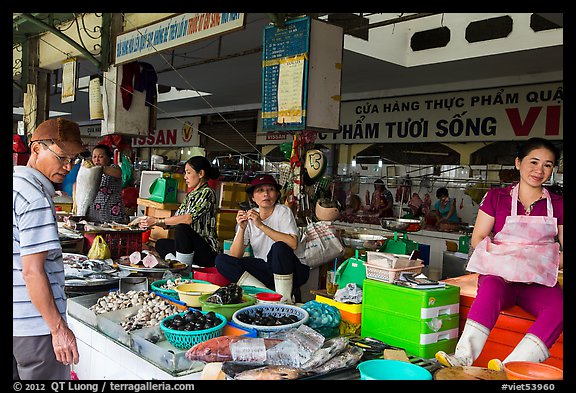
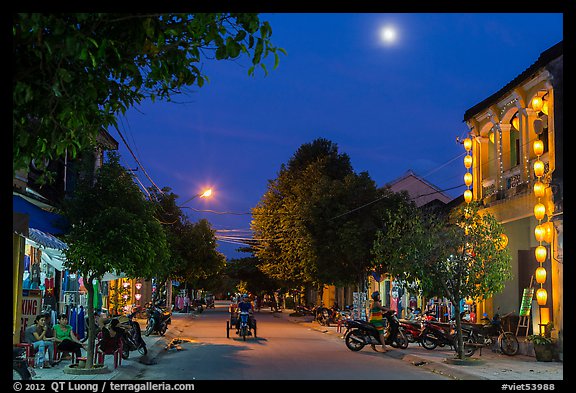
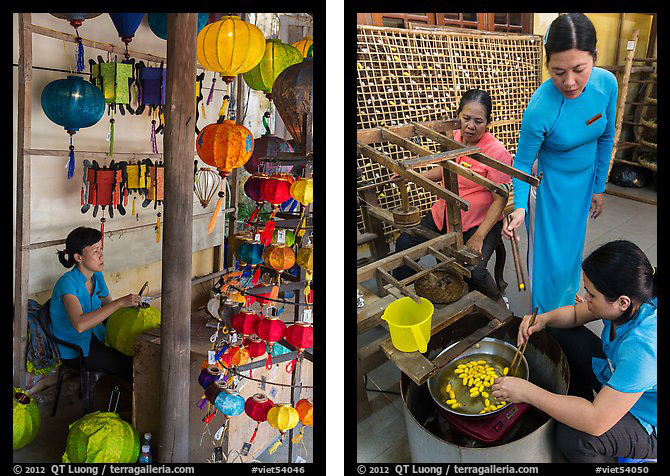
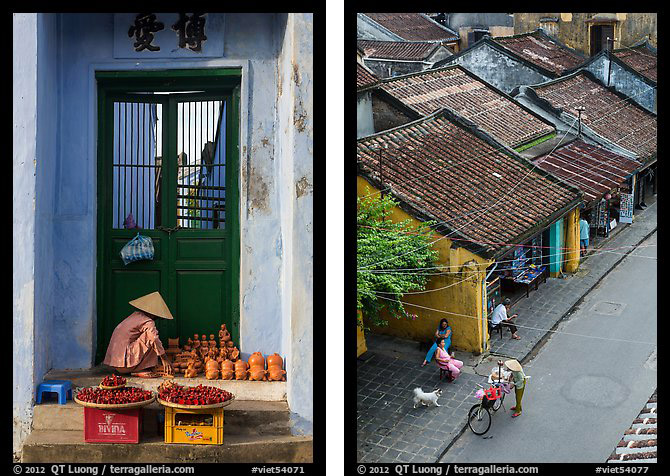
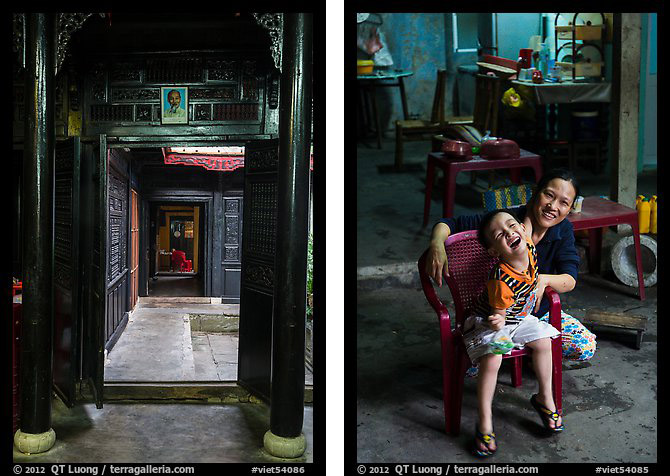
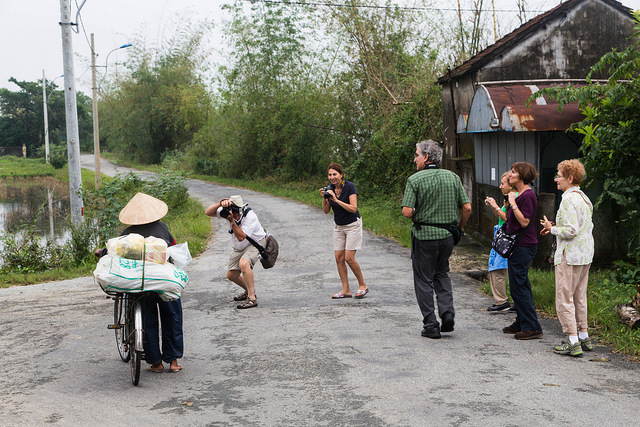
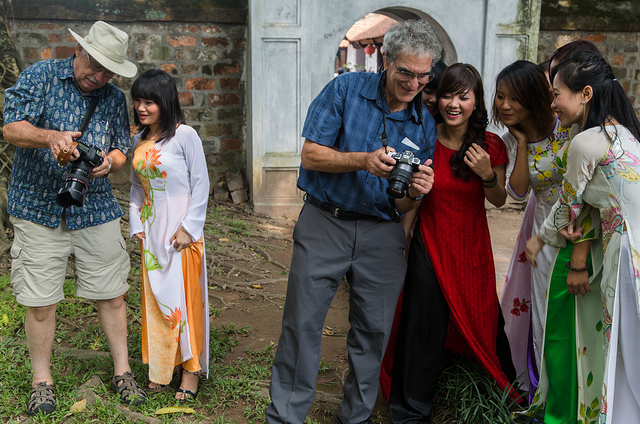
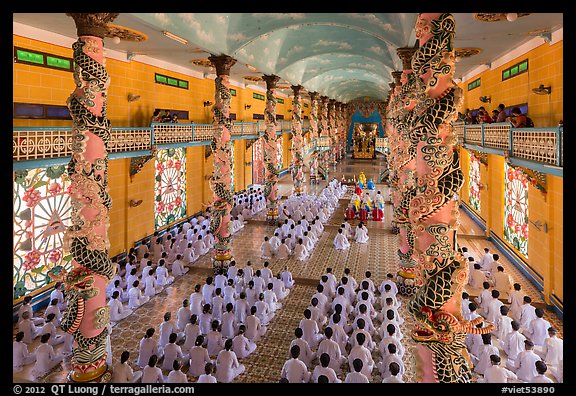
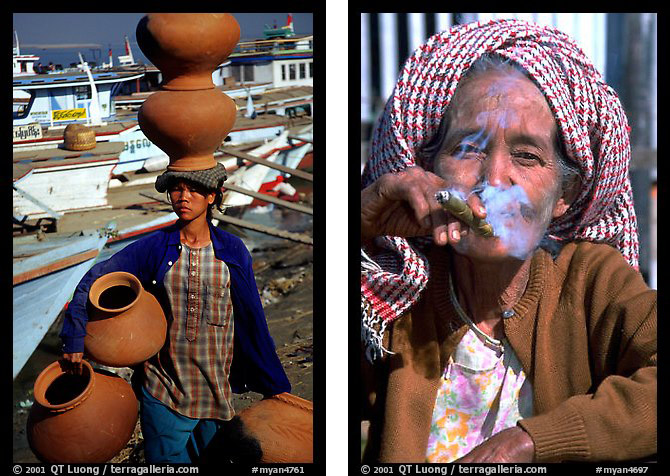
However, what makes Myanmar so interesting is that it has retained its unique traditional culture much more than other countries, because of the isolation of 40 years of military rule it is emerging from. Myanmar for now remains one of the most authentic destinations in our ever more modern and homogenized world. There are opportunities at every turn to capture moments of a lifestyle which hasn’t changed much over the last century. Unlike in more developed places where the sight of a camera raises suspicions, residents of all ages and genders still graciously welcome photographers.
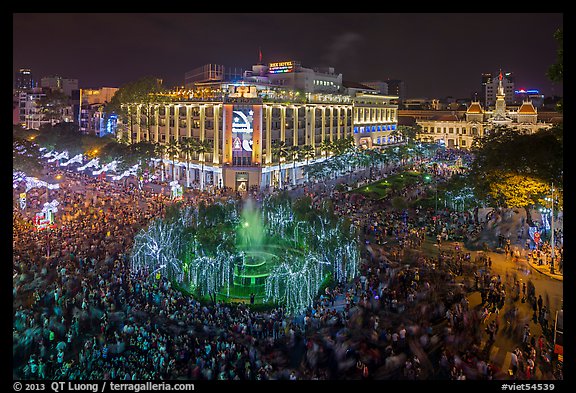
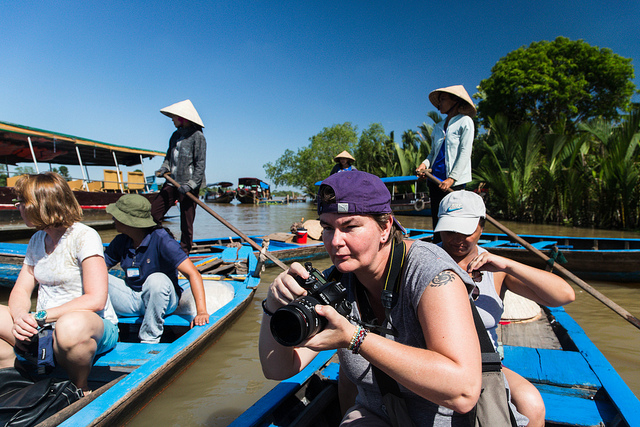
As highlighted by President Obama’s visit, Myanmar is opening to the West, so changes are coming fast. The flip-side for us is that comfortable accommodation and transportation are now available, which make possible a luxury travel tour with stays at four and five star hotels. Since traveling in Myanmar in 2000, I have always wanted to return, so I am pleased to announce that I will be co-leading a Myanmar photo tour with Insiders Asia tour director, Phuoc Babcock, just like in our Fall 2012 Vietnam Photo Tour which was a great success with participants.
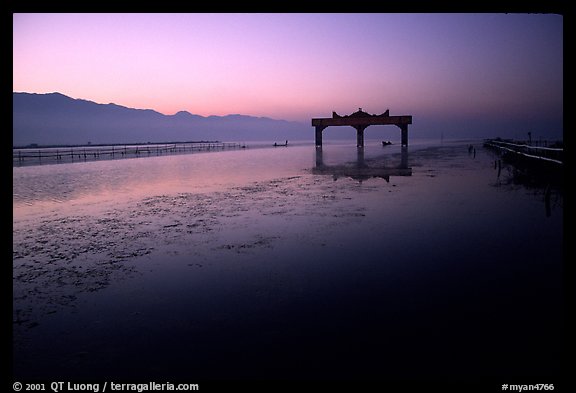
Classic Myanmar in Focus will take place January 3-14, 2014. During this time of the year, Myanmar has the most moderate temperatures and driest weather. We will visit the four most well-known destinations in Myanmar, using air transportation between them in order to minimize travel time. But we will not entirely shy away from bumpy rural roads, as our fifth destination, Pindaya, will definitively take us out of the classic tourist trail. Our schedule is expressly tailored for photography, with many sunrise and sunset sessions at spectacular locations. At each of the sites, we will take excursions into lesser visited areas, and enjoy special access and arrangements not available to normal tour groups to help us create unique images.
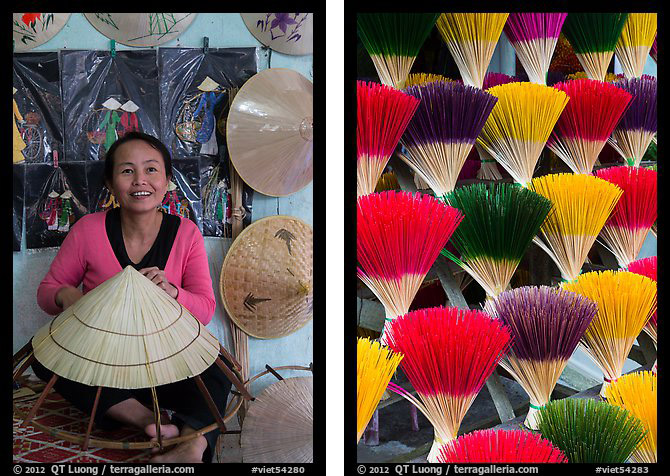
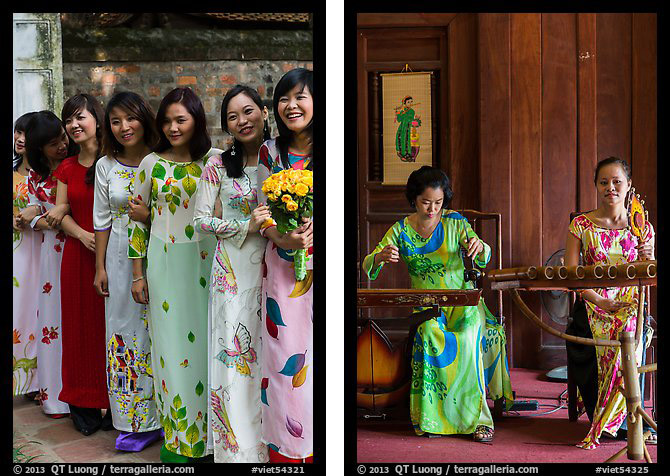
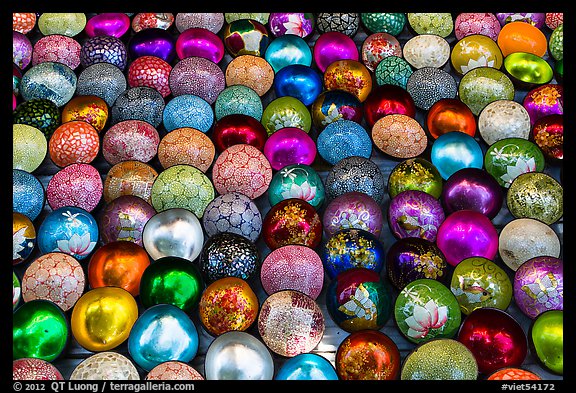
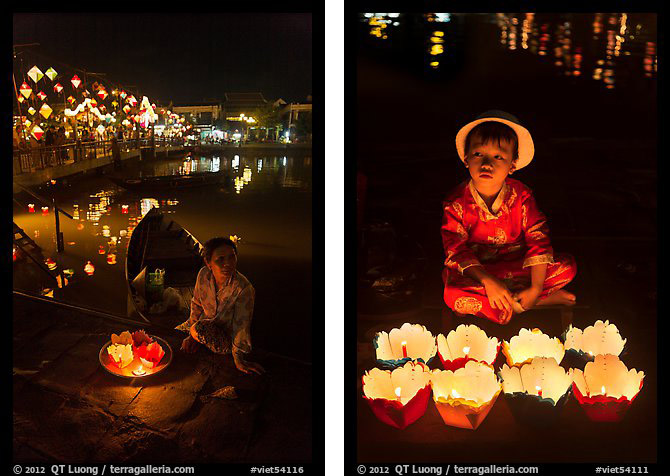
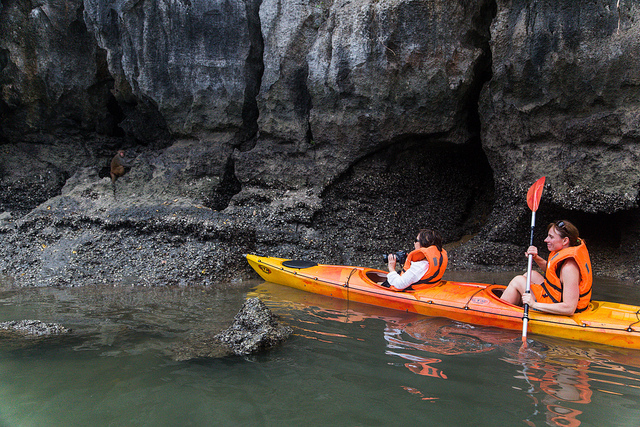
The tour will provide us with an extraordinary diverse range of photographic opportunities, including landscape, architecture, street photography, and environmental portraiture.
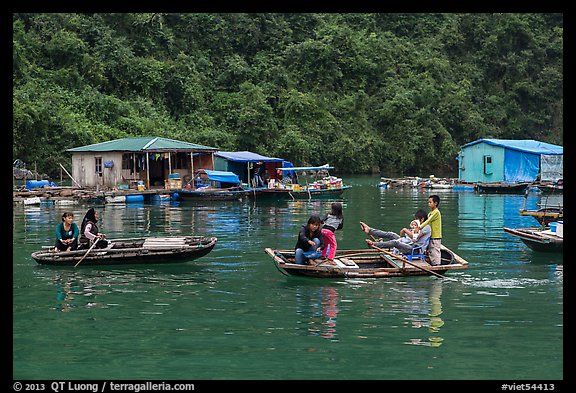
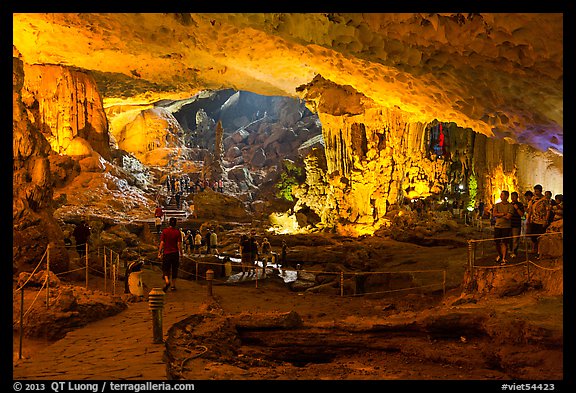
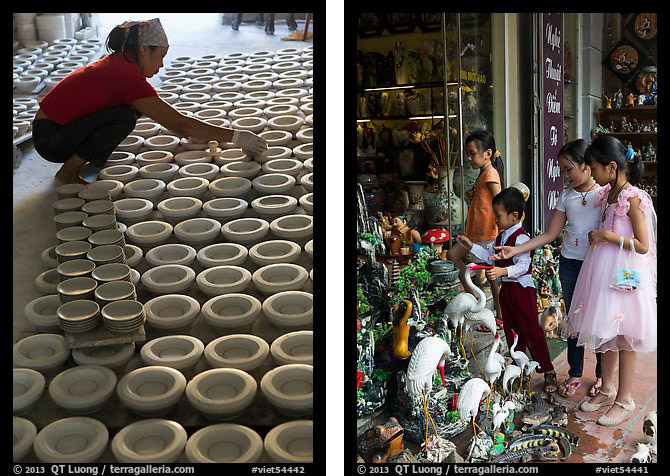
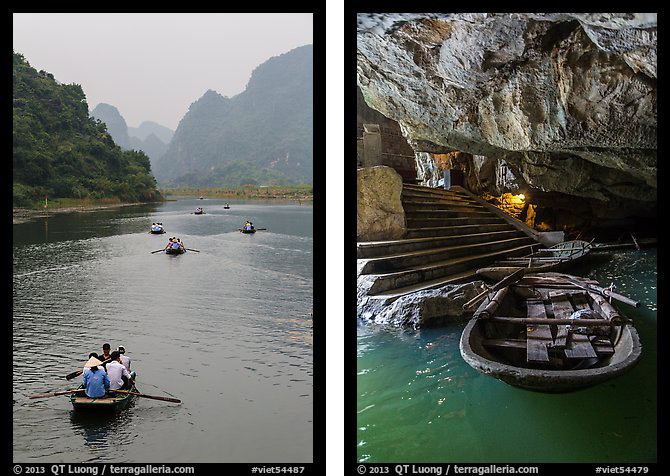
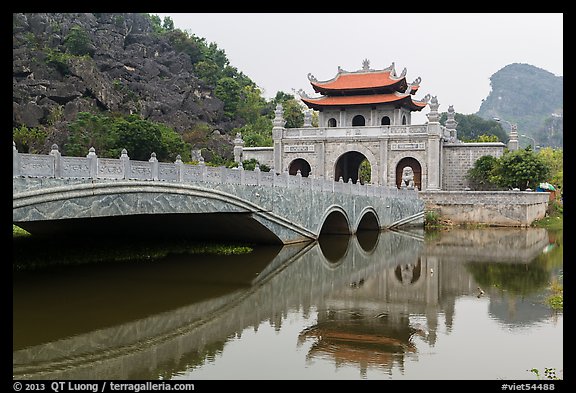
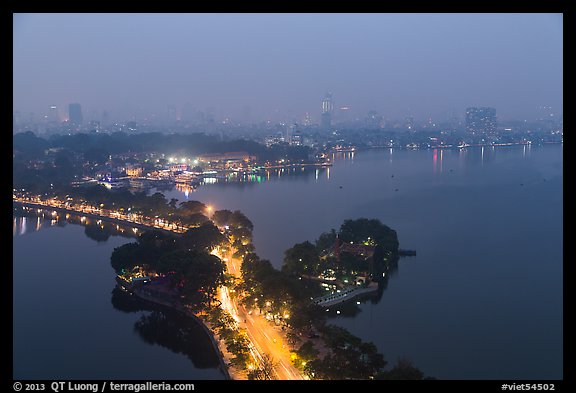
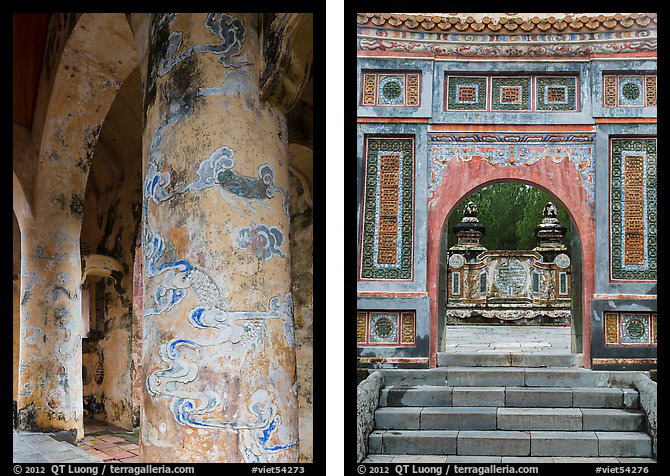
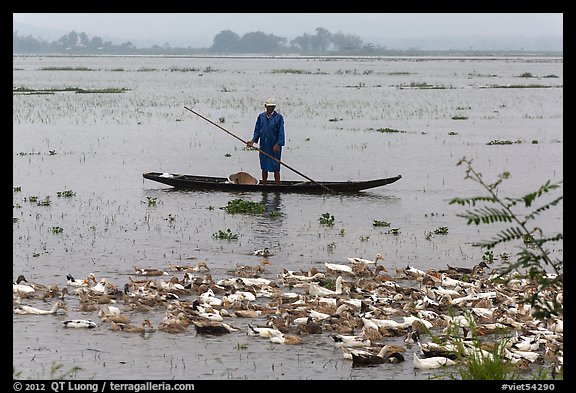
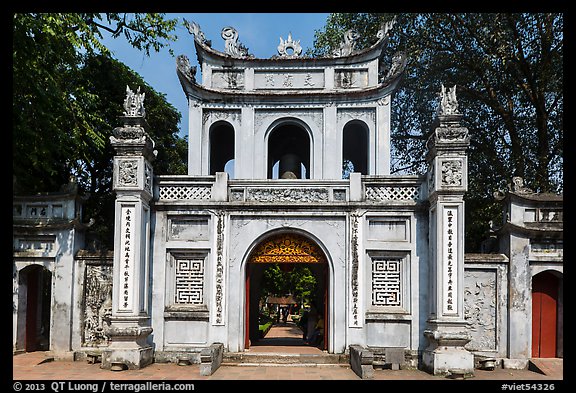
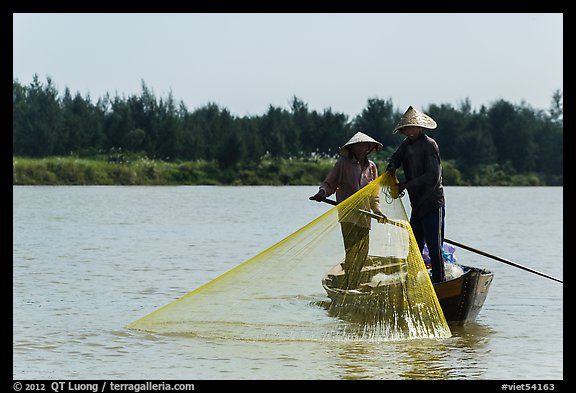
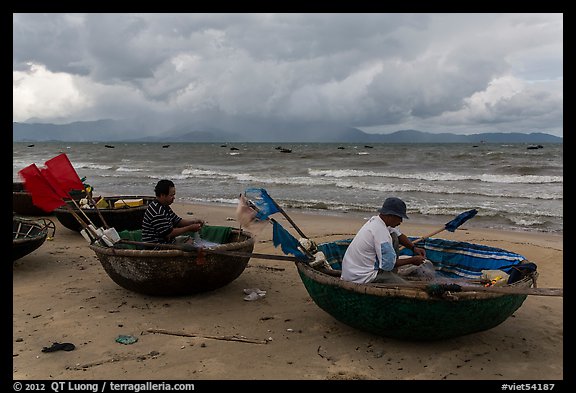
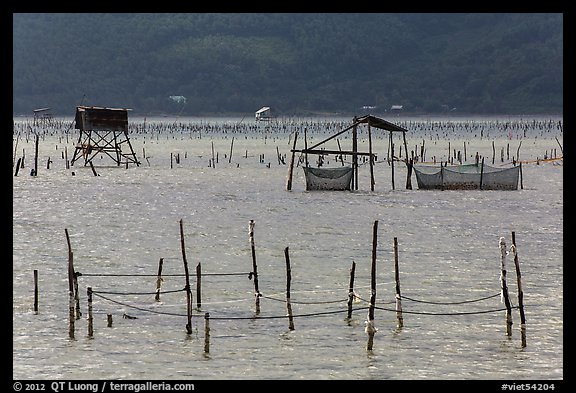
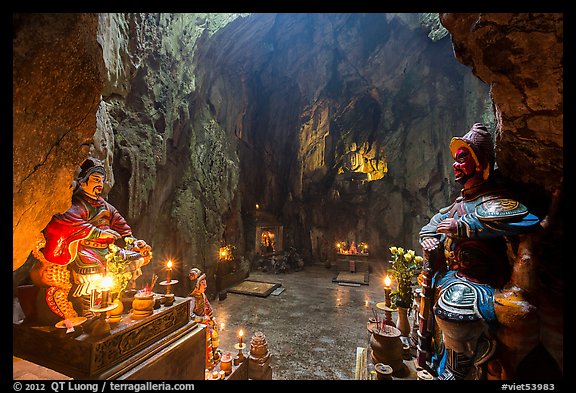
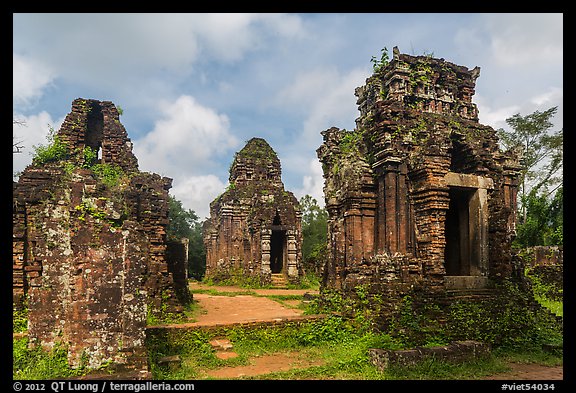
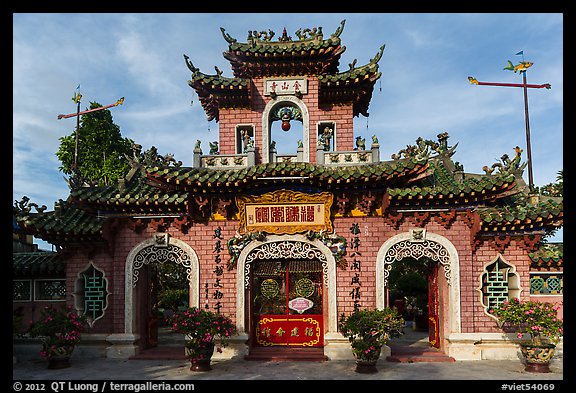
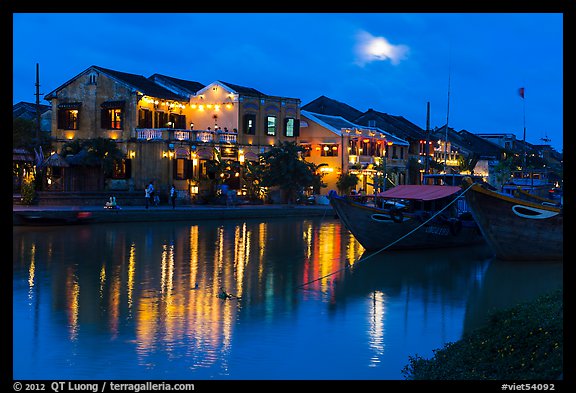
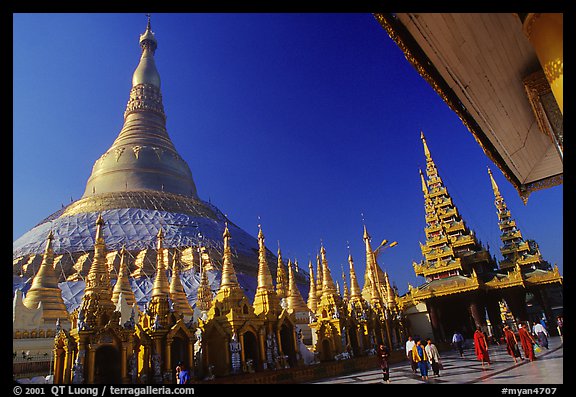
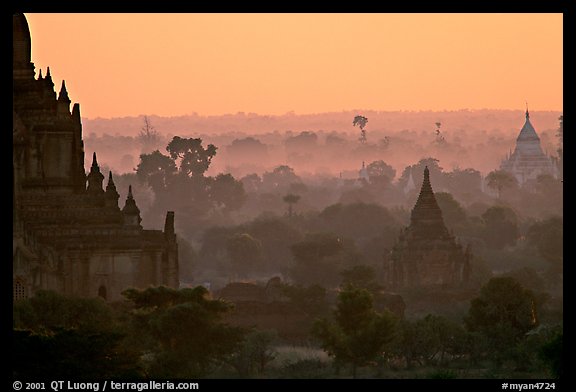
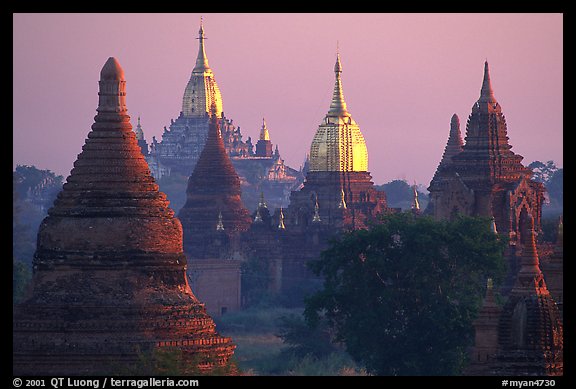
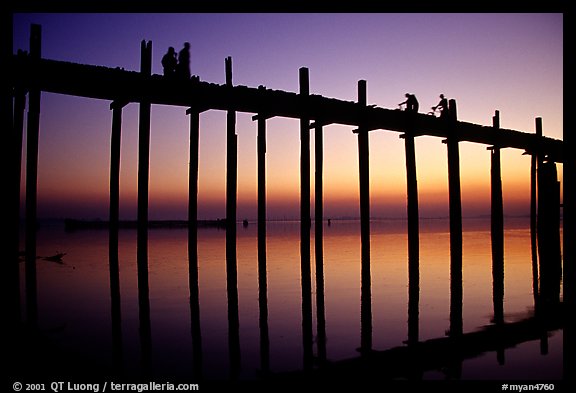
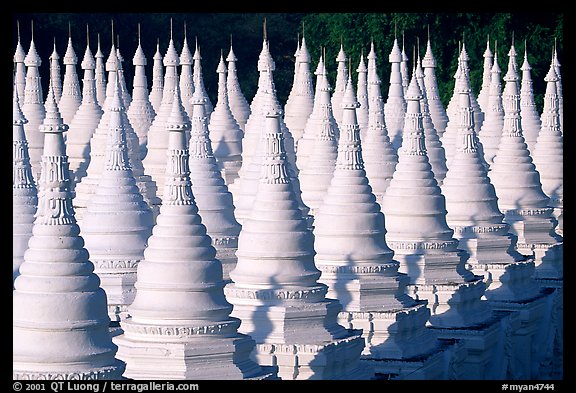
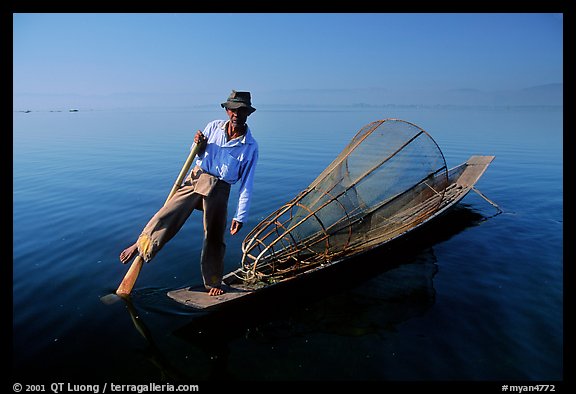
We start in Yangon with the amazing Shwedagon Pagoda, one of the oldest, largest, most gilded, revered, and active Buddhist edifices in the world. Bagan is the most impressive archeological site in South-East Asia, and in my opinion one of the man-made wonders of the world. In two and half centuries of extraordinary religious fervor, thousands of Buddhist monuments and temples (as many as all European cathedrals) were built in the small valley. Although many are ruined, they still stand almost as dense as a city and form an unforgettable sight when viewed at dawn from a high platform or a hot-air balloon. The center of Buddhism and Myanmar arts then shifted to Mandalay, an old royal city, particularly rich with traditional workshops, pagodas and monasteries, which will provide for close interactions as well as iconic landscapes. In Pindaya, we will experiment with light painting to photograph a mysterious cave filled with 8,000 Buddha statues, discovering on the way rural scenes that have not changed for centuries. Our exploration of a traditional way of life culminates in Lake Inle. We will visit floating villages and gardens built in the middle of this huge and beautiful mountain lake surrounded by high hills, enlivened by Intha fishermen with unique dress and technique of leg rowing and fishing.
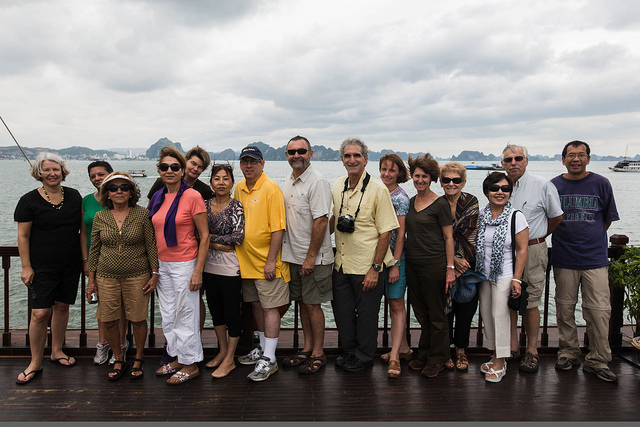
The tour is limited to a small group of 10 photographers. Upon informal announcement of the tour via private correspondence, half of the seats have already been claimed.
When is the best time to travel to Myanmar ? Now — for tomorrow things will not be the same in this country which is moving fast towards its future. Come and join me on this incredible photography adventure to Myanmar.
Detailed information about Classic Myanmar in Focus photo tour
More images of Myanmar