Image upsizing with Topaz Gigapixel AI
2 Comments
If you are making prints, sooner or later you’ll have to upsize the image file. Even with such a basic task, there is much to be gained by using appropriate apps. In this post, the third and last in a series devoted to the Topaz suite of AI-based tools, I examine Topaz Gigapixel AI upsizing capabilities and limits using a pair of images of the Golden Gate Bridge.

The Capture
The photographs look straightforward enough, but if you look around the Internet, you won’t see them replicated often for such an iconic subject. This is because creating such an alignment of the city skyline with the bridge required a quite distant and un-intuitive viewpoint near the Pt Bonita Lighthouse, more than 2.5 miles away from the bridge. I photographed it in January 2004 with a 70-200mm lens and a 1.4x teleconverter on a newly bought Canon EOS Digital Rebel, resulting in a focal length equivalent of 450mm for the vertical image. I’ve since returned several times to the same spot with better gear, but never observed again the glassy water that created the reflection of the bridge. The San Francisco Bay is not a top sailing spot for nothing. This left me with a meager 6 MP file. Upsizing images is almost never necessary if they are to be displayed online, or even used in magazines or books.

By the way, that was the coolest book cover: the publisher created a half-inch deep 3D cut-out from the horizontal version of the photograph, which worked really well with this scene because the telephoto had collapsed the scenes into slices of depths. On the other hand, upsizing of images files is necessary for making large prints if they are to support close distance viewing. If you send an image with low resolution to a printer, the printer driver applies its own upsizing, which may be inferior to app-based upsizing and leaves you without control of the process and the output sharpening – my Epson 9800 does best when fed with native resolution files (360 ppi).

Photoshop/Interpolation Upsizing
When you open Photoshop’s Image Size window, there are now no less than 8 choices of resizing methods under the pulldown menu next to “Resample”. Some of them are labeled “enlargement” or “reduction” so you know which ones are appropriate for the task. I have found the differences to be quite minor, with “Bicubic smoother” generally, but not always, the best. No single method always gives the best results – Adobe would have dropped others! Unfortunately, Photoshop is not offering Lanczos resampling which may often be the best interpolation method. If you want to try it, one of the more popular apps implementing it is the free IrfanView. Resizing by interpolation works roughly as follows: the pixels are spread out, and then an algorithm is used to fill in the spaces in between. If an edge transition takes place over, let say 3 pixels, in the image resulting from a double enlargement, that same edge transition takes place over 6 pixels regardless of the interpolation method used. That makes the edge more gradual, therefore it doesn’t appear as sharp. That is a problem because edges contribute most to the perception of sharpness. Here is the 100% pixel view of a Transamerica Pyramid crop with 4 times upsizing in Photoshop:

Genuine Fractals Upsizing
There are a number of third-party apps for resizing. Prior to trying Topaz Gigapixel AI, I had settled on Genuine Fractals, which was renamed Perfect Resize and then ON1 Resize after its acquisition by onOne Software. I believe it was the best upsizing app for a decade. Genuine Fractals works by transforming the image data into a vector representation that is independent from resolution (hence “fractal”). You can think of it as a collection of polygons. When you enlarge the image, the surface area of each polygon is enlarged, but not their edges. As a result, Genuine Fractals did a great job on keeping edges sharp, preventing lines from getting jagged, and keeping curved lines smooth. I found it a significant improvement over Photoshop in making large prints. Here is the 100% pixel view of a Transamerica Pyramid crop with 4 times upsizing in Genuine Fractals:

Edges are cleaner. There are two limitations. For some images, the polygonal structure could become visible, which of course looked artificial. More critically, Genuine Fractals did not provide an actual improvement in resolution, and therefore didn’t help with textures. Excessive enlargements caused a bit of a “cartoon” effect with sharp edges but missing texture. That was because Genuine Fractals cannot create detail that is not there.
Topaz Gigapixel AI Upsizing
By contrast, like its cousin Topaz Sharpener AI, Topaz Gigapixel AI works by basically rebuilding a synthetic image based on the input image and the prior knowledge of a huge number of images of the world. The app mobilizes that vast amount of information to add detail beyond what was available in the original image. Here is the 100% pixel view of a Transamerica Pyramid crop with 4 times upsizing in Topaz Gigapixel AI:

The results are at another level. The app has cleaned out the noise, that even at midday and base ISO was still present in the Canon file – that was an early DSLR. If you look at the leftmost cable, you can now clearly see that it consists of two strands that were not resolved in any of the two previous enlargements. In this case, I know that Topaz Gigapixel AI was “correct” since those strands do exist, even though they were barely resolved in the original image.
Ground truth comparison
To assess how the apps do against ground truth, instead of enlarging the original, we are going to reduce it and then re-enlarge it back so we have a reference image to compare to. We will use the following crop, viewed at 100% pixels:

For comparison, the following image has been reduced to 50% size (therefore discarding half of the linear data), and then upsized back by 2 times by Photoshop interpolation. A bit of loss of detail is visible and the image is softer.

The following image has been reduced to 50% size and then upsized back 2 times by Topaz Gigapixel AI. If anything, it resulted in an image sharper and with more detail than the original.

The following image has been reduced to 25% size (therefore discarding 75% of the linear data), and then upsized back by 4 times by Photoshop interpolation. As would be expected, the loss of detail is severe.

Upsizing back 4 times by Topaz Gigapixel AI results in an image with sharp edges and credible detail, although there are a few artifacts where the app “guessed wrong” and in places it created details that wasn’t there.

Reducing and upsizing the image by a factor 6, both break down, however, the bridge pillar, an area where there was still enough data to work with at that scale, is still rendered sharply by Topaz Gigapixel AI in the bottom image.


Using Topaz Gigapixel AI
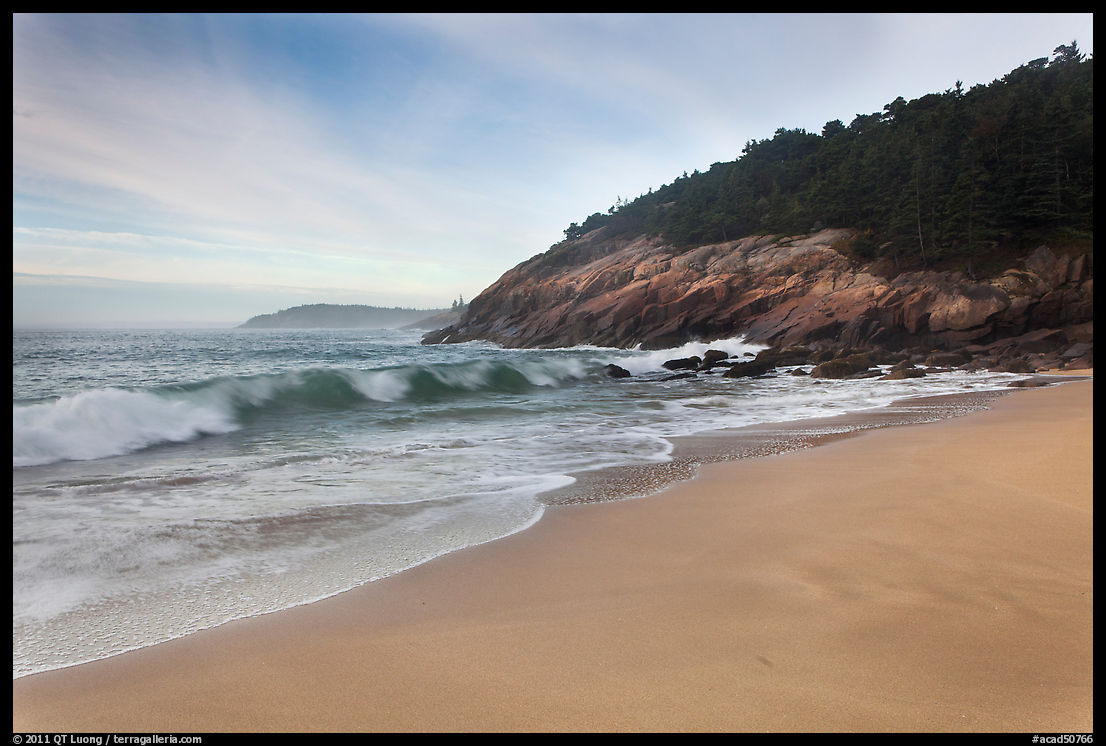
When Topaz Gigapixel AI works, there is nothing that compares. But it doesn’t always work and can do strange things – for instance on dark images. So how to make the most out of it? What I recommend is to always examine carefully the entirety of the enlarged image at high magnification and look for artifacts. If you find any, you can replace the defective areas with an enlargement made using a more conservative method. Here is another real-world case that occurred when I was preparing a print just last week. The photograph is from an another ocean shore across the continent, at Acadia National Park’s Sand Beach. Crowded during the day as it is the only sand beach in the area, it is deserted at dawn, when the photograph was made. As the naturally occurring shutter speed of 1/13s kept just the right amount of motion in the surf, it is important to render the land as sharply as possible. The original file, created with the Canon EOS 5D Mark II, was 5616 pixels wide.
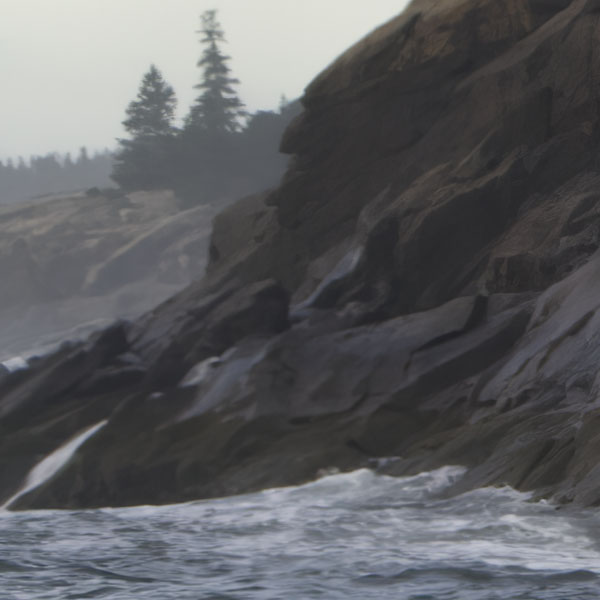
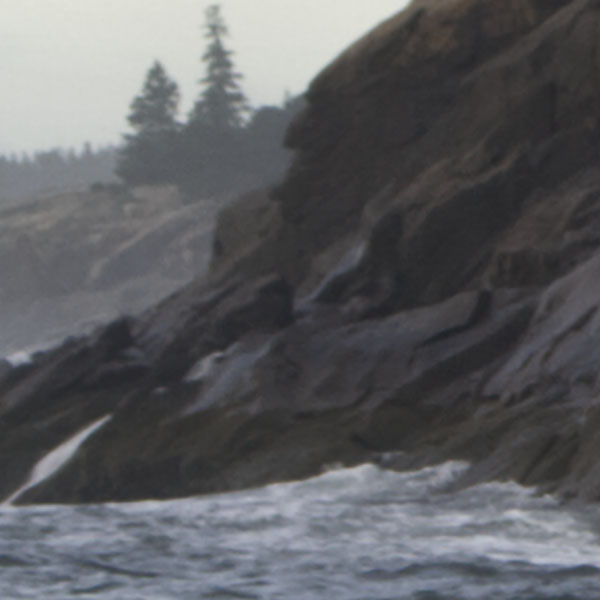
To make a 30×45 inch print at 240 ppi, I needed a file of 10800 pixels wide, almost a two times enlargement. Like we’ve seen with the Golden Gate Bridge, the file enlarged by Topaz Gigapixel AI (top) is sharper than the original file and the file enlarged by Photoshop (bottom).
However, if we look at the sand, we discover unatural patterns.
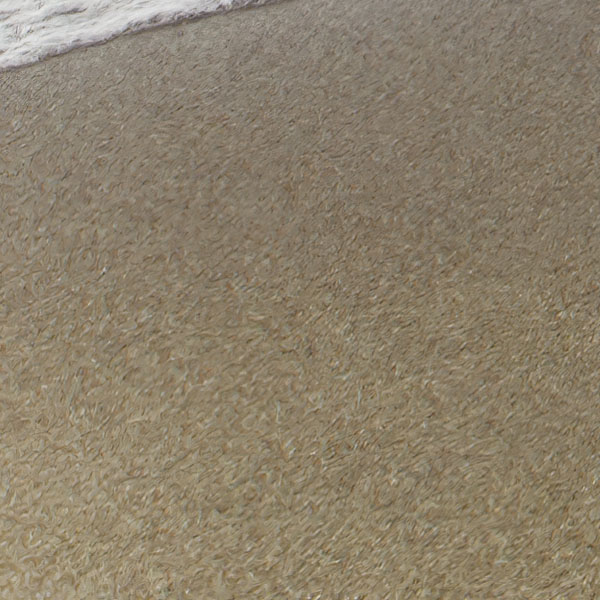
To remedy this, I made an enlargement of the same size using Photoshop. Prior to the resizing, I applied sharpening tailored to the sand, since that would be the only portion of the image to be used.
I loaded both images as Photoshop layers. By switching on and off the layer, it is easy to compare the two renderings. I masked the sand portion from the Topaz Gigapixel AI image to keep the sand portion of the Photoshop-enlarged image. Applying Topaz Gigapixel AI successfully on a range of images, including film scans, may involve a bit of experimentation with some other processing, especially denoising and sharpening, and local processing, but I have found it well worth it, as the gains can be spectacular. They have allowed me to expend my print offering sizes from old images.


Great topic and very useful
Thank you!
I have been using Gigapixel for several months now and I am quite impressed by it. I am glad to see that I chose wisely and it does indeed outperform other software. Thanks for this review. Great examples.